
This section outlines how to install the SOA Gateway Server on Windows
See here for installation troubleshooting hints.
Important:
If the version you are installing is not SOA Gateway v2.4.2,
then your installation may display a different version number from the
screenshots below. There is no functional installation difference between
versions, so this can be safely ignored.
On Windows, the SOA Gateway install is done via the Deployment Wizard. This is a wizard which runs within Eclipse, and guides you through the steps required to install and configure your SOA Gateway server.
A dialog will be presented the first time the SOA Gateway Control Center is started after its installation. Specify a project name and click
To start the deployment wizard at any time, click the following button
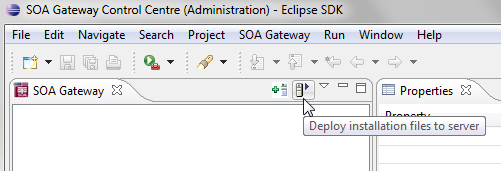
The Deployment Wizard will appear
Click to select your license, choose your (Windows) installation kit from the list of available and licensed kits.
Important:
This license should reside on a local HDD (Hard Disk Drive),
and not on a network drive or SSD (Solid State Drive).
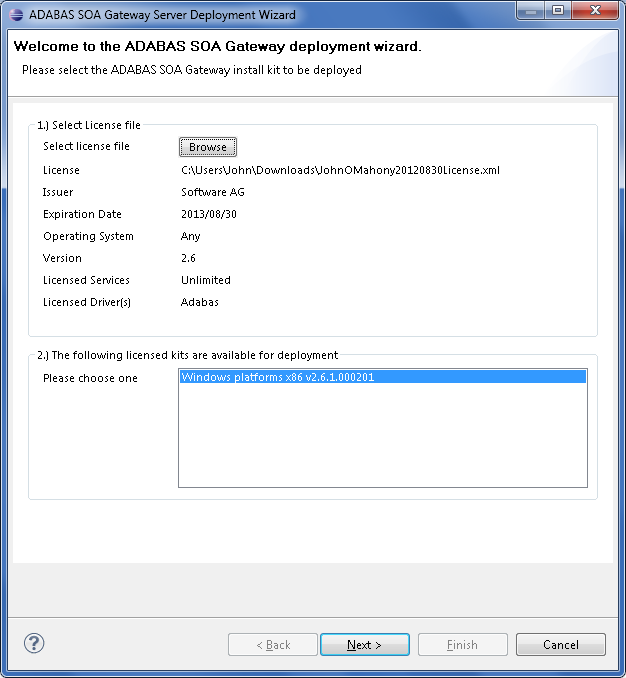
Click
The following screen allows you to either select an existing SOA Gateway server to deploy to, or to define a new SOA Gateway server to the Control Center. This server definition will be used for server administration later on.
For Windows, you should
Enter a 'friendly name'. This name will be used to refer to a SOA Gateway Server without needing to enter the hostname (or IP) later on.
Enter the hostname or IP of the machine on which the SOA Gateway server will run. This host/IP will be the machine you are currently working on. In many cases, entering localhost will suffice.
Enter the port which you would like SOA Gateway to listen for requests on. A new Apache web server will be installed, you must ensure that the port choosen here is available for use and not blocked by a firewall. The port entered here will utimately be the port that SOA Gateway uses to service requests.
Important:
Once you have filled in all of the above, click 'Add
Server'
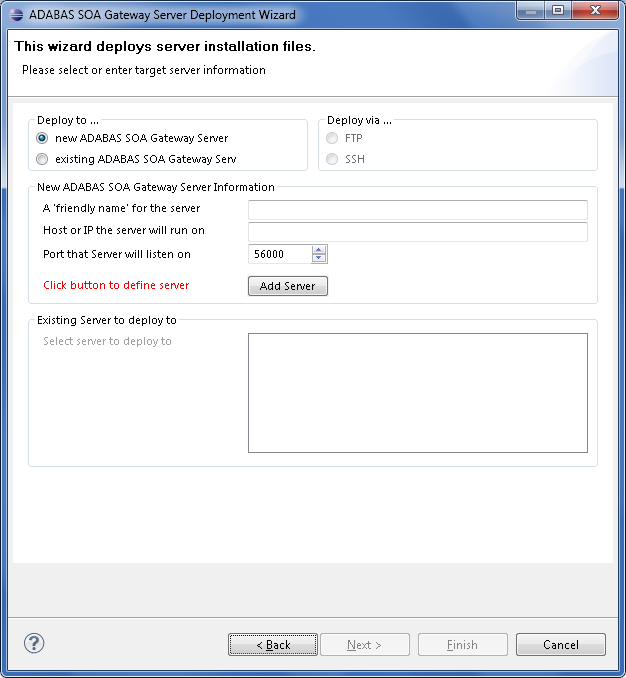
The server will now be added to your SOA Gateway Control Center 'Servers View' for later use.
Click
Now the Deployment Wizard must launch the Windows installer program.
Press the button

The deployment wizard now starts an MSI installer to install the SOA Gateway Server component on the system.
When the first page appears, click
If you require SOA Gateway to be installed in a non-default directory, click and select your directory. Otherwise click
Click to continue
Please wait while SOA Gateway is installed
When the installation is complete, click
Return to the Deployment Wizard, the message log will indicate either success or failure of the setup process.
Click
The next screen is used to verify that your SOA Gateway is up and running, and then to configure it based on your license.
: This displays this a short summary of the server status in the deployment wizard
This displays more information about the servers status in a browser.
Allows you to automatically create drivers based on your license.
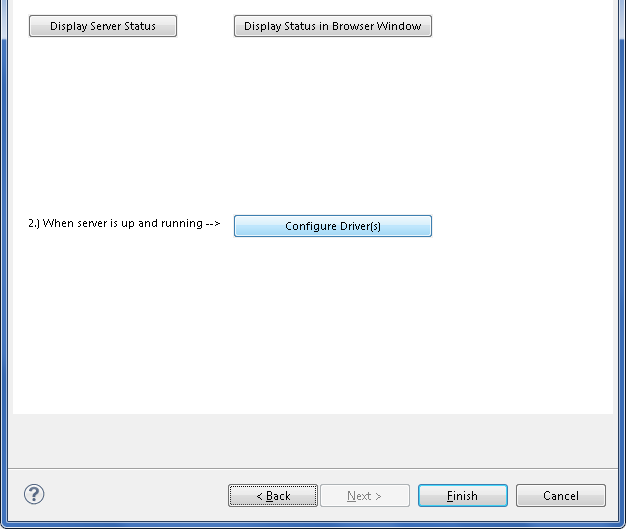
You should now click to create SOA Gateway drivers that are enabled in your license. If you choose to not add drivers now, they can also be created at a later stage, more information about defining drivers can be found in the Servers View section of this documentation.
The "Driver Wizard" will present a list of licensed drivers, and come up with all drivers selected and ready to be defined. You may now just click the button to define all of them, or deselect those you do not need or want to set up at that stage.
Click "Configure".
In case the driver does not require any additional parameters to be set, it will be defined now, otherwise the Driver Definition Dialog will ask for the additional parameter(s) to be set e.g. set the "ListMaxRecords" parameter to a value of "0" (zero) for an Adabas Driver. Click the button.
The Driver Wizard Dialog indicates the success of the operation
Click to close the Deployment Wizard
Now SOA Gateway is installed - what's next?
New to Eclipse ? Take an Eclipse getting started tour.
Configure SOA Gateway using the SOA Gateway Control Center
Proceed directly to define Web Services using SOA Gateway.