The Natural Business Services Eclipse plug-in helps you create business services in Natural and then connect to the business service repository and generate Web services or client proxy classes to access the services. In addition, you can use the plug-in to deploy these classes as Web services using the Apache Axis framework.
Use the Eclipse plug-in to:
Create and maintain business services
For information, see Developing Business Services.
Access the service repository
For information, see Use the NBS Repositories View.
Generate Web services to access Natural business services
For information, see Deploy the Client Proxy Class as a Web Service Class.
Generate client proxy classes to access Natural business services
For information, see Developing Client Proxy Classes and Web Services.
View all required files and edit them easily
For information, see Use the NBS Repositories View.
During the Natural Business Services (NBS) Windows installation procedure, the Eclipse plug-in is copied to the default NBS installation folder. If desired, you can change the default location and install the plug-in in your Eclipse installation folder. This allows the plug-in to be automatically available in Eclipse.
Note:
For information on installing the Eclipse plug-in on Windows, see
Natural Business Services
Installation on Windows.
This section covers the following topics:
After the Eclipse plug-in has been copied to the default NBS installation folder, you can install the plug-in on Eclipse.
![]() To install the plug-in on Eclipse Europa:
To install the plug-in on Eclipse Europa:
Start Eclipse.
Select on the menu.
Select Search for New Features to install.
Select .
Select .
Select the path for the NBS 53 archive site.
By default, this path is C:\Program Files\Software AG\Natural Business Services\V5.3\EclipsePlugin\Updates\com.softwareag.nbs-53.zip.
Provide a site name.
Select .
Ensure that the new site is selected.
Select .
The installation wizard is displayed.
Install the plug-in.
Restart Eclipse.
After the Eclipse plug-in has been copied to the default NBS installation folder, you can install the plug-in on Eclipse.
![]() To install the plug-in on Eclipse Ganymede:
To install the plug-in on Eclipse Ganymede:
Start Eclipse.
Select on the menu.
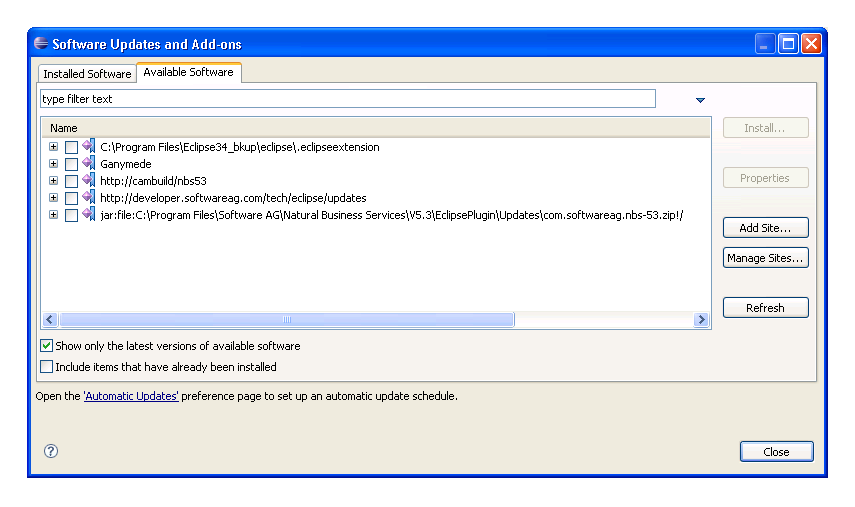
The Software Updates and Add-ons panel is displayed.
Select the Available Software tab.
The available software is listed. For example:
Select .
The Add Site window is displayed. For example:
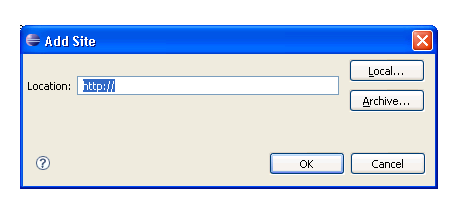
Select .
The Repository Archive window is displayed.
Select the path for the NBS 53 archive site.
By default, this path is C:\Program Files\Software AG\Natural Business Services\V5.3\EclipsePlugin\Updates\com.softwareag.nbs-53.zip.
Provide a Site name.
Select .
The Software Updates and Add-ons panel is redisplayed.
Select the features you want to install.
We recommend that you select all features.
Select .
The installation wizard is displayed.
Install the plug-in.
Restart Eclipse.
This section describes how to activate the Eclipse plug-in for Natural Business Services (NBS). To help organize the development environment, an NBS perspective is provided.
![]() To activate the Eclipse plug-in:
To activate the Eclipse plug-in:
Select on the menu.
The Open Perspective window is displayed. For example:
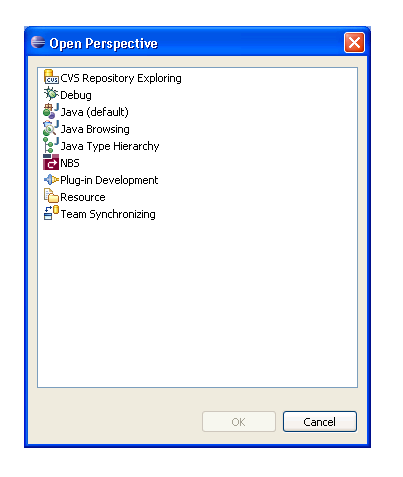
Select NBS.
Select .
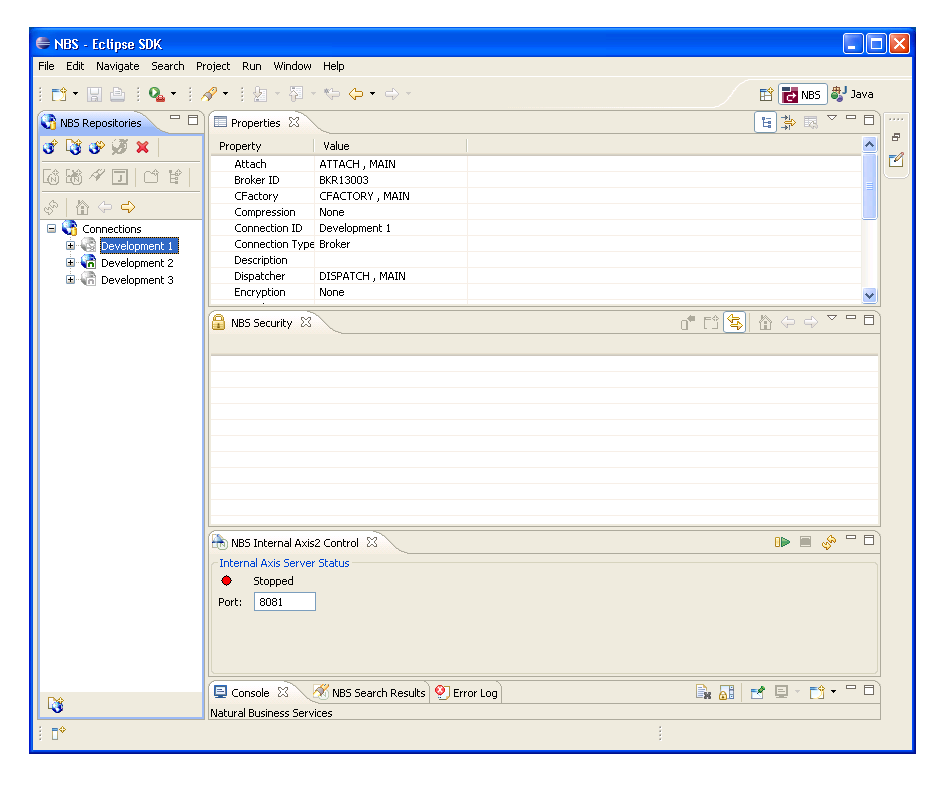
The NBS - Eclipse SDK is displayed, showing the standard views defined for the NBS perspective. The NBS Repositories view lists the available connections. To view the settings defined for a connection, select the connection in the NBS Repositories view. The settings are displayed in the Properties view. For example:
You can customize the NBS perspective as desired. The next time you start Eclipse, your NBS perspective will be loaded.
Note:
For information on configuring connections, see
Configure
Connections.