Managing Documentation Objects
This document covers the following topics:
Object Type-Specific Windows
An object type-specific window appears when you open or display an existing documentation object, or when you add a new documentation object.
The object type-specific windows have different tabs with different types of edit controls.
Tabs
Two types of tabs are available:
-
Common tabs that are always the same for all object types are General, Abstract, Keywords, Owners and Extended Description. See Global Attributes in the reference documentation Predefined Object Types in Predict.
-
Tabs that are only shown for this type of object. See the object type-specific descriptions in the reference documentation Predefined Object Types in Predict.
Several tabs require that you specify mandatory information. Such a tab shows one of the following symbols next to the tab name:
|
|
Mandatory information is missing on this tab. All field names on this tab where mandatory information must still be provided are indicated by the color red. |
|
|
All mandatory information has been specified on this tab. All field names on this tab where mandatory information has already been provided are indicated by the color green. |
Simple Edit Controls
Some tabs provide simple edit controls such as text boxes, check boxes or drop-down list boxes.
For the description of check boxes, the reference documentation Predefined Object Types in Predict uses the abbreviations Y (yes) and N (no). Y means that the check box is selected, and N means that the check box is not selected.
Text Editor
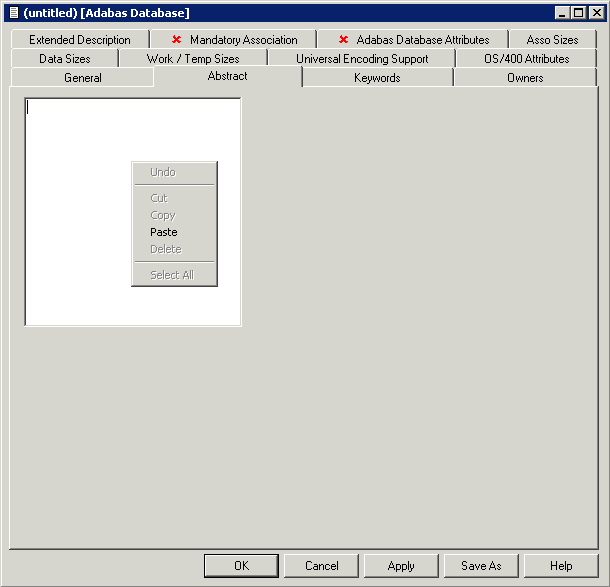
Some tabs such as the Abstract tab provide a simple text editor. Edit commands like and are available in a context menu. Example:
Tables
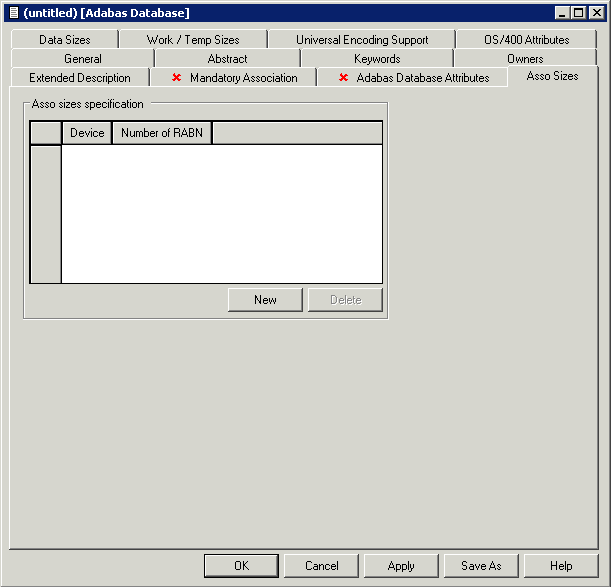
Some tabs provide tables to which you can add new information. A table may contain one or more resizable columns. Example:
The following command buttons are provided with a table (they are dimmed in read-only mode):
| Command Button | Description |
|---|---|
| Creates a new row containing several cells in which you can enter information. | |
| Deletes the selected row. |
To modify existing information in a cell of the table, simply overwrite it. You can either enter information directly in a cell or select it from a drop-down list box.
Command Buttons
The object type-specific windows that have been invoked using the or command provide the following command buttons:
| Command Button | Description |
|---|---|
| Saves all changes and closes the window. | |
| Saves all changes. The window is not closed and you can apply further changes. | |
| Saves the object under a new name. The Save As dialog box appears in which you have to specify a name for the new object. |
Notes:
- When you save a new object and a name has not yet been specified, the Save Documentation As dialog box appears. In this case, you have to specify a name for the new documentation object and choose the button.
- When mandatory information has not been specified, an appropriate error message is shown in a dialog box. When you then choose the button, the tab on which information is missing is automatically shown. The documentation can only be saved after all mandatory information has been specified.
Adding a New Documentation Object
You can manually add documentation objects for all predefined and user-defined objects types in Predict. You have to specify all information yourself, including the implementation pointer. This function is helpful, if documentation is to take place before implementation. Information on the implementation pointer can be found under Opening the Description for a Natural Object.
Tip:
When a Natural object already exists, it is recommended that
you redocument it. See Redocumenting Natural
Objects.
There are two ways to add a documentation object. You can use either the menu or a context menu.
![]() To add a new documentation object using the
menu
To add a new documentation object using the
menu
-
From the menu, choose .
Or:
Choose the following toolbar button:
The Object Type dialog box appears.
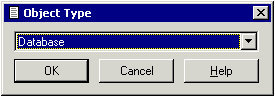
-
Select the desired object type and choose the OK button.
In some cases, you have to select a type (for example, a database type) in an additional dialog box. The next window then shows object-specific information.
-
Specify all required information as described in the reference documentation Predefined Object Types in Predict. See also Object Type-Specific Windows.
![]() To add a new documentation object using a context
menu
To add a new documentation object using a context
menu
-
In the tree view window or list view window for the documentation objects, select the object type for which you want to add a new object.
-
Invoke the context menu and choose .
Note:
The Object Type dialog box does not appear when using a context menu.In some cases, you have to select a type (for example, a database type) in a dialog box. The resulting window then shows object-specific information.
-
Specify all required information as described in the reference documentation Predefined Object Types in Predict. See also Object Type-Specific Windows.
Locking of Documentation Objects
When a documentation object is added, modified, renamed or deleted, it is automatically locked to prevent concurrent updates.
When working with associations and links, the following applies:
-
When the command is used, the parent object is locked. See also: Linking and Unlinking Associations.
-
When the command is used, both the parent and child object are locked. See also: Modifying the Attributes of a Link.
Caution:
Currently, locking of documentation objects is only possible on
the client side when using Object Description. When performing actions on
documentation objects in Predict on the server side, the locking mechanism is
ignored. This can result in inconsistent data.
Opening/Displaying an Existing Documentation Object
Two different commands are available for invoking a window in which you can view and/or modify a documentation object:
| Command | Description |
|---|---|
| With this command it is possible to modify a documentation object. | |
| With this command it is only possible to view the information for a documentation object, it is not possible to modify it. |
![]() To open/display a documentation object
To open/display a documentation object
-
Select the documentation object.
-
Invoke the context menu and choose either or .
Or:
Double-click the documentation object.An object type-specific window appears. See also Object Type-Specific Windows.
Renaming a Documentation Object
You can change the object ID with the command. The new object ID must not already exist in the dictionary.
![]() To rename a documentation object
To rename a documentation object
-
Select the documentation object that you want to rename.
-
Invoke the context menu and choose .
A dialog box appears prompting for a new name.
-
Specify another name and choose the button.
Purging a Documentation Object
You can purge documentation objects using the command.
For further information on the purge process, see the object type-specific descriptions in the reference documentation Predefined Object Types in Predict.
![]() To purge a documentation object
To purge a documentation object
-
Select the documentation object that you want to purge.
Tip:
If you want to purge several objects at the same time, you have to open the list view window. See Opening the List View Window. -
Invoke the context menu and choose .
A dialog box appears asking whether you really want to delete the object.
-
To confirm the deletion for the current object, choose the button.
Or:
To delete all selected objects without further confirmation, choose the button.
Printing and Saving a Report for a Documentation Object
The information shown in an object-type specific window (which can be invoked with the or command) can also be shown as a report in simple text format. It is possible to print and save this report.
![]() To print and save a report
To print and save a report
-
Select the documentation object.
-
Invoke the context menu and choose .
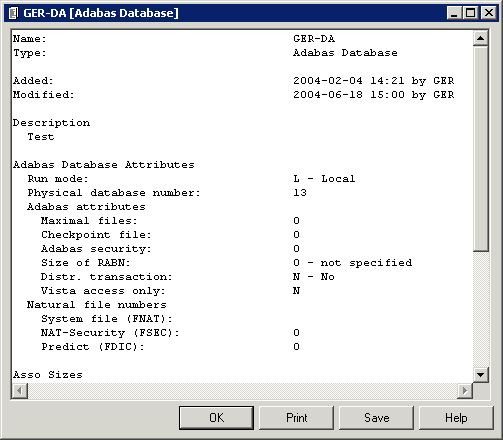
A window such as the following appears.
-
Choose the desired command button:
Command Button Description The Print Setup dialog box appears. Specify all required information (for example, a different printer or text orientation) and choose the button. The Save Report dialog box appears. Select the folder in which you want to store the report, specify a report name and choose the button. -
To close the window in which the report is shown, choose the button.