
The navigation frame displays configuration information specific to your local environment. This information is displayed in nodes that can be expanded or collapsed as required.
This document lists the options provided by SMH graphical user interface for displaying the local configuration information. The information is organized under the following headings:
In the navigation frame, choose System Management View at the bottom of the frame to display the contents of the frame according to your settings. The system management view can be displayed at any time.
Select System Management at the top of the navigation frame to return to the default display.
Any node displayed in the default view can be added to (or removed from) the System Management View.
![]() To add a node to the System Management View
To add a node to the System Management View
Return to the default view and highlight the node you wish to add to the system management view.
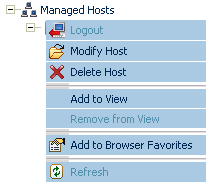
Open that node's context menu.
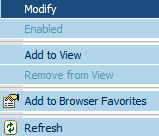
Choose Add to View from the node's context menu.
Note:
Log on the managed host to connect to one of its nodes that you
have added to the System Management View. Otherwise, you
get an error message.
![]() To remove a node from the System Management View
To remove a node from the System Management View
From that node's context menu, choose Remove from View.
Similarly, any node in the navigation frame can be added to your list of browser favorites.
![]() To add a node to your browser favorites
To add a node to your browser favorites
Open that node's context menu.
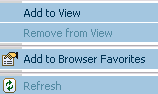
Choose Add to Browser Favorites from the node's context menu.
![]() To update the contents of the display of a node
To update the contents of the display of a node
Choose Refresh from that node's context menu.
Depending on your configuration and requirements, managed hosts can be added, modified, and deleted.
![]() To log on to a host:
To log on to a host:
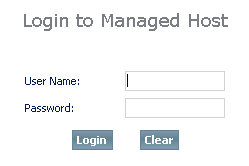
In the navigation frame, choose the host you wish to log on.
The screen Login to Managed Host is displayed in the content frame. Enter the user name and password as with any other logging on.
Remember that if your logon host is a Windows machine (that is part of a Windows domain), then your logon Username must also include your logon domain as:
 <MYDOMAIN>\<myname>

 for example, : sag\myself
Please contact your system administrator for further details.
Press the button or the Enter key to complete the logon.
![]() To log out:
To log out:
Make sure that the correct host is selected, click the right mouse button and choose .
Each managed host must be defined by the system administrator using the Add Host option.
![]() To add a host:
To add a host:
Connect as a system administrator, using the entry URL.
From the context menu of the Managed Hosts node, choose the option .
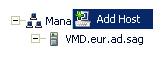
A screen similar to the one illustrated below is displayed in the content frame. Enter the full host name of the host you wish to add. This can be either the complete host (domain) name or the IP address (for example, 101.102.103.04) of the respective host. This field is required.
Enter the name you wish to be displayed in the list of managed hosts. This field is optional. If you do not wish to enter a name, the new host's name as you entered it in the previous field (either domain name or IP address) are displayed.
Enter the TCP/IP port number for the CSLayer server on the managed host. The default value is 10012. This field is required.
Press the button to confirm your entries or the button to make any changes.
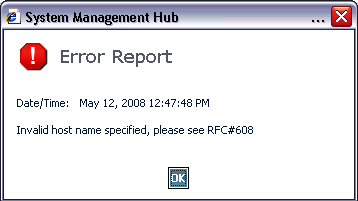
Any failure to provide the correct credentials results in an error message screen:
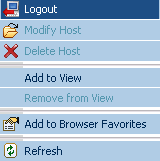
![]() To modify a host:
To modify a host:
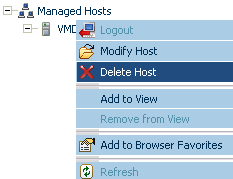
From the context menu of the host you wish to modify, choose .
A screen similar to the one illustrated below is displayed in the content frame.
You can do either of the following:
Enter a new display name for the managed host;
Enter a new TCP/IP port number for the CSLayer server;
Do both of the previous.
Press the button to confirm the modifications or the button to make any changes.
![]() To delete a host:
To delete a host:
From the context menu of the host you wish to delete, choose .
A screen similar to the one illustrated below is displayed in the content frame.
Press the button to confirm that you wish to delete the host or press the Cancel button to terminate the process.
The host you have selected is permanently deleted from the list of managed hosts.