Import Presto Mashup or Mashable Results
You can import results from Presto mashups or mashables into Excel worksheets to work with this information in your workbooks.
To import mashup or mashable results into an Excel worksheet
1. If needed, set connection information to the Presto Server for the mashable information source or mashup that you want to import. See Configuring the Connection to
Presto for instructions. 2. Move to the worksheet and cell that should be the upper-left corner where results should be imported.
Tip: | To prevent space or modification conflicts, it is a good practice to separate Presto mashup or mashable data into a different worksheet from the calculations, charts or other data you are working with in a workbook. If you import data from several mashups or mashables, it is also best to import results side by side (into separate sets of columns ). |
3. Click  Import Mashable/Mashup.
 The Import Mashable Wizard opens.
4. Click Next.
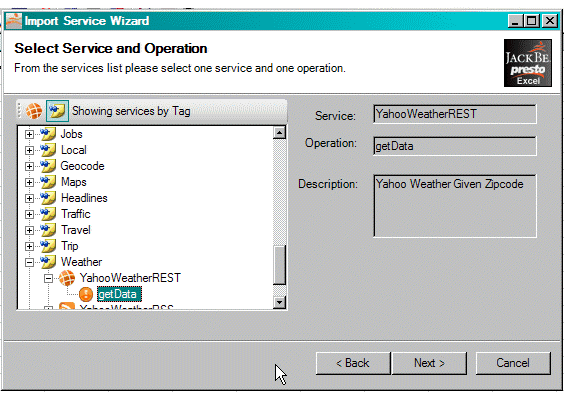
The Select Mashable and Operations screen displays a list of Presto mashups and mashables categorized by mashable type, such as Atom/RSS or Excel. You can also sort this list by tag categories, such as News or Finance.
Note: | The  icon indicates mashables or mashups that are inactive. You cannot import data from inactive mashables or mashups. |
5. If desired, change the search categories for mashups and mashables:

Click

in the list header to organize mashables and mashups
By Tag.

Click

in the list header to organize mashables and mashups
By Type.
Expand any category and then expand a mashable or mashup to see the list of operations available.
6. Select the operation that you want to run and import the results. Click Next.
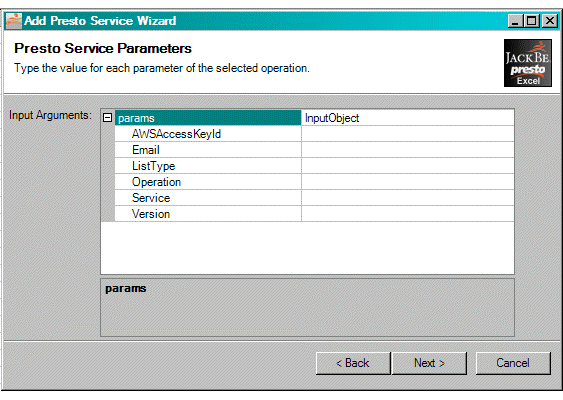
7. If this operation has input parameters that you can set, expand the parameters list, fill in the parameters as needed and click Next.
The wizard runs the mashup or mashable operation and displays the structure of the results in a tree in the next pane.The top node containing all the results is selected by default.
8. If you only want to import part of the results, select the node that contains all the information that you want to import. See Selecting the Result Nodes to Import for more information and examples on selecting specific information and the results. 9. Click Next.
The wizard displays a summary of your import choices.
10. Click OK to complete the import.
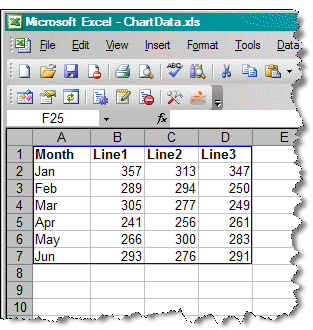
A range of cells, outlined in blue, fill with results from this mashable operation.
 Import Mashable/Mashup.

