
This document covers the following topics:
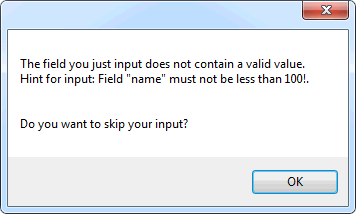
The validation rules editor can be used to define that the value that is entered in a field must meet certain conditions. You can test your validation rule in the preview area. If an invalid value is entered, a corresponding message appears. Example:
Important:
The validation is done on the client side.
When you open the validation rules editor, you can add, modify and remove validation rules.
 To open the validation rules editor
In the layout area or preview area, select the field control that you want to validate.
From the menu, choose .
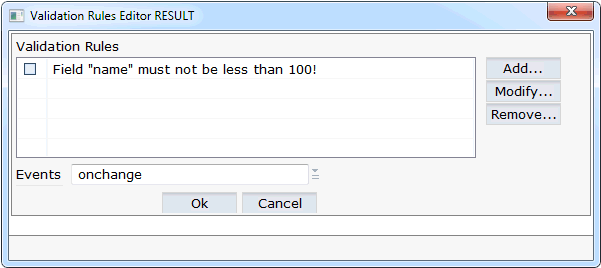
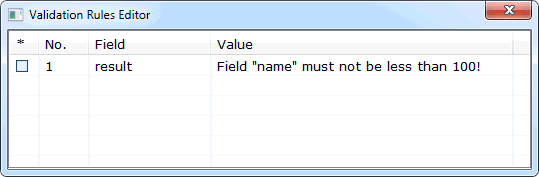
A dialog appears. If validation rules have already been defined, the messages that have been defined for these rules are shown in the text box. Example:
The following command buttons are provided:
| Command Button | Description |
|---|---|
| Adds a new validation rule. See below. | |
| Modifies the selected validation rule. | |
| Removes the selected validation rule. |
The prerequisite for adding a validation rule for a field is that an adapter class or Natural adapter with the corresponding code exists for the field. Otherwise, the field does not appear in the validation rules editor.
You can add more than one validation rule.
To add a new validation rule
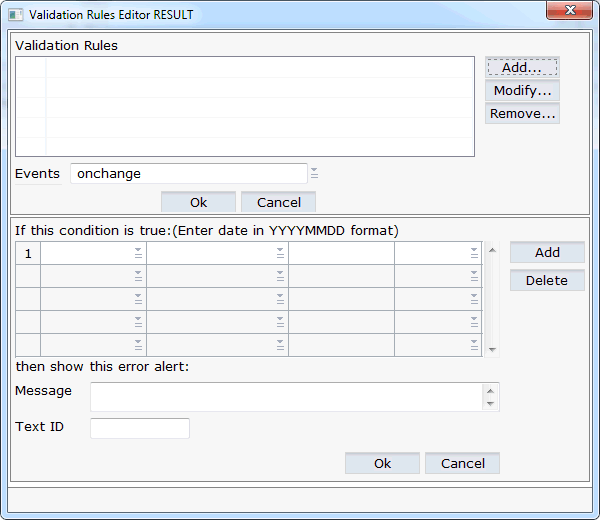
To add a validation rule, choose the button.
Additional information is now shown at the bottom of the dialog.
From the first drop-down list box, select the name of the field for which you want to add a condition.
From the second drop-down list box, select the condition (for example, "less than").
In the third box, enter the value for the condition (for example, "100").
Optional. From the fourth drop-down list box, select the operator And or Or if you want to define an additional condition. In this case, you have to choose the button which is shown in the lower part of the dialog and specify the required values in the resulting line (as described above).
In the Message text box, enter the message that is to appear in a dialog box when an invalid value is entered (for example: "The value in the field must not be less than 100!").
Or:
If you are working with several languages, enter a text ID
in the Text ID text box. See also
Multi Language
Management in the Natural for Ajax
documentation.
From the Events drop-down list box, select one of the following values. This defines the behavior in the case of an error.
| Event | Description |
|---|---|
| onchange | Your message will appear when the user leaves the input field. |
| onsubmit | Your message will appear when the information is about to be transferred to the server (for example, by choosing a button). |
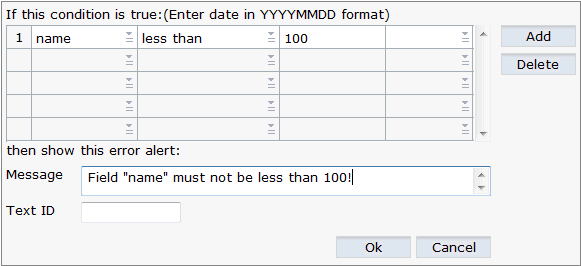
The lower part of the dialog may now look as follows:
Optional. If you want to delete a condition, select the corresponding row and choose the button.
To confirm the new validation rule, choose the button in the lower part of the window.
The dialog is not closed and you can add further validation rules.
To confirm all validation rules and to close the window, choose the button in the upper part of the window.
You can display a list of all validation rules which are defined in the current layout.
To display an overview
From the menu, choose .
A dialog appears. When validation rules have been defined in the current layout, they are listed in this dialog.
When you click on a validation rule, the validation rules editor appears and you can change the validation rule as described above.