Build user-created assets and configurations using webMethods Asset Build Environment (ABE), retrieve those assets and configurations from a VCS by using ABE or an automated tool like Jenkins, and then deploy those assets and configurations to the webMethods Cloud Default Environment by using ABE.
Continuous Build and Publish
You can build user-created assets and configurations using webMethods Asset Build Environment (ABE), retrieve those assets and configurations from a VCS by using ABE or an automated tool like Jenkins, and then deploy those assets and configurations to the webMethods Cloud Default Environment by using ABE.
Note: Click here to see how to deploy on-premises assets and configurations using webMethods Asset Build Environment.
Basic build and publish mechanism
Note: Command Central usage for Integration Server and Universal Messaging configuration deployment is deprecated. It is recommended to use the Integration Server or Universal messaging to deploy assets and configurations to webMethods Cloud Container.
Steps describing the CI/CD mechanism
Create the assets on the development environment and export or copy them to a file system or version control system (VCS), from which the build process can obtain them. The location to which you export or copy the assets is called the source directory.
Install webMethods Asset Build Environment (ABE) ABE installs the build scripts and the build properties file that you use to build the composites and descriptors. See the Building Composites for Repository-Based Deployment section in the webMethods Deployer Users Guide for more information.
Set the properties for the build and run the build script in ABE to create the composites and descriptors See the Building Composites for Repository-Based Deployment section in the webMethods Deployer Users Guide for more information.
Use ABE to push the composites and descriptors to the webMethods Cloud Asset Repository Apart from providing values to the properties in build.properties, specify the following additional properties to upload composites and descriptors to the webMethods Cloud Asset Repository.
Property
Definition
localStore
Represents the local folder where the Git repository is cloned or the local Git repository. localStore must be the same as the build.output.dir.
remoteStore
URL of the webMethods Cloud Asset Repository. The URL format is: https://mysubdomain.container.webmethodscloud.com/integration/rest/internal/wmic-git/[solutionname]-[productaliasname] Example: https://mysubdomain.container.webmethodscloud.com/integration/rest/internal/wmic-git/development-mysolution-myis
message
Required. Message which describes the commits.
username
Required. webMethods Cloud Container login user name.
Run one of the following commands from the [Software AG_directory]\common\AssetBuildEnvironment\bin directory to build and upload the composites and descriptors to the webMethods Cloud Asset Repository:
For this platform…
Run the following command…
Windows
build.bat buildUploadAssets
UNIX
build.sh buildUploadAssets
Promoting assets to the next environment
Using an automated tool like Jenkins, invoke the following API to promote the assets to the next environment:
URI parameters
- solutionName - Name of the solution in webMethods Cloud Container.
- sourcenodeName - webMethods Integration Server instance
- where the assets need to be deployed.
Query parameters
sourceSolution - webMethods Integration Server solution name from where the assets needs to be promoted.
sourcenodeName - webMethods Integration Server instance name from where the assets needs to be deployed.
Note: Use basic as the HTTP authorization scheme.
Request Body: The request body should contain the following:
commitMessage: An optional commit message
acdlComposite: List of composites, assets, and their properties, which are available in the other environment.
Note: If you want to retrieve the request body, invoke the getcomposites API as provided in Step b. The getcomposites API will get the composites and asset details from the previous environment.
URI parameters
- solutionName: Name of the solution in webMethods Cloud Container.
- nodeName: webMethods Integration Server instance
- where the assets need to be deployed.
Query parameters
fromEnv: Environment name from which assets are retrieved.
acdlComposite: The composites, assets, and their properties. You can replace the properties for the assets wherever required, and invoke the Promote Assets API as mentioned in Step a to promote the assets to other environment.
Command Line Interface
The Cloud Container CLI interacts with webMethods Cloud Container and performs tasks such as managing a solution, monitoring the status of all runtimes in a solution, pull assets from a solution of another environment, and so on. The CLI supports the following modes:
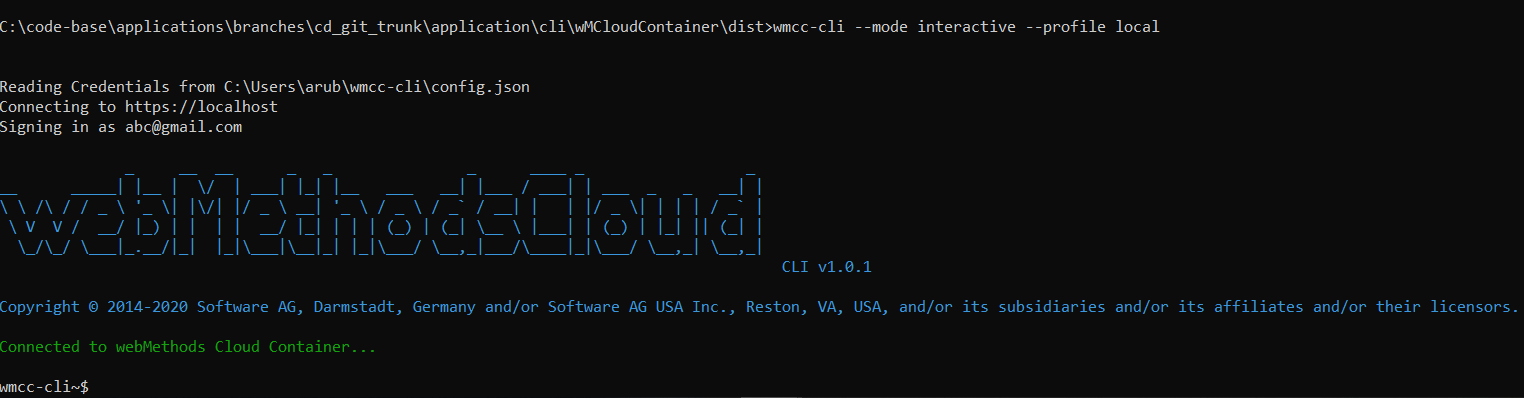
Interactive Mode: To start the CLI in interactive mode, run the following command:
wmcc-cli --mode interactive
Normal Mode: To start the CLI in normal mode, run the following command:
wmcc-cli <commands> [options]
Install CLI
Overview
You install the webMethods Cloud Container CLI (wmcc-cli) using the NPM registry. This section describes tasks such as installing the CLI and specifying credentials to connect to webMethods Cloud Container.
Before you begin
Before you install wmcc-cli from the NPM registry, do the following:
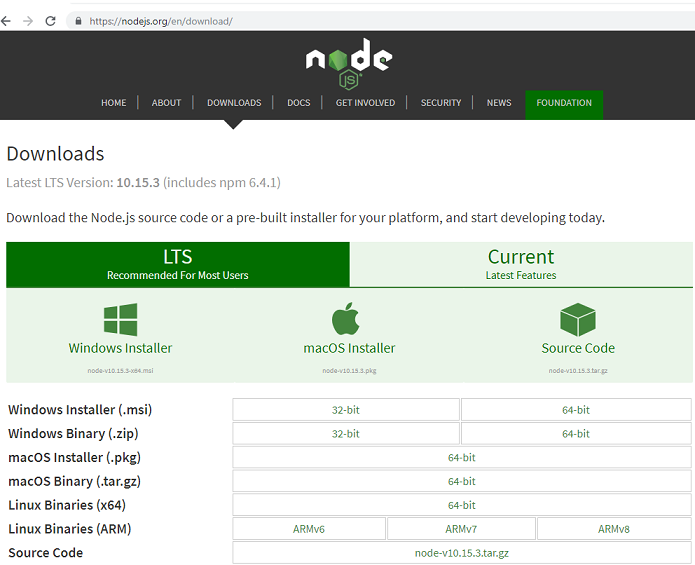
Install the NodeJS runtime environment version 10.13 or later on your computer along with NPM (Node’s package manager).
Note: The webMethods Cloud Container CLI is available for the following operating system environments:
Windows
Linux
macOS
Open a command line interface and type the following command to install wmcc-cli:
npm install -g @softwareag/wmcc-cli
Specify the credentials to connect to webMethods Cloud Container
To connect to webMethods Cloud Container, you must configure the credentials in one of the following ways:
Specify the credentials in the config.json file
Create a config.json file under %appdata%/wmcc-cli/ location for Windows or /home/wmcc-cli/ in LInux.
Add new profiles in the config.json file.
The following is an example of default and referenced profile in the configuration file.
Note: Runtime arguments will have the highest priority. However, If runtime arguments are not passed, then the default profile from %appdata%/wmcc-cli/config.json is used.
CLI Reference
The following table describes the commands you use to perform various scenarios in the CLI interface.
Commands for viewing alerts in webMethods Cloud Container
Run the following command to view alerts.
alert list [options]
where the options are:
—–Name
Description
—–solutionName [solutionName]
Filter the alerts that belong to a particular solution.
——alertName [alertName]
Filter the alerts by name.
—–runtime [runtime]
Filter the alerts by Instances / Node name in a solution.
—–severity [severity]
Filter the alerts based on the severity. Default supported values are info, warning, and critical.
—–view [view]
By default, outputs the response in a table view mode. The CLI supports both table and JSON output format. Example: alert list —–severity critical
—–view [json]
By default, outputs the response in a table view mode. The CLI supports both table and JSON output format. Example: alert list —–severity critical —–view json Note: JSON output format loads complete information that contains additional field than the table output format.
Commands for listing the assets in LAR
Run the following command to list all the assets available in the LAR.
By default, outputs the response in a table view mode. The CLI supports both table and JSON output format. Example: asset-repo list-assets DemoSoln IS development
Commands for creating solutions
Run the following command to create solutions.
solution create [options]
where the options are:
—–Name
Description
—–inputFile [fileName]
Provide the name of the file that contains the input data.
The file must contain a valid solution name, the name of the webMethods Integration Server and Universal Messaging instances, number of CPU Cores, and Memory characteristics of the hardware to support each service in the solution.
Example 1 : Creating Type 1 solution without cluster.
Run the following command to get the solution and all runtimes.
solution get <solutionName> [options]
where the options are:
—–Name
Description
—–view [viewType]
By default, outputs the response in a table view mode. The CLI supports both table and JSON output format. Example: solution get DemoSoln –view json
Commands for deleting the solution
Run the following command to delete the solution.
solution delete <solutionName> [options]
where the options are:
—–Name
Description
—–view [viewType]
By default, outputs the response in a table view mode. The CLI supports both table and JSON output format. Example: solution delete DemoSoln –view json
Commands for activating or deactivating the solution
Run the following command to activate and deactivate a solution.
By default, outputs the response in a table view mode. The CLI supports both table and JSON output format. Example: solution update-stats DemoSoln development deactivate
Allowed action names are activate or deactivate
Commands for getting the status of all pods in a solution
Run the following command to get the status of all pods in a solution.
solution get-status <solutionName> [options]
where the options are:
—–Name
Description
—–view [viewType]
By default, outputs the response in a table view mode. The CLI supports both table and JSON output format. Example: solution get-status DemoSoln –view json
Commands for getting the license information for a particular tenant
Run the following command to get the license information for a particular tenant.
tenant get-license-info [options]
where the options are:
—–Name
Description
—–view [viewType]
By default, outputs the response in a table view mode. The CLI supports both table and JSON output format. Example: tenant get-license-info
Commands for getting the total CPU and memory utilization details for a particular tenant
Run the following command to get the total CPU and memory utilization details for a particular tenant.
tenant get-utilization-details [options]
where the options are:
—–Name
Description
—–view [viewType]
By default, outputs the response in a table view mode. The CLI supports both table and JSON output format. Example: tenant get-utilization-details –view json
Commands for listing all the users
Run the following command to list all the users.
user list [options]
where the options are:
—–Name
Description
—–view [viewType]
By default, outputs the response in a table view mode. The CLI supports both table and JSON output format. Example: user list –view json
Commands to get a particular user
Run the following command to get the user information.
user get <userId> [options]
where the options are:
—–Name
Description
—–view [viewType]
By default, outputs the response in a table view mode. The CLI supports both table and JSON output format. Example:user get [ID details] –view json
Commands for promoting Integration Server and Universal Messaging configurations
Run the following command to promote Integration Server and Universal Messaging configurations.
Properties file to perform variable substitution. Example: Use the following command for promotion across same instance: runtime promote-configuration DemoSoln IS development Example: Use the following command for cross solution promotion: runtime promote-configuration DemoSoln IS development DemoSoln1 IS1 Promotes the configuration from the solution DemoSoln IS node to DemoSoln1 and IS1 node.
Commands for promoting Unit Tests services from one environment to another
Run the following command to promote Unit Tests services from one environment to another.
Note: If toSolutionName and toNodeName are provided then the CLI performs the cross solution promotion. If toSolutionName and toNodeName are not available, then the packages will be promoted to higher environment on the same Integration Server instance.
where the options are:
—–Name
Description
—–include [comma separated packages names]
Promotes only specified packages. Example: —–include package1,package2,package3
—–exclude [comma separated packages names]
Promotes all the packages other than the packages specified in the options. Example: —–exclude package1,package2,package3
—–propFile [fileName]
Provide properties file to perform variable substitution. Examples: Use the following command for promotion across same instance: runtime promote-packages DemoSoln IS development-- propFile /home/etc/var_sub.properties Use the following command for cross solution promotion: runtime promote-packages DemoSoln IS development TestSoln IS2 Use the following command to replace a property in a specific composite asset. <propertyName>/<compositeAssetName>Note: The replacement properties should be in the following format: <propertyName>/<compositeAssetName>/<assetName> Example for replacing properties of a package: activatePkgOnInstall/TestODataService=false where TestODataService is the package name whose property activatePkgOnInstall is assigned with value false. Example for replacing properties of a service of a package: serverName/TestODataService/JDBC_Connection .ODataService=localhost where JDBC_Connection.ODataService is a service under package TestODataService, whose parameter serverName is assigned with value localhost.
Commands for printing the list of exposed services
Run the following command to print the list of exposed services.
By default, outputs the response in a table view mode. The CLI supports both table and JSON output format. Example: runtime get-exposed-is-services DemoSoln IS —–view json
Commands for listing all the queues
Run the following command to list all the queues in the Universal Messaging instance.
um list-queues <solutionName> <nodeName> [options]
where the options are:
—–Name
Description
—–view [viewType]
By default, outputs the response in a table view mode. The CLI supports both table and JSON output format. Example: um list-queues DemoSoln UM —–view json
Commands for getting the queue information
Run the following command to retrieve pushed, popped, and memory usage of the queue.
um get-queue <solutionName> <nodeName> <queueName> [options]
where the options are:
—–Name
Description
—–view [viewType]
By default, outputs the response in a table view mode. The CLI supports both table and JSON output format. Example: um get-queue DemoSoln UM dummyQueue —–view json
Commands for getting the queue details
Run the following command to retrieve the queue details.
um get-queue-details <solutionName> <nodeName> <queueName> [options]
where the options are:
—–Name
Description
—–view [viewType]
By default, outputs the response in a table view mode. The CLI supports both table and JSON output format. Example: um get-queue-details DemoSoln UM dummyQueue —–view json
Commands for listing all the channels in the Universal Messaging instance
Run the following command to list all the channels in a Universal Messaging instance.
um list-channels <solutionName> <nodeName> [options]
where the options are:
—–Name
Description
—–view [viewType]
By default, outputs the response in a table view mode. The CLI supports both table and JSON output format. Example: um list-channels DemoSoln UM —–view json
Commands for getting the channel information
Run the following command to get the channel information.
um get-channel <solutionName> <nodeName> <channelName> [options]
where the options are:
—–Name
Description
—–view [viewType]
By default, outputs the response in a table view mode. The CLI supports both table and JSON output format. Example: um get-channel DemoSoln UM dummyChannel —–view json
Commands for getting the channel details
Run the following command to get the channel details.
um get-channel-details <solutionName> <nodeName> <channelName> [options]
where the options are:
—–Name
Description
—–view [viewType]
By default, outputs the response in a table view mode. The CLI supports both table and JSON output format. Example: um get-channel-details DemoSoln UM development dummyChannel
Commands for listing the durable subscribers
Run the following command to lists all durable subscribers in a Node.
um list-durablesubscribers <solutionName> <nodeName> [options]
where the options are:
—–Name
Description
—–view [viewType]
By default, outputs the response in a table view mode. The CLI supports both table and JSON output format. Example: um get-channel-details DemoSoln UM dummyChannel —–view json
Commands for getting the specific durable subscriber details
Run the following command to get specific durable subscribers details.
um get-durablesubscriber-details <solutionName> <nodeName> <durableName> <channelName> [options]
where the options are:
—–Name
Description
—–view [viewType]
By default, outputs the response in a table view mode. The CLI supports both table and JSON output format. Example: um get-channel-details DemoSoln UM durablename dummyChannel —–view json