When you upgrade to the latest version of CONNX, you must convert your CONNX Data Dictionary (CDD) files to be compatible with the new version. Complete the following procedure to convert the CDDs.
Click the Start
button, and then point to All Programs.
Point to CONNX Driver and
then click CONNX Data Dictionary.
Type your CONNX user name, password, and server in the logon window,
and then click OK.

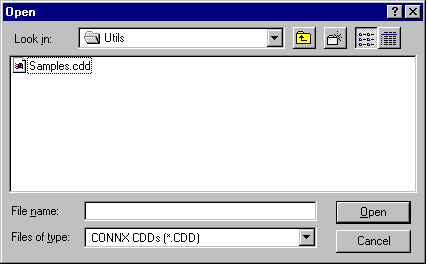
The Open dialog box appears. Select the first of the CDD files to convert, and then click the Open button.
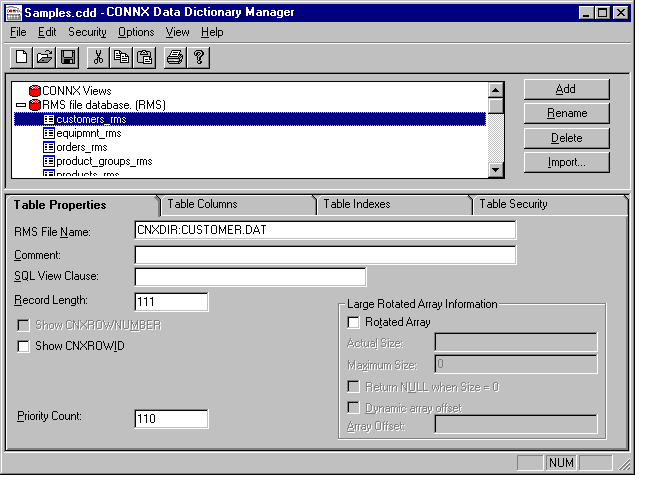
The selected file opens.
Select File on the menu bar,
and then click Save.

The file is automatically converted and updated to the new CDD format.
Answer Yes to any conversion
message.
To open the next CDD file
to convert, select File on
the menu bar and then click Open.
Select the next file to convert. Then select File
on the menu bar and click Save.
Use this method to convert each CDD to the new CONNX version.
When all CDD files are converted, select File
on the menu bar, and then click Exit
to close the CONNX Data Dictionary.
Important: If you wish to continue using older versions, as well as newer versions, of CONNX, you need to utilize a CDD using the older format. Remember to create backup copies and rename your new CDD files after conversion.