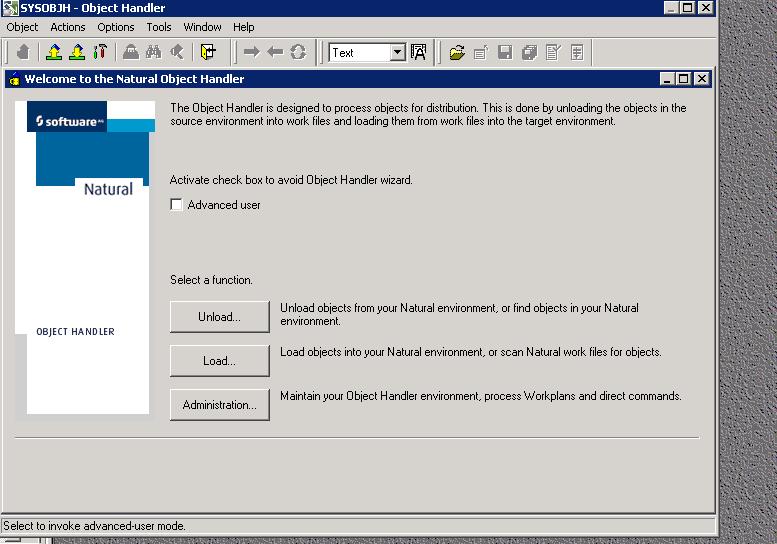
You will then select
"unload" to unload the DDM's to an extract file.
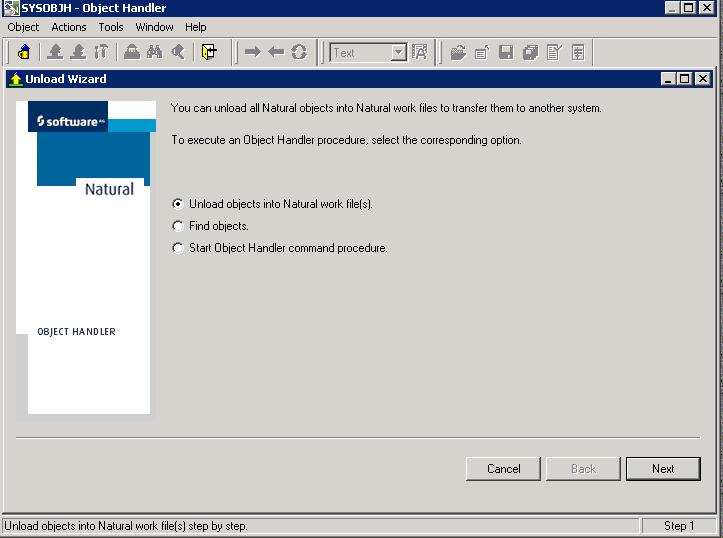
Click the Unload
objects into Natural work file(s) radio button. Click Next.
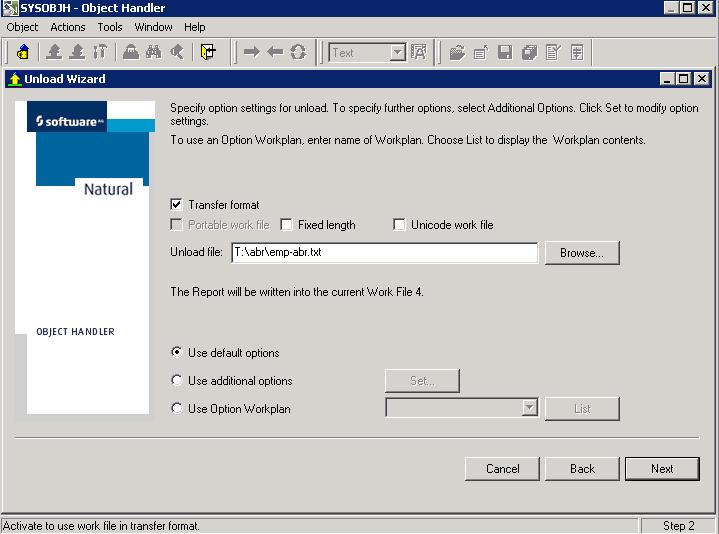
In the next window of the Unload Wizard, select the Transfer format check box, and then enter the location to which you want the files to be unloaded in the Unload file text box. If necessary, you can use the Browse button.
Select the Use
default options radio button, and then click Next.
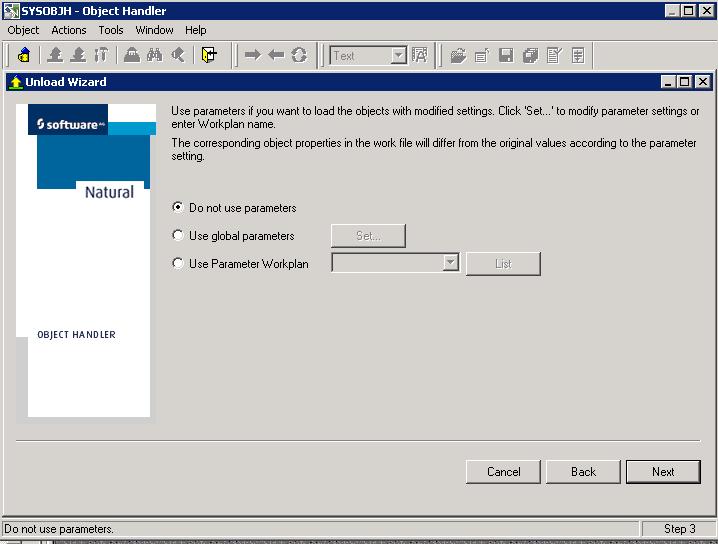
In the next window of
the Unload Wizard, select the Do
not use parameters radio button, and then click Next.
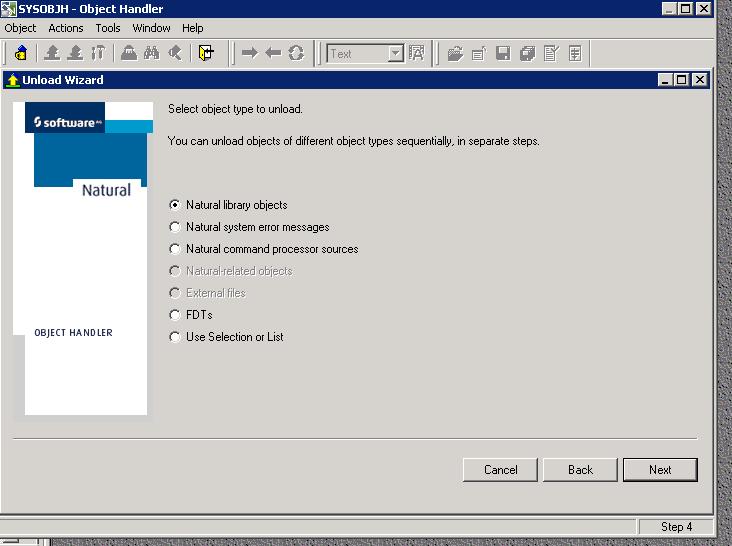
In the next window of
the Unload Wizard, select
the Natural library object
radio button, and then click Next.
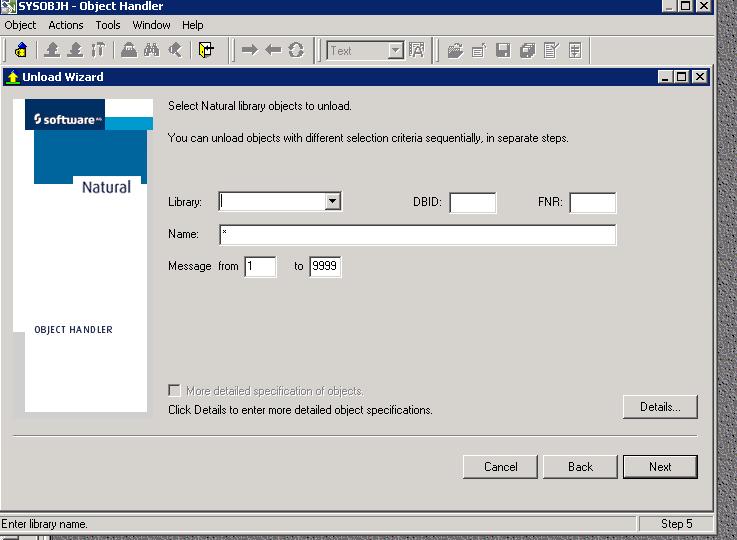
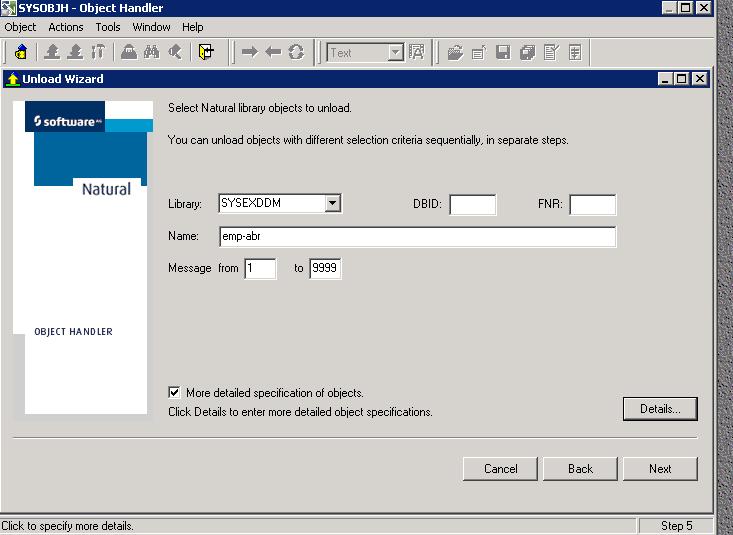
In the next window of
the Unload Wizard, select
the library name that contains your DDM definitions, for example,
SYSEXDDM, from the Library
list box, and then click the Details
button. You may also enter a specific DBID and/or a specific FNR.
If you leave these blank, all valid DDMs are returned.
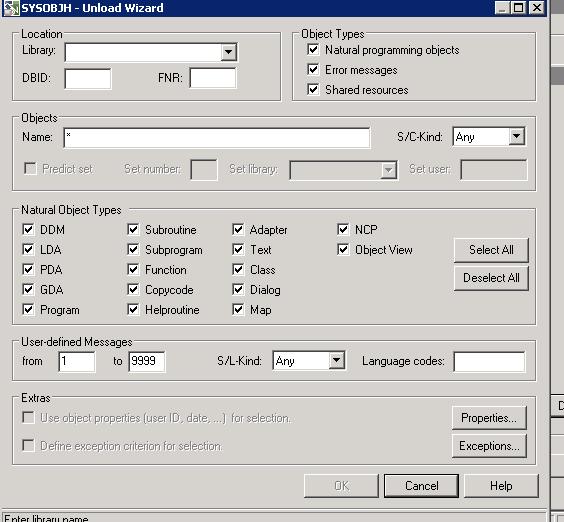
In the SYSOBJH
Unload Wizard window, use the Deselect
All button to deselect all of the choices listed under Natural Object Types, and then select
only DDM. Click the OK button to return to the Unload
Wizard.
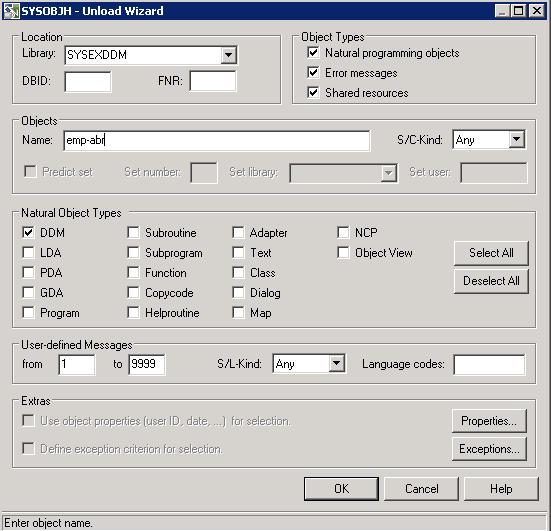
Enter
an object name (DDM) that you wish to create an extract for.
Click OK.
Click Next.
Unload information appears
in the next window of the Unload
Wizard. Click Next.
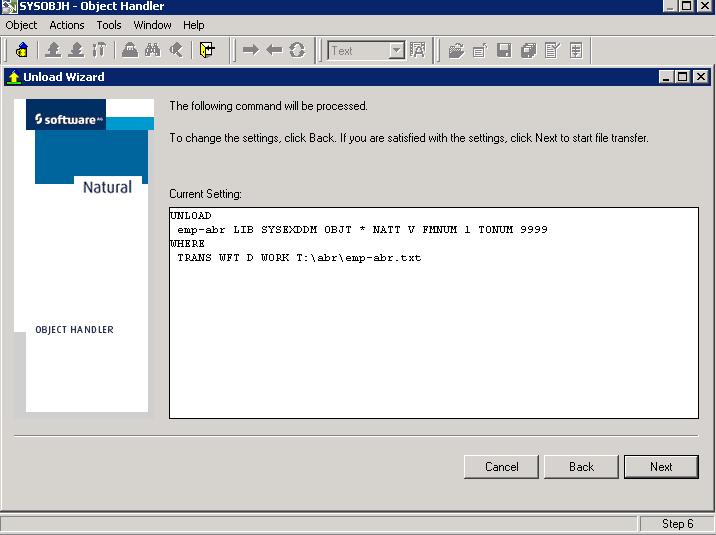
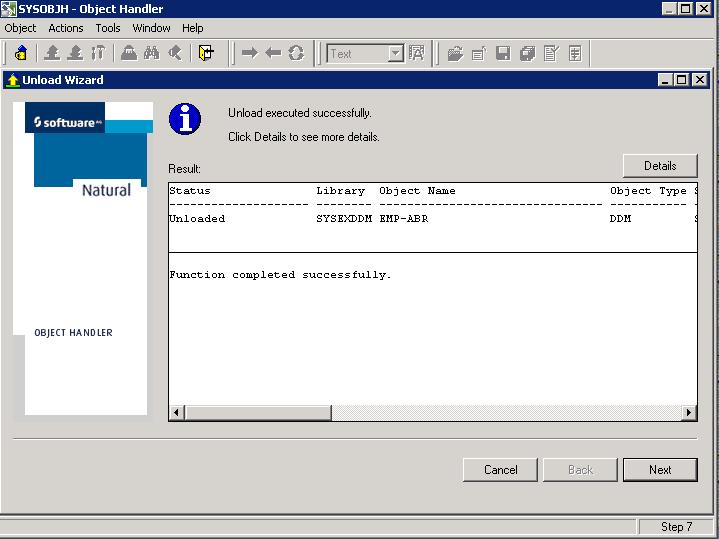
A message appears stating
the status of the unload. If it is successful, a file is created on
your system under the path and file name specified. Click the Next button to complete the unload,
and then close the application.