
Click the Start button, and then point to All Programs. Point to CONNX Driver and then click CONNX Configuration Manager.
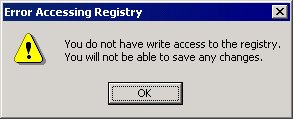
A dialog box appears for
users who do not have write access to the registry. Such users cannot
modify any registry values. If you need to change registry settings, contact
your network administrator.
The CONNX Configuration
Manager window appears.
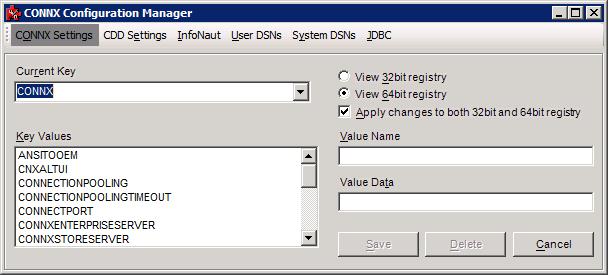
The settings are for this machine running CONNX and are displayed on five tabs: CONNX Settings, CDD Settings, InfoNaut, User DSNs, and System DSNs. The CONNX Settings tab is selected by default.
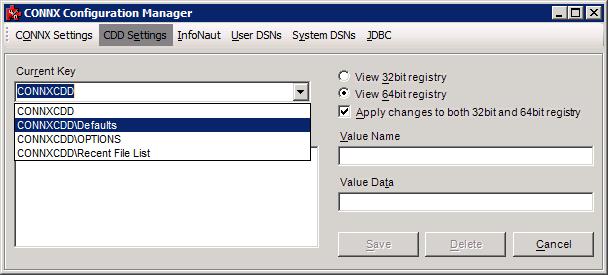
On 64bit Windows operating systems, the View 32bit registry and View 64bit registry radio buttons will be shown. These radio buttons allow different configuration settings for 32bit and 64bit versions of the CONNX driver, JDBC server, etc. NOTE: Most settings should be the same for both, but in some cases - such as path locations or port numbers - the values need to be different between the 32bit and 64bit version. In these cases, the "Apply changes to both..." check box should be unchecked when making changes.
Select the drop down list
to change the current key.
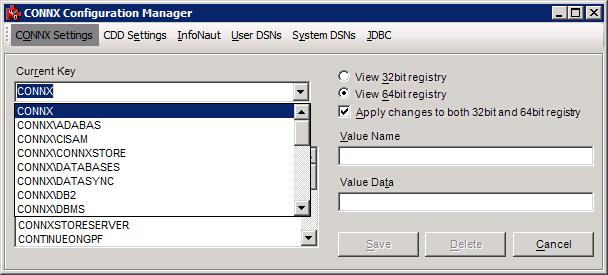
The Key Values for the
selected key are displayed in the Key
Values text box. Select a Value from the list to change. In
this example, TCPIP is selected.
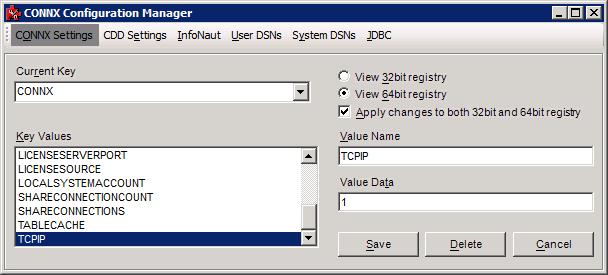
The data for the Value appears in the Value Data text box. The data stored in the Value can be modified by changing the contents of the Value Data text box. Once the data is changed, click on the Save button to store the change. See CONNX File Settings for more information on Value settings for each selected or available Value.
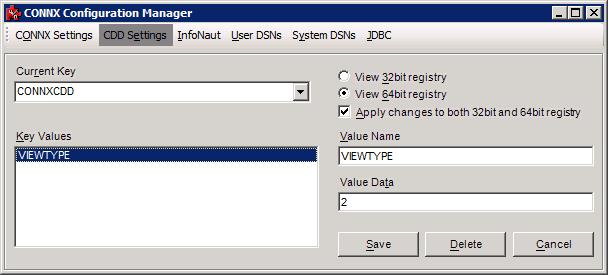
Select the CDD
Settings tab for information on the CDD setting for the user
machine. The default setting appears in the list box. See CONNX CDD
Registry File Settings for more information on CDD Value settings.
Select the down arrow in the list box to view other options related
to this computer.
Select a Value in the
Key Value list box to view
the value name and value data. In this example, you can view the USERID
and NODE Values.
Type any desired changes in the Value Data text box and press the Save button..
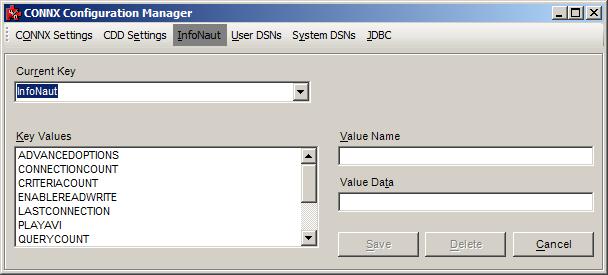
Select the InfoNaut
tab to view the InfoNaut registry keys available to this user on this
machine. Registry configuration options for InfoNaut are listed in
InfoNaut Registry Configuration Options in the InfoNaut Help File.
NOTE: InfoNaut settings are
stored in the HKEY_CURRENT_USER area of the registry and therefore
have no 32bit/64bit difference. All changes to InfoNaut settings
apply to both the 32bit and 64bit versions of the product.
Select the User
DSNs tab to view the CONNX User DSNs available to this user
on this machine.
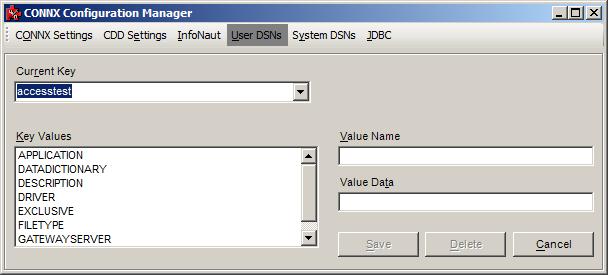
Select the arrow in the
list box to view the entire list of CONNX User DSNs available to this
user on this machine.

Select a User
DSN containing the settings to alter or add, and then select
a Value from the Key
Values list box.
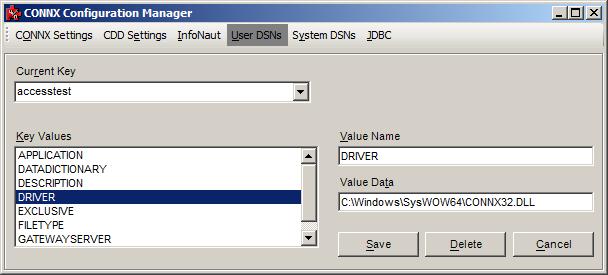
By selecting CONNX9SAMPLES32/DRIVER, you can view the location of the .DLL associated with the ODBC driver used for the CONNX sample databases. Select other Values to view related data.
Select the System
DSNs tab to see the CONNX System DSNs available on this machine.
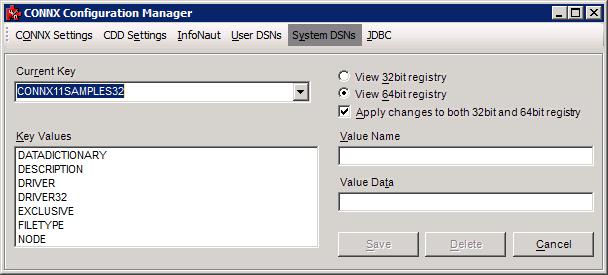
Select the arrow in the list box to view the entire list of CONNX System DSNs available on this machine.
Select a System DSN containing the settings to change, and then select a Value from the Key Values list box.
Change the selected Value data by entering new data in the Value Data text box.
Select the JDBC tab to see the CONNX System JDBC parameters available to this user on this machine. In this example, by selecting LOGLOC from the Key Values list box, you can change the location of the .log file.
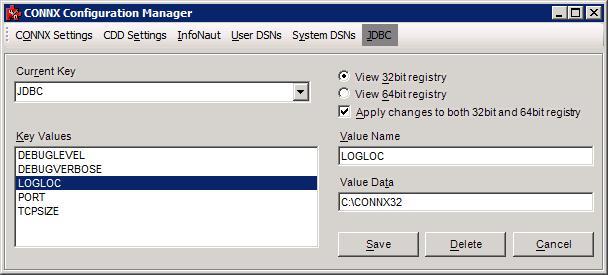
Click the Save button to store these changes.
Click the Close
button to close the application.
Note: If no User or System
DSNs exist on this machine, a dialog box appears stating that no CONNX
data source names were found.