
Click the Start button, and then point to All Programs. Point to CONNX Driver and then click CONNX Configuration Manager.
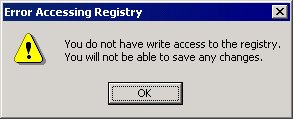
A dialog box appears for
users who do not have write access to the registry. Such users cannot
modify any registry values. If you need to change registry settings, contact
your network administrator.
The CONNX Configuration
Manager window appears.
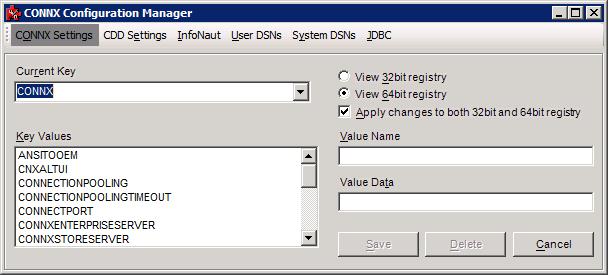
The settings are for this machine running CONNX and are displayed on five tabs: CONNX Settings, CDD Settings, InfoNaut, User DSNs, and System DSNs. The CONNX Settings tab is selected by default.
Select a key location
in the Current Key
list box.
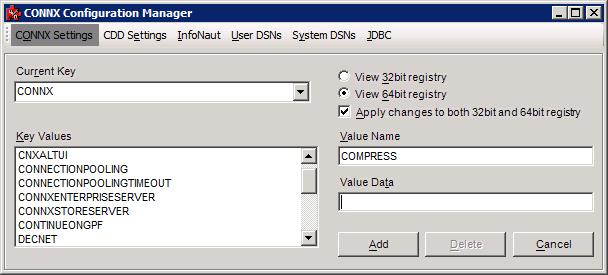
Under Value Name, type the value to add. We will use COMPRESS for our example. The Save button changes to the Add button.
Enter the value data in
the Value Data text box. In
this example, COMPRESS was added as a Value with the selected data
entered as "1".

Click Add to add the new value to the registry.
On a 64bit Windows operating
system, the radio buttons to view 32bit or 64bit registry settings
is displayed. If you wish the setting be applied to both the
32bit and 64bit registry, check the "Apply changes to both..."
check box. If a setting should only be applied to one, select
the appropriate radio button and uncheck the "Apply changes to
both..." check box.