Important:
Before beginning to install the ADR package, you must ensure that
all the latest Windows updates have been applied.
License keys for the runtime component only are supplied separately from the software installation mechanism. You should make sure your license file is placed in:
C:\Program Files\Common Files\Software AG\LKey
During the install you must identify the configuration file. Please refer to the section Installation Planning and Preparation for information on how to manage that part of the installation. The installation comprises the following steps;
Log into the Software AG Installer.
Select the installation directory location.
Select the product component(s) to be installed.
Confirm the Installer should proceed.
Execute the product activation step.
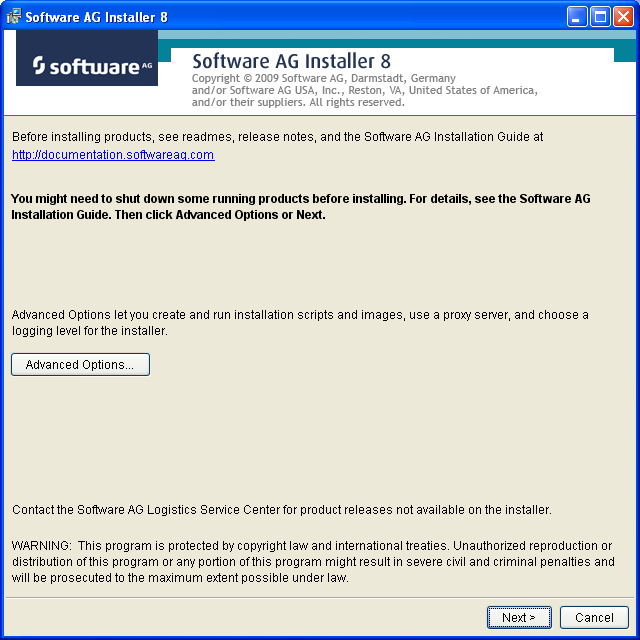
On the Software AG Installer Welcome Screen, click Next to start the installation.
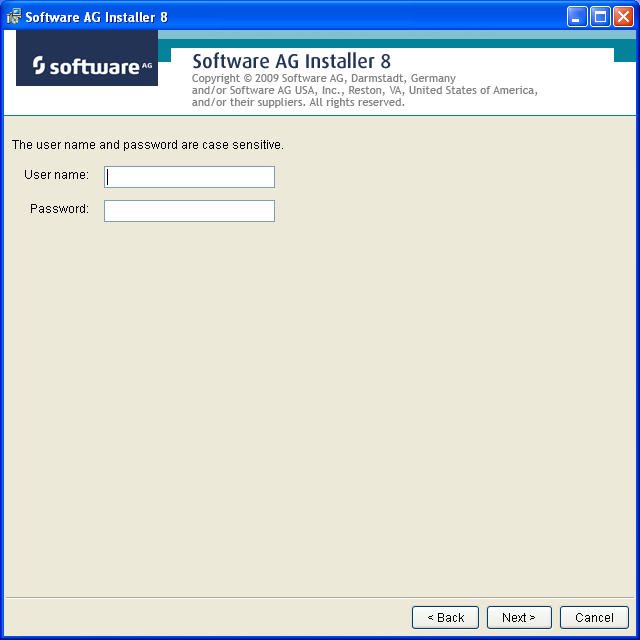
Identify yourself to the Installer by logging in with your credentials as shown below. Then click Next to proceed to the next step:
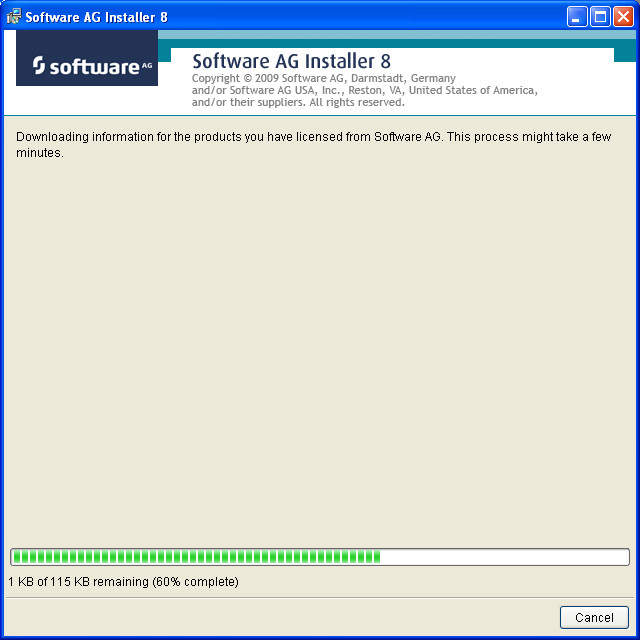
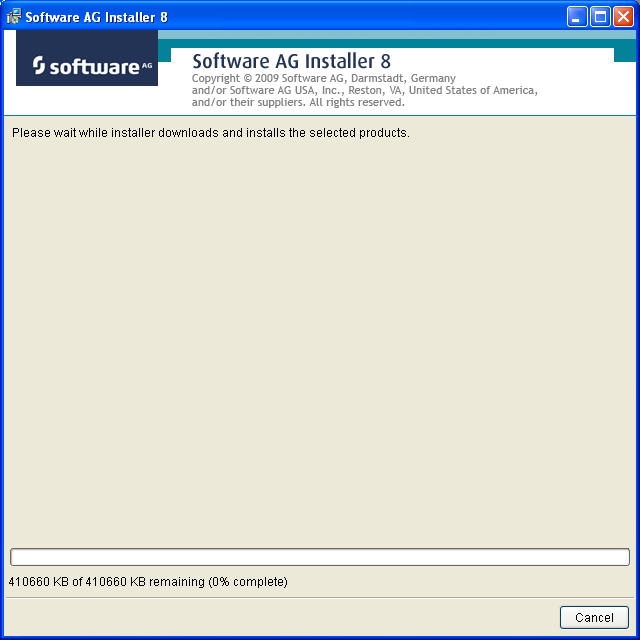
The Installer acquires information about a) all the products for which you are licensed and b) are able to be installed using the Installer. You can see this happening (below). It may take a few minutes:
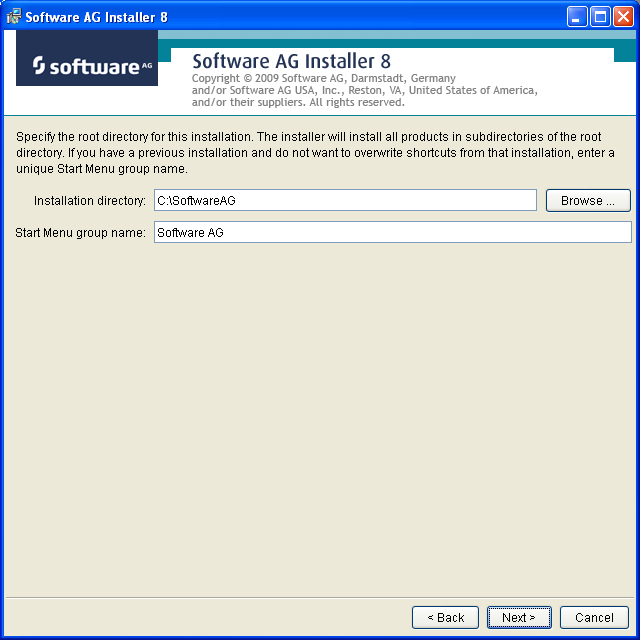
Once the Installer has acquired all licensing information for your site it shows the default install location. You can alter this if you wish but make sure you understand the implications of changing it for all the products being installed. Click Next to proceed:
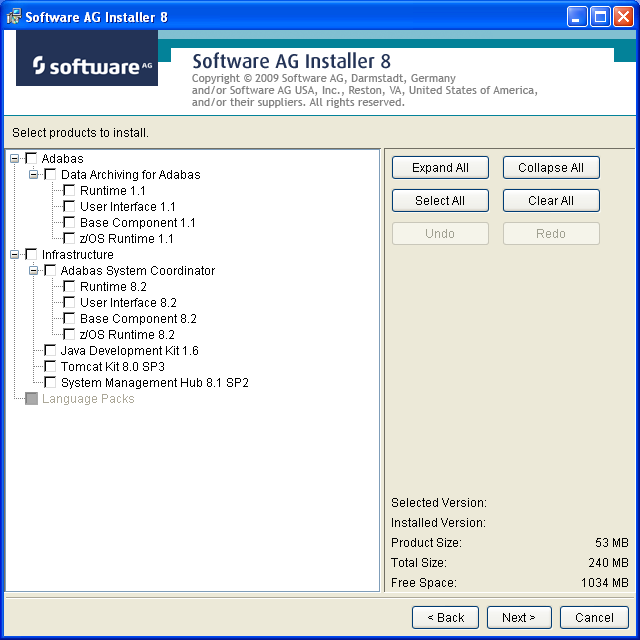
You can now choose the products that you wish to install:
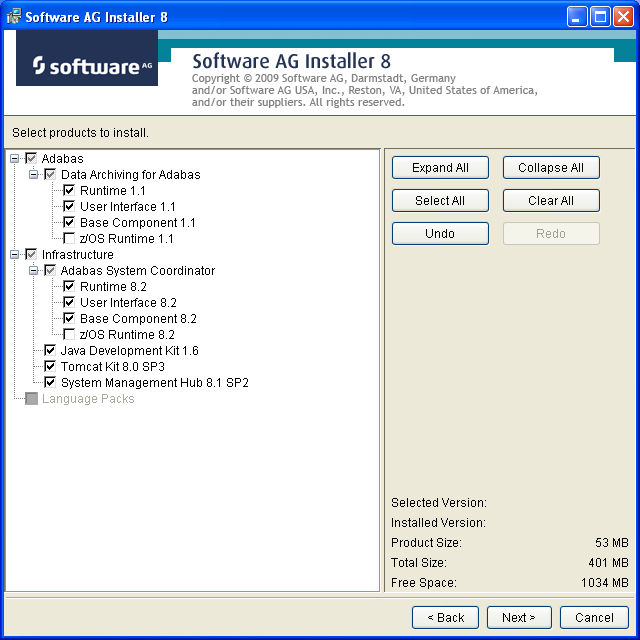
You can see below which products have been selected for install. In making these choices, other implied choices of sibling and prerequisite products are also made automatically. Once your selections are made, click Next to proceed:
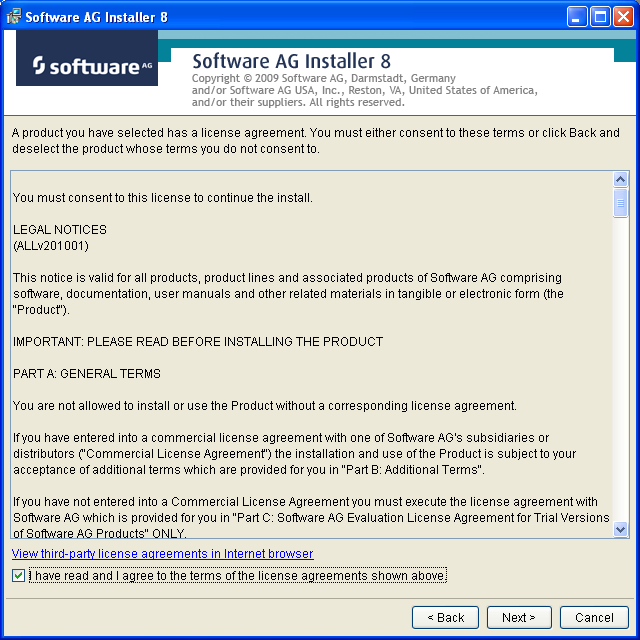
Read the terms and conditions. When you have finished confirm you have done so by checking the box. Then click Next to continue:
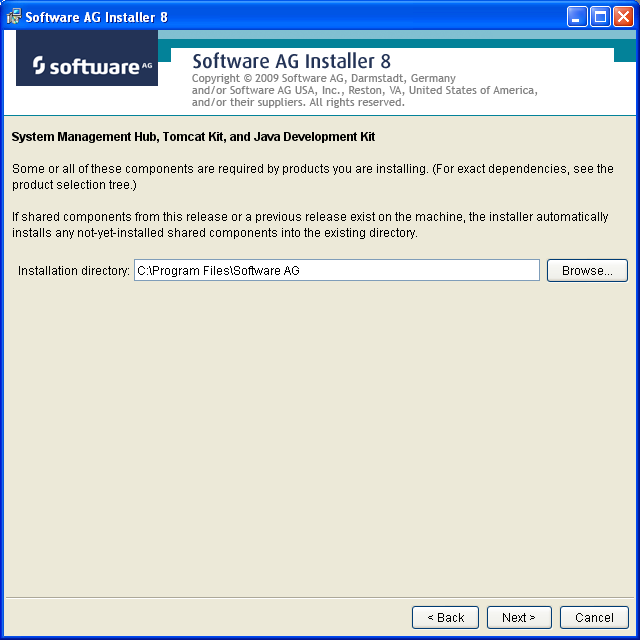
The following display is shown if the user interface is to be installed. This allows you to determine the install location for the prerequisite System Management Hub which you normally allow to default. Click Next to proceed to the next step:
A list of the products selected for install is provided. Click Next to perform the installation:

The installation may take some time. In the case of Data Archiving for Adabas the installation is usually quite quick whereas the install of the prerequisite System Management Hub (for installing the User Interface) takes longer.
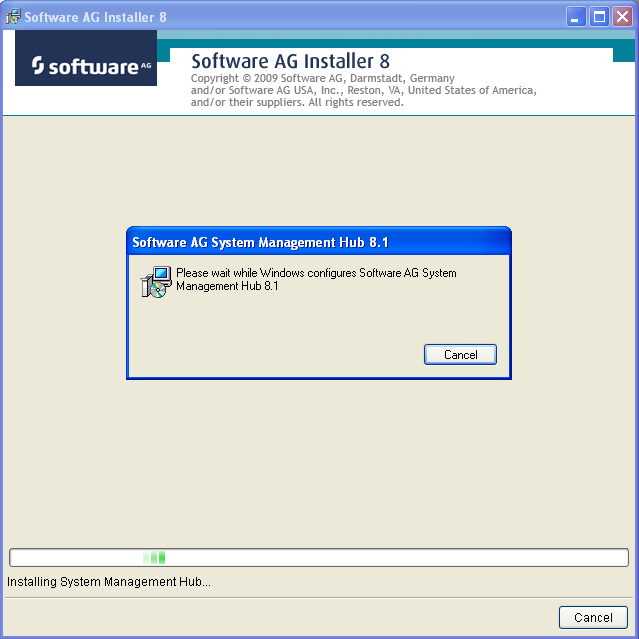
The section for installing the System Management Hub has several interaction screens where the defaults can be taken. If you wish to alter the defaults please consult the documentation for the System Management Hub to understand their meanings and implications. The screen below shows one of the many you will see for the System Management Hub installation:
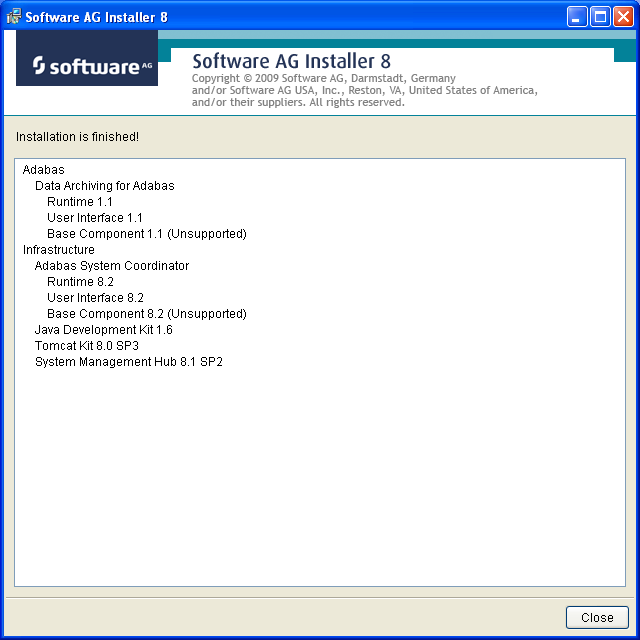
Once the installation of all the products is completed you will see the following confirmation screen:
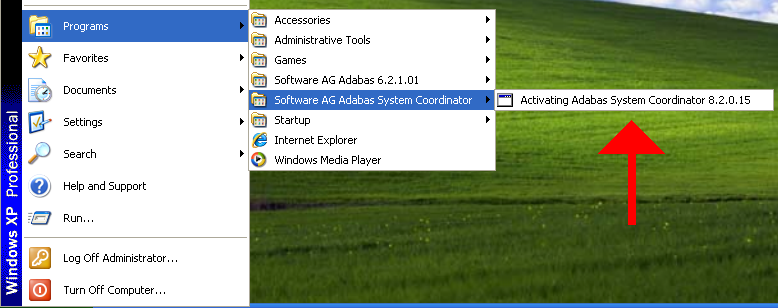
At this point the primary install steps have been completed. You must now Activate the installation. Click Close (above). Then go to the Windows Start menus. You will see the Installer has created a start menu item called Software AG Adabas System Coordinator and in it you will see Activating Adabas System Coordinator as shown with the red arrow (below).
Note:
Windows 7, Server 2008 and Vista users must right click on the start
menu item and choose "Run as Administrator":
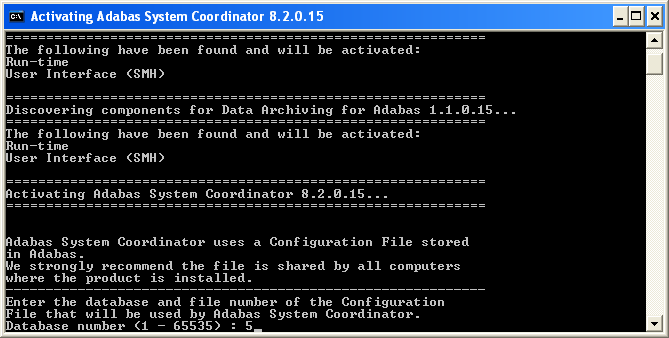
The activation step results in a Windows command screen. You must identify the database where the configuration file is already installed (during an installation on another computer) or where you wish to establish the file. In the example (below) we choose database number 5:
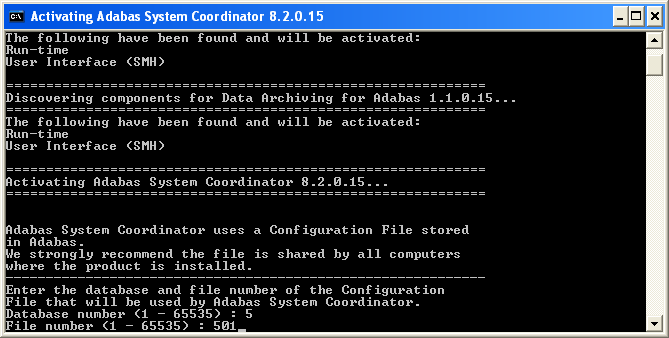
Identify the configuration file number. In the example (below) we choose file 501:
Having identified the configuration file the activation needs to understand whether the file is to be:
Shared
Software AG strongly recommends one configuration file is shared by all computers where the software is to be installed. By doing this the vast majority of complex network configuration is automated. By identifying the file is to be shared you are indicating it has already been created from a previous installation of this software on another computer.
Created
If this is the first (or only) computer where the software is to be installed then you must establish the file as new. This file may then be shared by installations on other computers (as recommended by Software AG), or similarly…
Replaced
You may be re-establishing the software and the configuration file on this computer in which case you wish to replace a configuration file that previously existed.
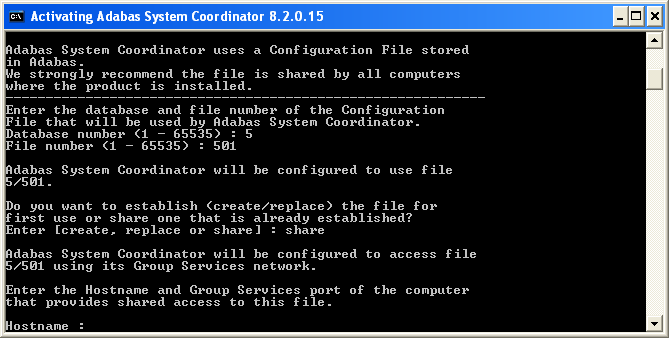
In the example (below) we choose to create the file for the first time (choosing replace would do the same thing):

At this point the activation will continue and the command window will disappear. When the activation is completed you can go to start using the software below. But if you chose to share a configuration file that already exists (above) then you will be further prompted to identify the home of the configuration file as follows:
![]() to use the software
to use the software
Go to your browser and use http://localhost:49981/smh (assuming defaults have been used for SMH) or use you normal entry to SMH.
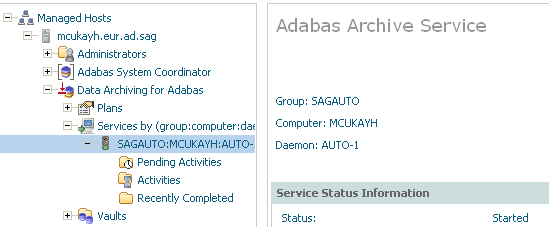
Select the main node.
Within the tree you should select the node. You should see the archive service for the runtime in the computer you have just installed. This should show a green traffic light which indicates that the service is active.
The installation is now complete. You can begin using Data Archiving for Adabas. See the section Getting Started for further information.