The Natural Business Services Visual Studio add-in is available for Visual Studio provides the ability to:
Access to the Business Service Explorer (see Use the Business Service Explorer)
Generate Web services to access Natural business services (see Creating a Web Service)
Generate client proxy classes to access Natural business services (see Creating a Client Proxy Class)
Create specific .NET project types for Web services and web applications
View all required files and edit them easily
Create new Web service roots without configuring IIS manually
Use the ASP.NET development server instead of IIS (see Use the ASP.NET Development Server)
The Natural Business Services Visual Studio add-in is installed by default during the installation of Natural Business Services. If you did not install the add-in at that time, you can re-run the setup program, select Custom installation, select the add-in, and install the component now.
Note:
For information on installing the Natural Business
Services Visual Studio add-in, see
Natural Business Services
Installation on Windows.
Tip:
If the Natural Business Services plug-in is
installed, the plug-in name is displayed on the splash screen when starting
Visual Studio.
![]() To verify that the Visual Studio add-in is installed:
To verify that the Visual Studio add-in is installed:
Start Visual Studio.
For information, see the Visual Studio documentation.
Select on the menu.
The About Microsoft Visual Studio window is displayed. For example:
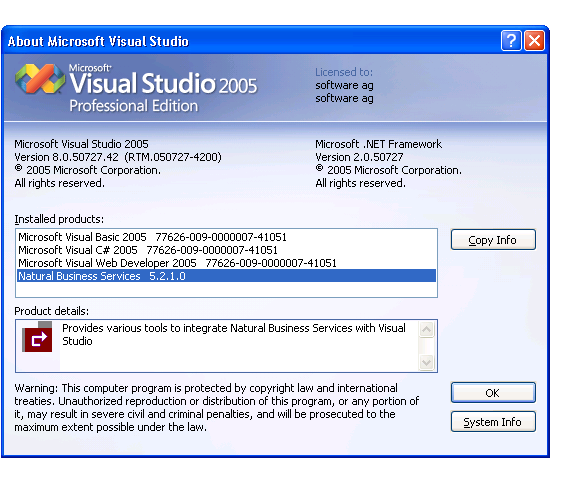
Ensure that Natural Business Services is listed in this window.
Product details provides information about the add-in.
Select to close the window.
Open the menu.
The following options are available:
Business Service Explorer
Use this option to display the Business Service Explorer (see Use the Business Service Explorer)
Configuration
Use this option to display the Configuration Utility panel, which you can use to define connections to a remote repository (see Configure Connections)
Upgrade existing Web service
Use this option to upgrade a Web service that was created using a previous version of Natural Business Services (see Upgrade an Existing Web Service)
After installing the Visual Studio add-in, three key areas require configuration settings:
IIS (Internet Information Server) on the Web services box.
This configuration is done automatically during installation of the runtime component.
Configuration utility on the client.
The Configuration utility provides the dispatcher connectivity to the server. If Natural Business Services is currently installed, this configuration is done.
Configuration settings and Web.config file on the client.
This configuration sets up the runtime component for your generated Web services (for information, see the following section).
This section describes how to configure the client component. The following topics are covered:
During development, the Natural code (subprograms) may be located in a different Natural environment than the runtime (production) code. The location of the Natural code used for development purposes is determined by the configuration settings.
This section describes how to specify the configuration settings for the development environment. This environment is used for generation activities, such as generating Web services.
![]() To specify the configuration settings for the development
environment:
To specify the configuration settings for the development
environment:
Select on the menu.
The Configuration utility is displayed. For a description of this utility, see Configure Connections.
Define the configuration settings for your development environment.
Select to save the configuration settings.
Web services require a Natural runtime environment on the backend. This environment handles functions such as EntireX Communicator connections, security, and servers (attach managers and connection IDs). The connection ID used for the runtime environment for Web services is set in the Web.config file.
![]() To specify the runtime configuration settings for the client:
To specify the runtime configuration settings for the client:
Select on the menu.
The Configuration utility is displayed. For a description of this utility, see Configure Connections.
Define the configuration settings for your runtime environment.
Select to save the configuration settings.
Open the global Web.config file.
This file is located in the Web services root directory (NBS/WebServices) and is listed in the Solution Explorer when your project is active.
| Warning: Some settings in the Web.config file are required by the Web Service wizard and should not be modified. For example, configSections contains the IIS (Internet Information Server) settings that associate the .sws files to the Web Services Engine (WSE). |
Scroll to the ConnectionID setting in the NBS node.
Define the connection ID for your runtime environment.
Save the Web.config file.
For more information on modifying the settings in the Web.config file, see Modify Web.config Files.