This document covers the following topics:
The EntireX Workbench supports two methods of modifying the configuration of XML/SOAP RPC Server:
deploy an XMM to a specified XML/SOAP RPC Server directly
interact with XML/SOAP RPC Server to perform configuration changes
The changes are activated immediately without restarting the XML/SOAP RPC Server.
Notes:
entirex.server.allowdevelopment in the XML/SOAP
RPC Server's properties file (default name:
entirex.xmlrpcserver.properties) to
"true" (default) enables deployment and
dynamic configuration; setting this property to
"false" disables deployment and dynamic
configuration.
MAX-MESSAGE-LENGTH in the attribute file.
 To deploy an XMM file to XML/SOAP RPC Server
Select an XMM file.
From the context menu, choose to display the following screen:
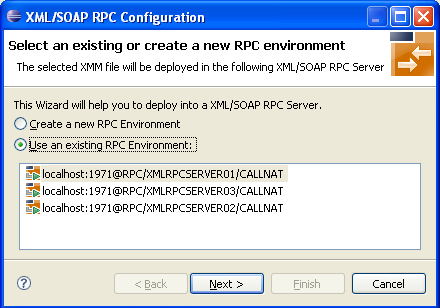
Create a new RPC environment for Broker ID and server address or select an XML/SOAP RPC Server from the list.
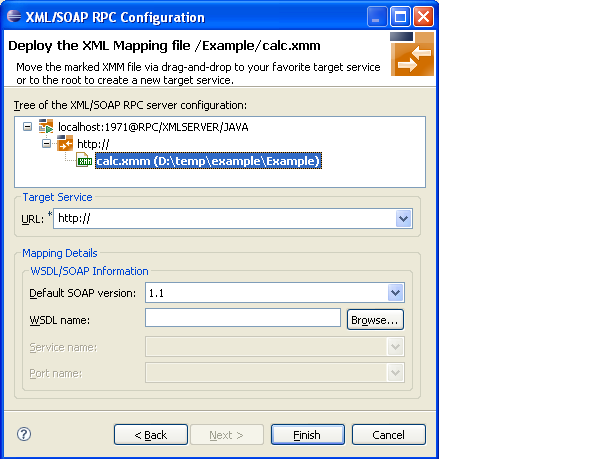
Complete the configuration by adding URL and, optionally, the WSDL file. If a WSDL file with same name exists in directory, the field is filled by default. Choose .
To undeploy an XMM file to XML/SOAP RPC Server
Select an XMM file.
From the context menu, choose to display the following screen:
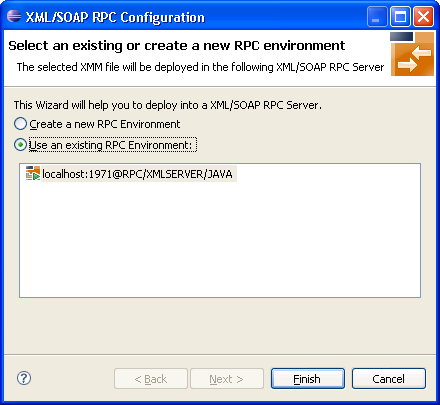
Create a new RPC environment for broker ID and server address, or select an RPC server from the list.
Choose .
To configure an XML/SOAP RPC Server dynamically
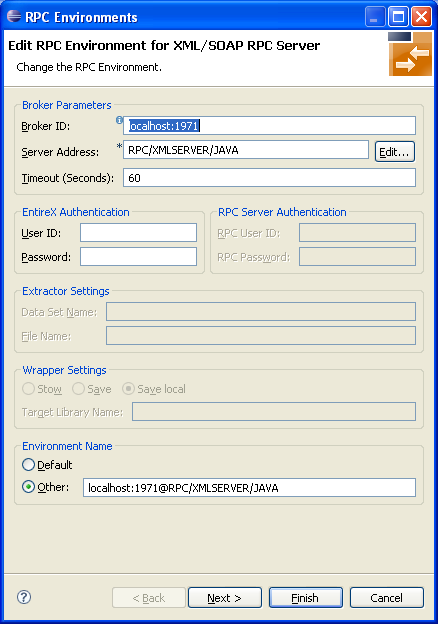
From the menu, choose to display a screen similar to the one below:
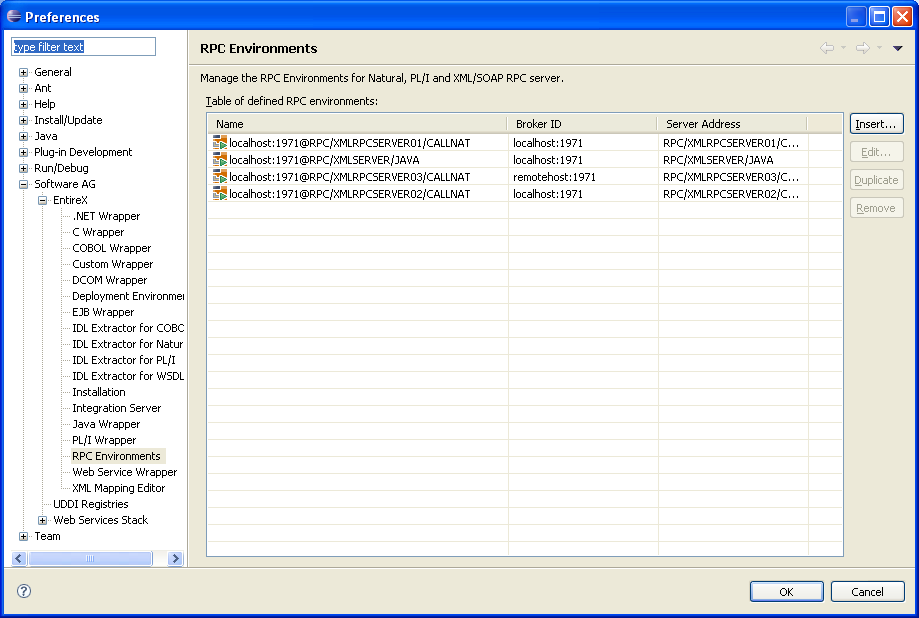
Select an XML/SOAP RPC Server environment or create a new one.
Choose to view or manage the configuration of Web services.

The second wizard page allows you to add, modify and remove service addresses and their configuration as well as add, modify and remove XMM file in the selected configuration. The graphical user interface supports drag-and-drop operations.