The information in this section applies when you create your layouts in the development workplace and want to use Eclipse as your development environment for Java.
The following topics are covered below:
Application Designer has an application project concept in which each project is kept in its own directory.
When you create a project with Application Designer's Project Manager, a new directory is created in your web application directory. For example, when using the standard Windows installation, the root directory of the project is <installdir>/tomcat/webapps/cis/<yourproject>.
For further information, see Project Manager in the Development Workplace documentation.
You must have a source directory into which the adapter classes for your project are written. It is recommended that the name of this source directory is src. For example, create the directory <installdir>/tomcat/webapps/cis/<yourproject>/src in order to keep the sources. See also Preferences in the Development Workplace documentation.
At design time, Application Designer expects the classes to be located in the application project's /appclasses/classes directory.
This section describes the simple way of creating a Java project for Application Designer. If you are an experienced Eclipse user, you can also store the Java project in a different directory and then link the source files from any directory.
![]() To create a Java project for an Application Designer project
To create a Java project for an Application Designer project
From the menu of Eclipse, choose .
The following dialog box appears.
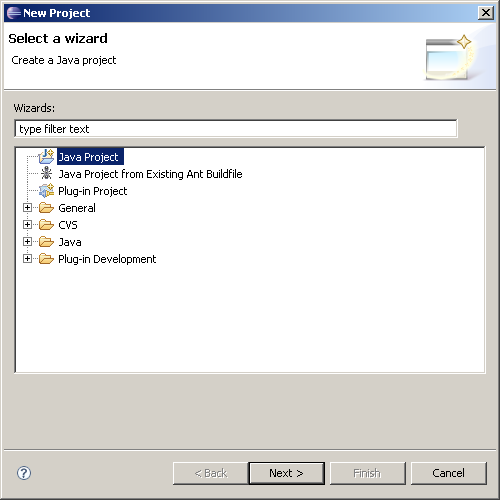
In the resulting dialog box, select Java Project and choose the button.
The following dialog box appears.
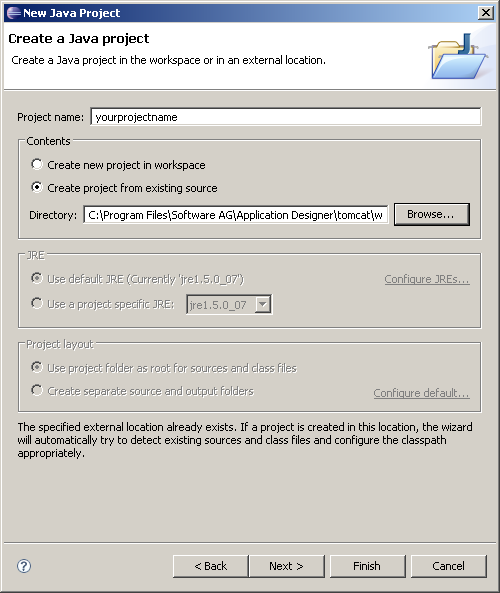
Specify a name for your Java project name.
If you want to work with existing Application Designer projects (which you have created in the development workspace), it is recommended that the Java project name and the Application Designer project name are the same.
Place the root of the project inside the project directory that was created by Application Designer. Therefore, select the option button Create project from existing source and specify the corrsponding directory.
Choose the button.
The resulting page is used to define the Java build settings for the Eclipse project.
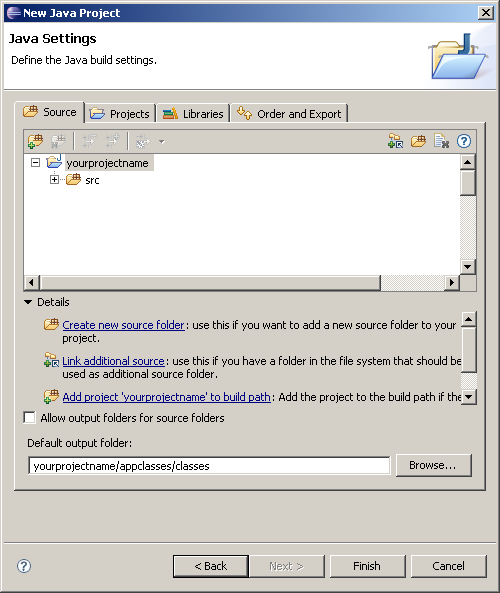
Make sure that Eclipse uses the following directories of your Application Designer project:
Your source directory (for example, the directory with the recommended name src).
The directory containing the compiled classes of your project. Use the button to specify appclasses/classes as the default output folder.
Go to the Libraries page.
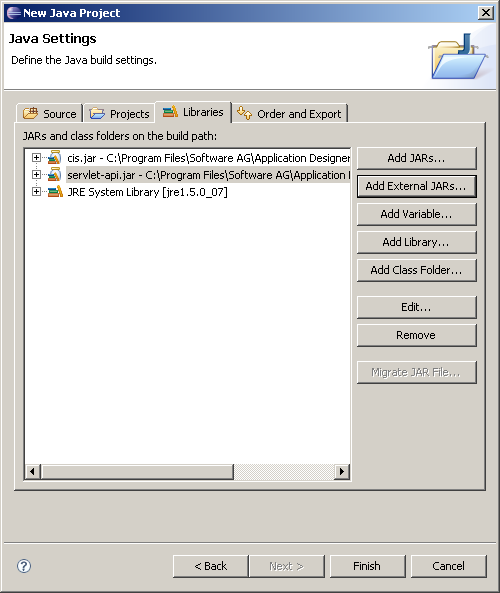
Use the button to add all libraries which are required by your project. You must add at least the following libraries:
cis.jar
This library is located inside your Application Designer installation in the
directory
<installdir>/tomcat/webapps/cis/WEB-INF/lib/.
servlet-api.jar
This library is located in the directory
<installdir>/tomcat/common/lib.
Choose the button.
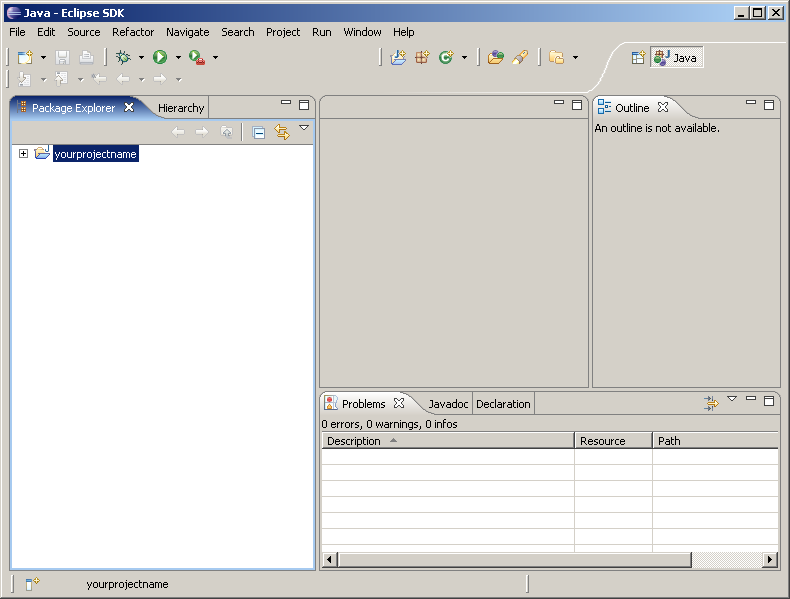
Your project is set up.