Complete the following procedure to access test data using InfoNaut – The CONNX Query Tool.
Click the Start
button, and then point to All Programs.
Point to CONNX Driver and
then click InfoNaut - The CONNX Query
Tool. The InfoNaut window appears.
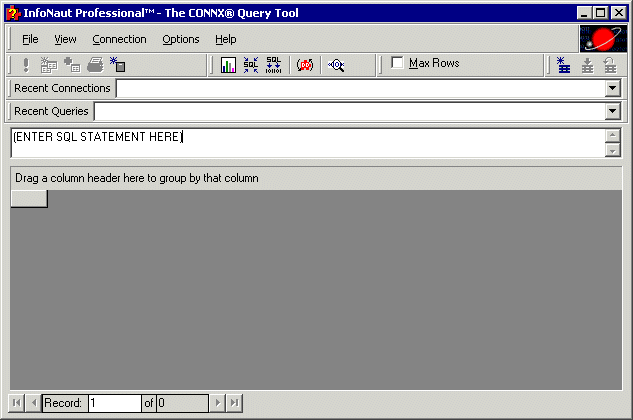
Select Connections on the menu bar, and then click Add New Connection. The Select Data Source window appears. Click the Machine Data Source tab.
Select CONNXxSAMPLES32, and then click the OK button.
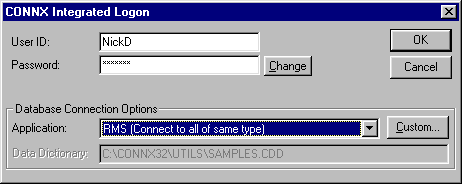
The CONNX Integrated Logon
window appears. Type your server user name and password and then enter
an installed CONNX application, for example, NickD,
Password, and RMS.
Click the OK button.
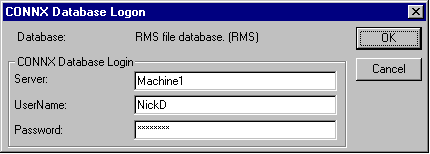
The CONNX Integrated Security window appears. Click the Yes button to add this user to the Samples CDD.
The CONNX Database Logon
window appears, listing the selected database. Type the name of your
data server, and then click the OK
button.
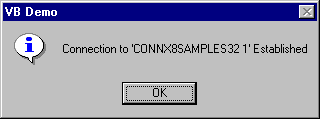
The InfoNaut Connection Established information box appears. Click the OK button.
TROUBLESHOOTING
The message "Unable to open connection to server" indicates one
of the following:
The user name or password you used is not valid.
Verify the correct user name and password and try again.
The data server was too busy.
Wait a few seconds and try again.
The network is down and connection with the data server is not possible.
Check with your network administrator and try again when network is corrected.
You did not select the correct data source name from the DSN list.
Verify the correct data source name and try again.
The InfoNaut
dialog box appears. Click the OK
button.
InfoNaut window appears.
Type the command select * from equipmnt_nnn
replacing nnn with the database
connection you are testing: equipmnt_rms,
equipmnt_rdb, equipmnt_dbms, or equipmnt_dataflex,
and then click the Execute
Query button.
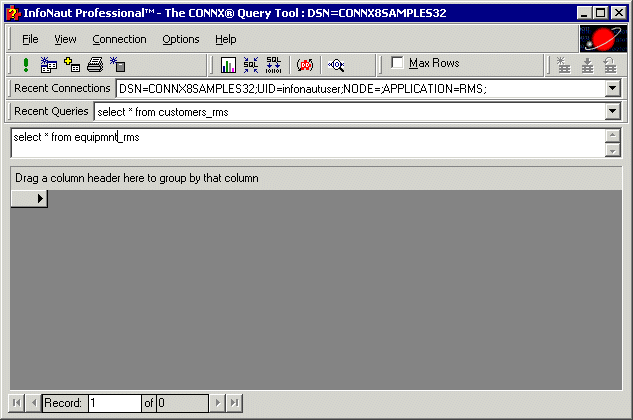
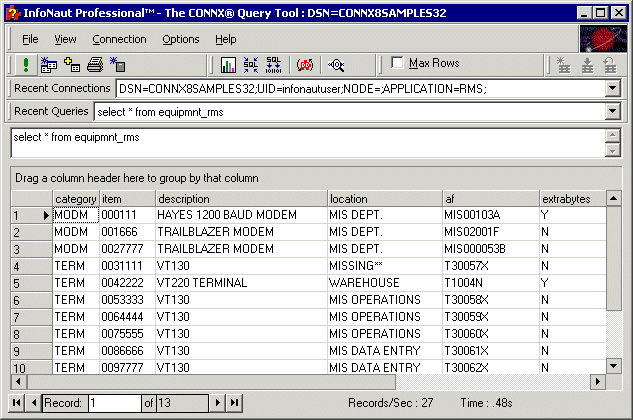
A list of equipment appears
as the query result. Verify that your query results are similar to
what is shown below.
To test another database, return to the second step in this procedure.
When finished testing all applicable databases, click the Disconnect button for each connection, then select File on the menu bar, and click Exit.