
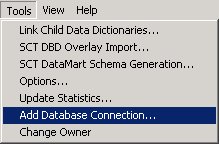
Select Add Database Connection on the Tools menu in the CONNX Data Dictionary Manager window.
The Enter the logical name of the new database dialog box appears.
Type a name for the database in the Database Name text box.
Select C-ISAM, DISAM, or Micro Focus as the type of database to create in the Database Type text box.
If the database you are importing from is located on the same Windows machine that you are importing to, enter "localhost" in the Server text box. For all other instances, enter the TCP/IP address or server name in the Server text box. The CONNX Listener Task attempts to access the given server. If the server is unavailable or cannot be located, the following message appears: "The CONNX Listener process (CNXRUN##_MAIN) is not running on the system."
The CONNX Database Logon dialog box appears with the server name and TCPIP port number entered as defaults. For Windows systems, enter "localhost"
as the server name.
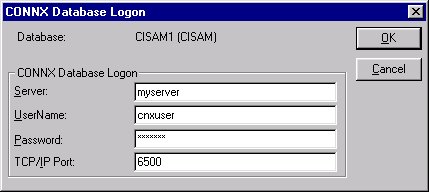
Type a C-ISAM, DISAM, or Micro Focus user name in the User Name text box.
Type a C-ISAM, DISAM, or Micro Focus password in the Password text box.
Click the OK button.
The new database is added to the list of available databases in the CONNX Data Dictionary Manager window. Each C-ISAM, DISAM, or Micro Focus database listed in the CONNX Data Dictionary Manager window can be associated with a different server or, for Windows, a local host machine.