
This section describes importing IMS files using the IBM® IMS™ Library Integrity Utilities for z/OS. If these utilities are not present on your system, you will need to import using an Index Text Specification file. Please see the section Importing IMS files using Index Text Specification file for more information.
Click the Import button in the CONNX Data Dictionary Manager window. The Import CDD dialog box appears.
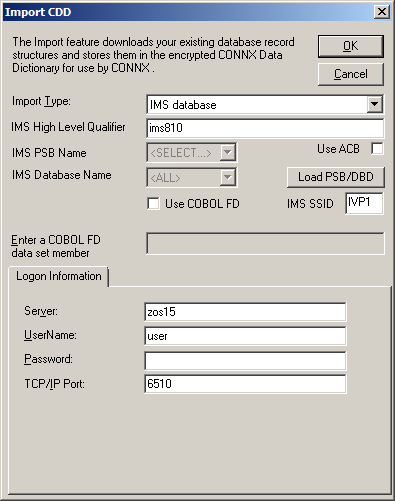
Select IMS database in the Import Type list box.
Type the High Level Qualifier (HLQ) for the IMS subsystem you want in the IMS High Level Qualifier text box.
There are two different IMS sources for gathering CDD import metadata:
the ACBLIB data set
Click the Use ACB check box to use the ACBLIB data set for CDD import metadata.
the PSBLIB and DBDLIB data sets
Clear the Use ACB check box to use the PSBLIB and DBDLIB data sets for CDD import metadata.
Click the Load PSB/DBD button. If this is the first time you have imported a file from this HLQ, the Logon Information will be blank. A CONNX Database Logon window appears.
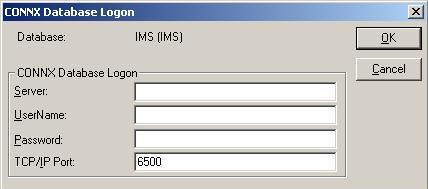
Enter the Server name in the Server text box, a TSO user name and its password in the User Name and Password text boxes, and the TCP/IP port number in TCP/IP Port. Click OK. The Logon information appears under the Logon Information tab.
The Load PSB/DBD button changes to the Reset PSB/DBD button.
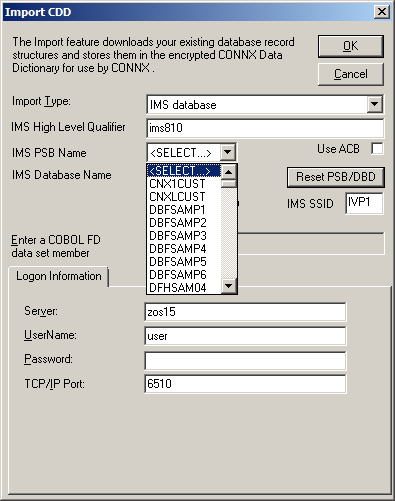
At this point, you can either select the PSB first and then the IMS database, or select the IMS database first and then select the PSB.
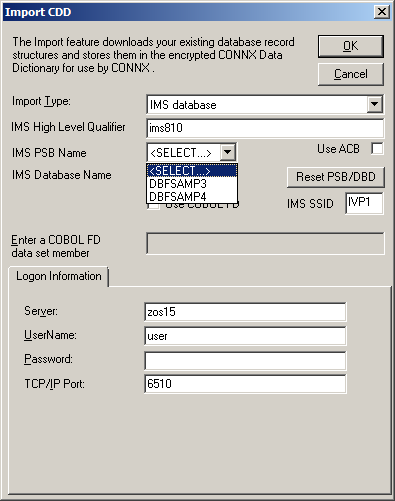
If you want to select the PSB first, select the PSB name from the IMS PSB Name drop-down entries.
Warning: You can not import a PSB with a processing option of L (load PSBs). If you try to, you will get the following error message:

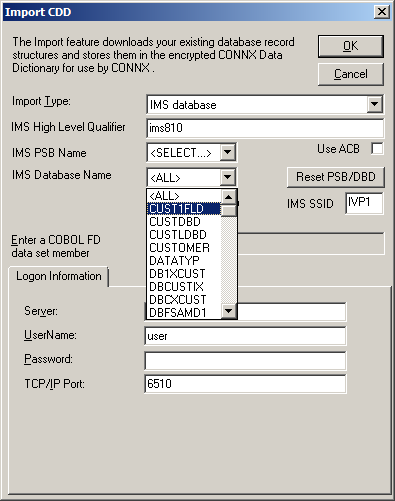
Select the IMS database(s) you want from the IMS Database Name drop-down box. The default value is <ALL>.
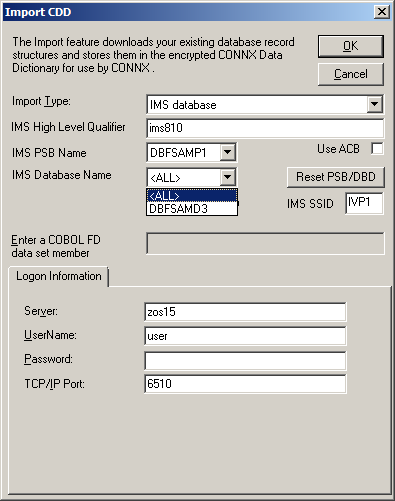
If you want to select the IMS database first, select the IMS database name (or <ALL>) from the IMS Database Name drop-down entries.
Once you have selected the IMS database you want, select the PSB name from the IMS PSB Name drop-down list box.
Warning: You can not import a PSB with a processing option of L (load PSBs). If you try to, you will get the following error message:
Enter the IMS subsystem ID in the IMS SSID text box and click OK. The CONNX Import Table Selection dialog box appears.
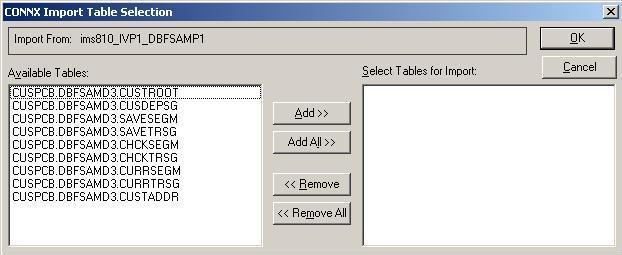
Select the tables (segments) you want to import from the Available Tables list. Click the Add>> button. The tables will move from the Available Tables list to the Select Tables for Import list. If you want all the tables, click the Add All>> button to move all of the Available Tables to Select Tables for Import.
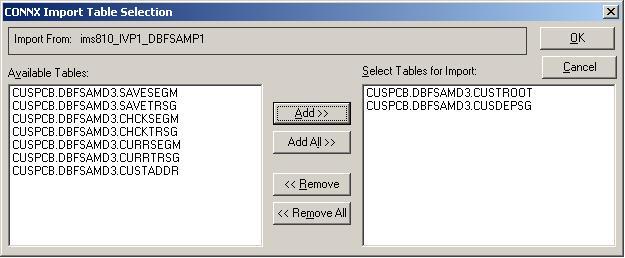
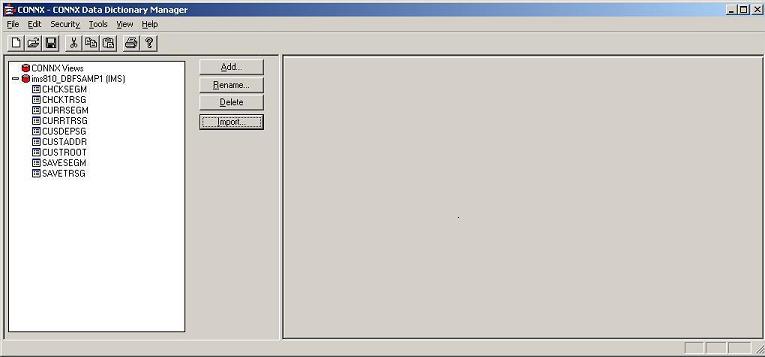
Click OK. The selected tables appear under the PSB name in the CONNX Data Dictionary Manager dialog box.
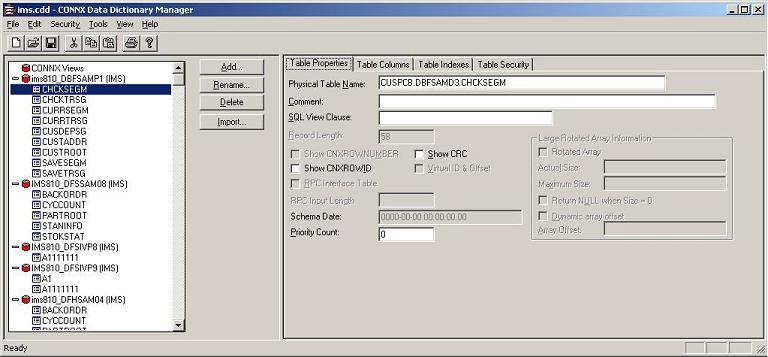
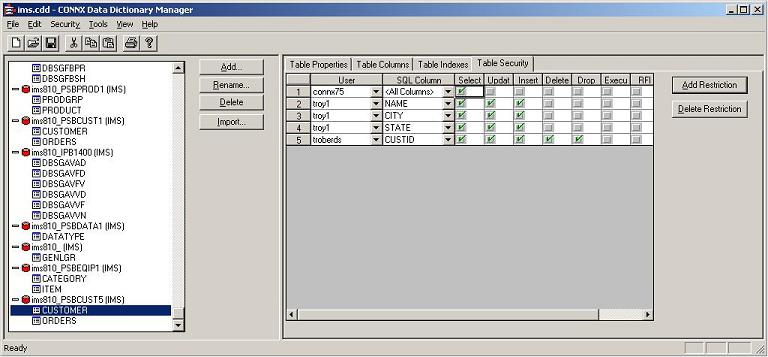
If you select one of the tables, the adjoining pane has tabbed table information.
You can edit some of the table properties under the Table Properties tab.
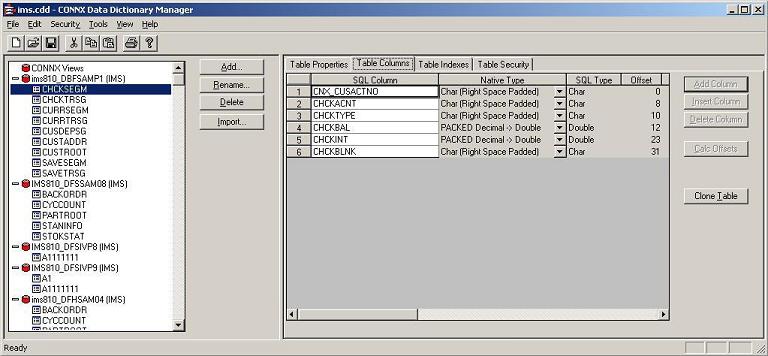
You can clone the table under the Table Columns tab.
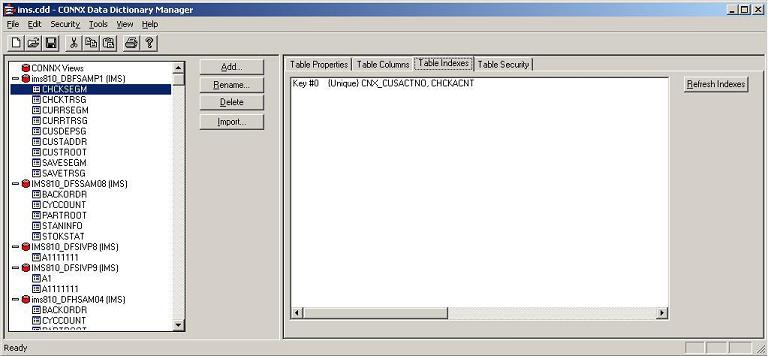
You can refresh the indexes under the Table Indexes tab.
You can update the table security restrictions under the Table Security tab.
Close the dialog box and click OK to save the changes.