
Typically, a CDD with replications will be created in a test or development environment. Once development and testing of the replications is done, the replications need to be rolled out to the production environment. This can be achieved by making a copy of the CDD and then modifying the server names and/or the database ID's in the CDD.
How to move a Event Replication Data Dictionary from a test to production environment.
1. As a good practice with any modifications, make a back up copy of the CONNX Data Dictionary that is going to modified.
2. The following example is going to have a CONNX Data Dictionary that is replicating tables from a test Adabas Nucleus to a test Oracle database. In order to transition the data dictionary from a test to production environment, the two environments must have identical table names and structures to what was in the test databases.
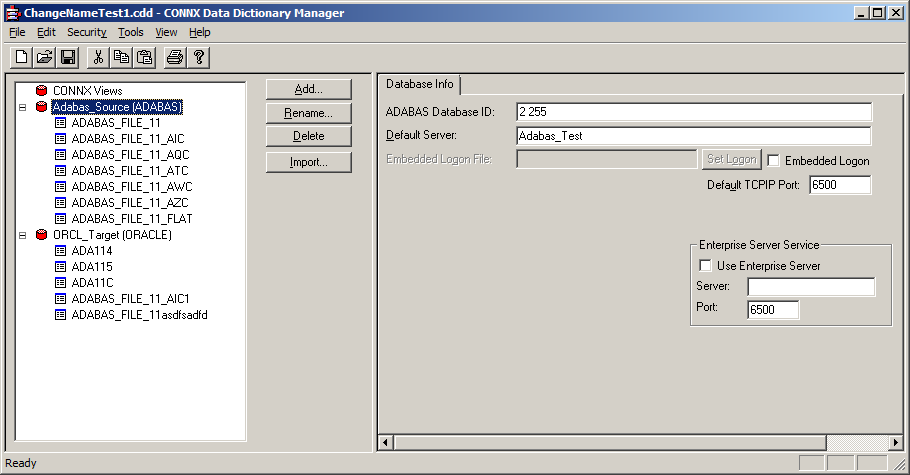
3. Close the Replication Administrator if open and then open the Data Dictionary in the Data Dictionary Manager. Select the Adabas Nucleus in the container list on the left side and it will show the Adabas Database ID:

4. In the field for ADABAS Database ID, change the id number from the test nucleus to the production nucleus. In this example, DBID 1 is our test nucleus and it is changed to 2 the production nucleus
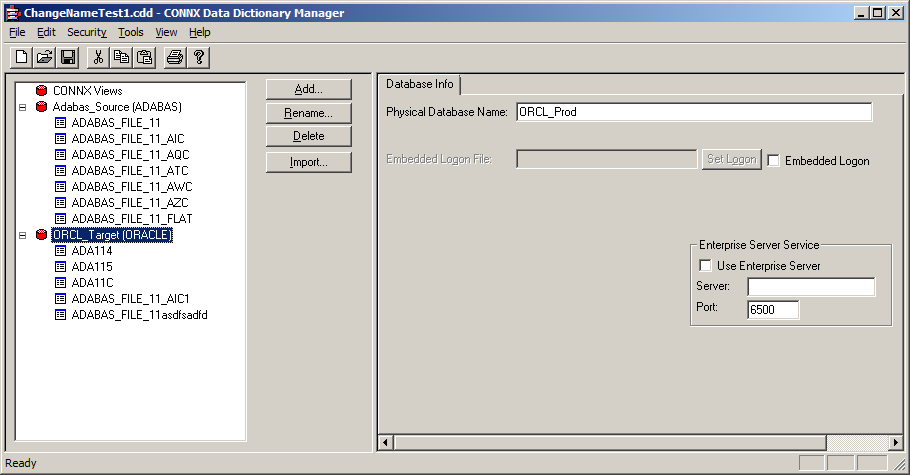
5. Next select the Oracle container in the list on the left and it will show the Physical Database Name of the Oracle server.

6. Change the Physical Database Name from the test server to the production server. In this example the test server is ORCL_Test and the production server is ORCL_Prod.
7. Next, for Oracle Servers the Database Account Management entries must also be changed. In the menu bar at the top of the CONNX Data Dictionary manager click "Security" -> "Database Account Management". That will bring up the Database Account Management window, using the User/Group dropdown list, select each of the accounts and then change the Server Name under the Oracle Database column. If necessary also change the UserID and Password to log into the new server.
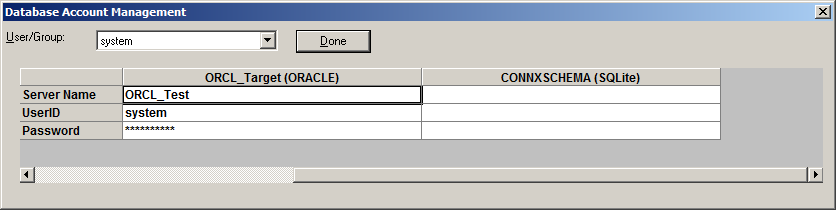
Once all of the entries in the User/Group dropdown have been changed to the new Oracle Server name, select the Done button.
8. Save the changes in the CONNX Data Dictionary Manger and close the data dictionary. Then open the Replication Administrator and the CONNX Data Dictionary that was just modified. The Replication Administrator will detect the changes to the servers and prompt the user if these changes were intentional. Select Yes to both change questions and the Replications will be updated to use the new servers specified.

9. Then select the menu item "Servers" -> "Config Servers" and now change the Replication Server to the production replication server.
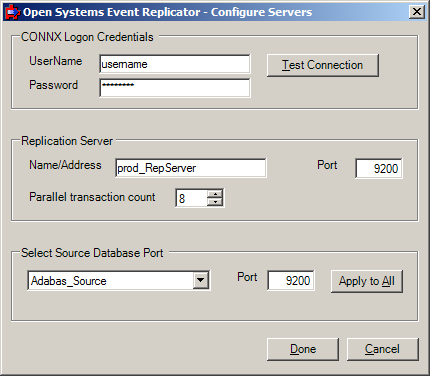
10. Select "Done" when finished and the Replications are ready to Deploy to the production environment.