
Click Start, point to All Programs, point to CONNX Driver and then click CONNX Data Dictionary. The CONNX Data Dictionary Manager appears.
Click the Import
button. The Import CDD dialog
box appears.
Select VSAM COBOL FD files from the Import Type list box.
In the Enter
a COBOL FD data set member text box, enter CONNX.STASK.COPYBOOK
(CUSTOMRQ).
By default CONNX will use FTP to import the copybook. To
import without FTP add the following configuration setting:
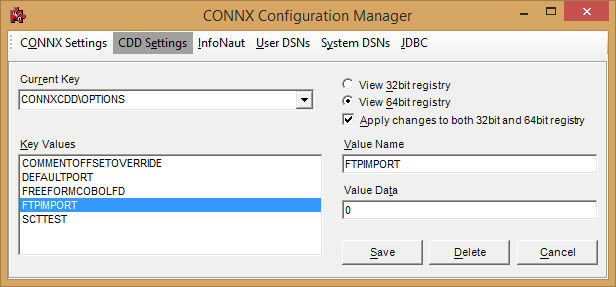
With FTPIMPORT set to zero, the copybook must reside on the PC where
the import is being performed (in ascii). Specify the path to the
copybook.
Wildcard imports are not permitted in this mode.
In the Server text box, enter the symbolic or dotted numeric TCP/IP address of the target host, and then enter your TSO user name and password. Enter a TCP/IP port number.
Select a database container in the destination database list box. For more information, see "Add a Database Connection" in the CONNX User Reference Guide, available online, on your CONNX CD-ROM, or within the CONNX product.
Click the OK button.
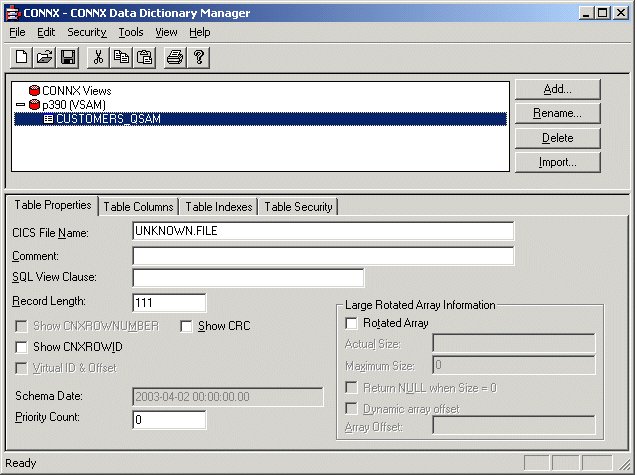
The CUSTOMERS_QSAM table
name and field attributes are imported into the CONNX Data Dictionary
Manager. To display the Table Properties tab, click the CUSTOMERS_QSAM
table icon.

The Table Properties tab
appears, with the File Name
text box set to UNKNOWN.FILE.
For QSAM files, the file
layouts are maintained separately from the physical or logical file
name (fully-qualified JCL DSN or DDNAME, respectively). The CNXVSAM
JCL procedure defines standard DDNAMES for the CONNX sample QSAM files.
For the CONNX sample QSAM physical sequential CUSTOMER file, the DDNAME
is CNXCSTQ. Overtype UNKNOWN.FILE with CNXCSTQ:
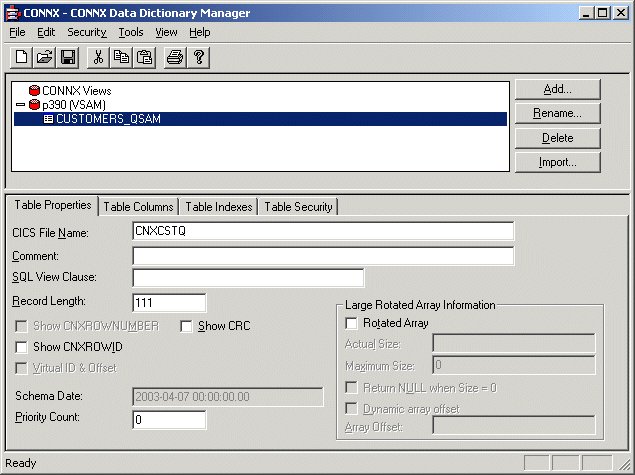
Note: CNXCSTQ is the default JCL DDNAME for the CONNX sample Customers QSAM physical sequential file.
Press <Tab>
to open the CONNX Logon dialog box.
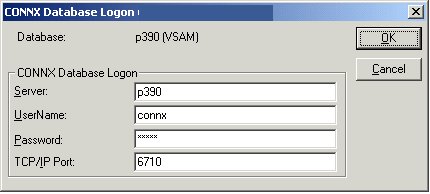
To complete the import, enter your TSO userid and password, and the correct TCP/IP port number, and click the OK button.
To import additional CONNX
sample QSAM physical sequential files, refer to member @INDEX of CONNX.STASK.COPYBOOK
for a cross-reference of VSAM / QSAM / PDS DDNames, and repeat steps
5 through 10.

After importing one or more CONNX sample QSAM physical sequential or partitioned data set files, you can save the information in a CONNX CDD file, define an ODBC data source which points to the new CDD file, and use the CONNX InfoNaut Query Tool to execute queries against the tables defined in the ODBC data source.
For more information on creating CONNX ODBC data sources and connecting to them with InfoNaut, refer to Testing a Database Connection.