
Adding and editing groups are both accomplished in the Group Properties dialog. To access the Group Properties dialog, go to the Groups Tab and click the Add Group button to add a new group, or click the edit button on the group to be edited.
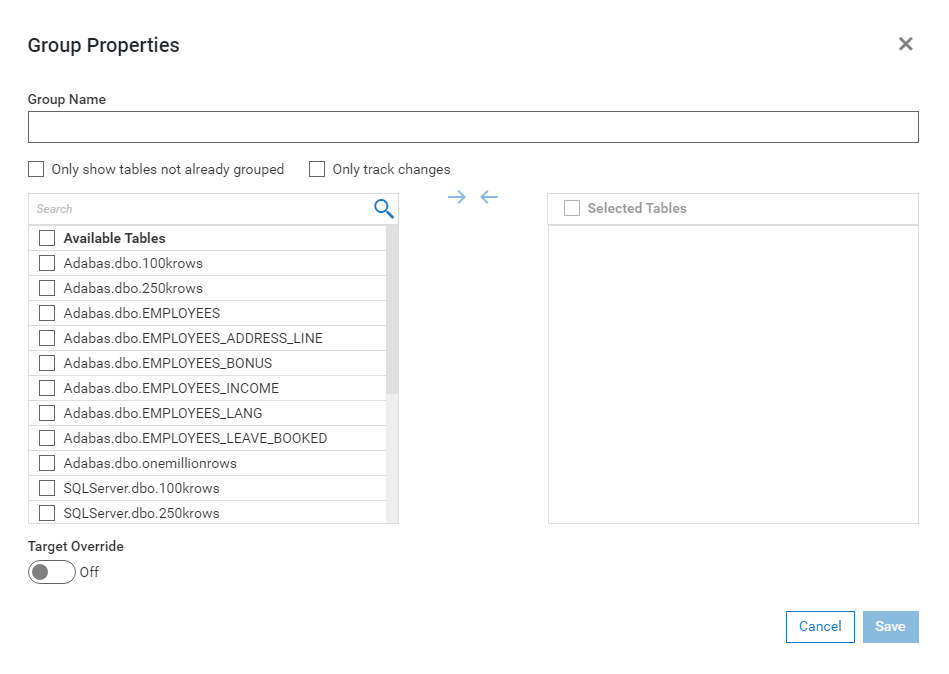
When Adding a new group, the Group Properties fields will be empty:
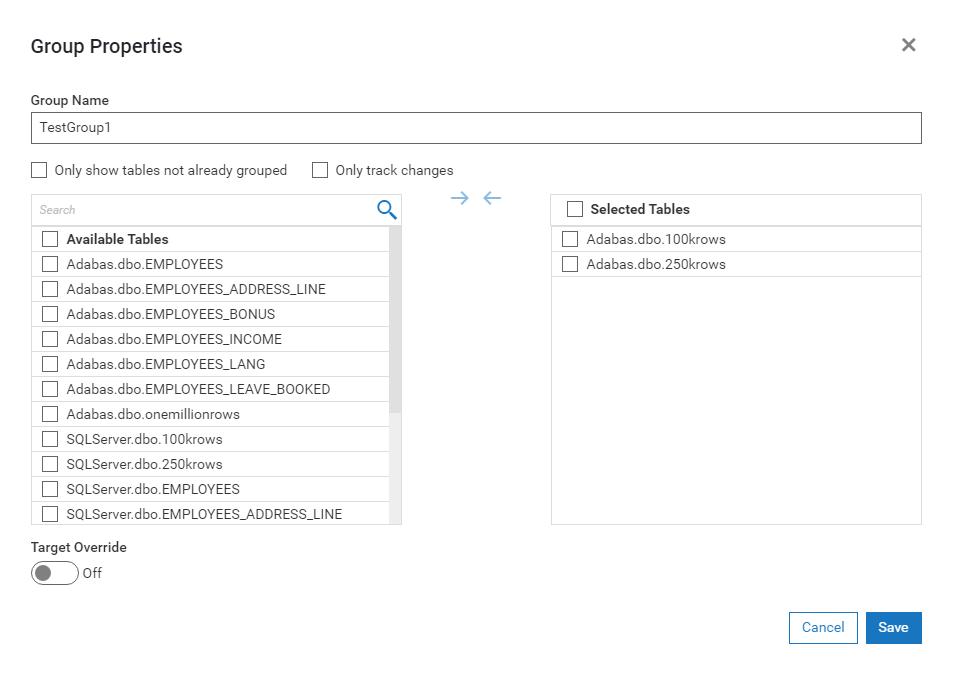
When Editing an existing group, the Group Properties fields will contain the current values for the group:
The Group Properties Dialog contains the following fields:
Group
Name
This is the name the group will be known as. Spaces and non printable
characters are not allowed as part of the name.
Only
show tables not already grouped checkbox
Click the Only show tables not already grouped check box to show ungrouped tables. Displaying and viewing ungrouped tables
may help to avoid accidentally
scheduling resynchronization
of identical tables or transformations.
Only
track changes checkbox
Checking this checkbox will filter the list of available tables to
only show transformations. This includes Change
Data Capture Transformations.
Note: When unchecked, CDC Transformations
will not be displayed in the Available Tables list.
Available
Tables listbox
This is the list of tables and transformations that are available to
be added to the group. There is a Search field at the top of
the list that will filter the list based on what is put in the field.
For example, entering "employees" in the search field
will filter the list to only show entries that contain the string
"employees".
Selected
Tables listbox
This is the list of tables and transformations that are in the group.
Right and Left Arrow buttons
These arrow buttons move items to and from the Available Tables listbox
and the Selected Tables listbox. To move an item, check the
checkbox next to the item and then click the arrow button for the
direction the item is to be moved. Items can also be moved by
dragging and dropping from one listbox to the other. Multiple
selections can be made by clicking individual checkboxes or by selecting
a range using the shift key.
Target
Override
Optionally, you may override the default target database by selecting
Target Override.
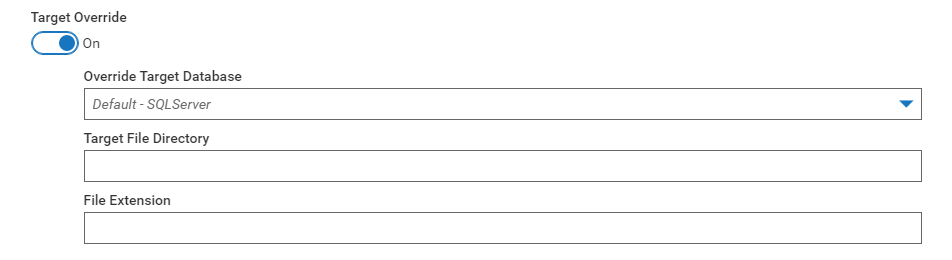
Selecting a new target from the Override Target Database dropdown.
Enter the target file name directory, if applicable. (This function
is only available for databases which use target file names.) To change
the file name extension, for example, from .dat
to .bak, enter the new file name extension
in the File Extension text
box