
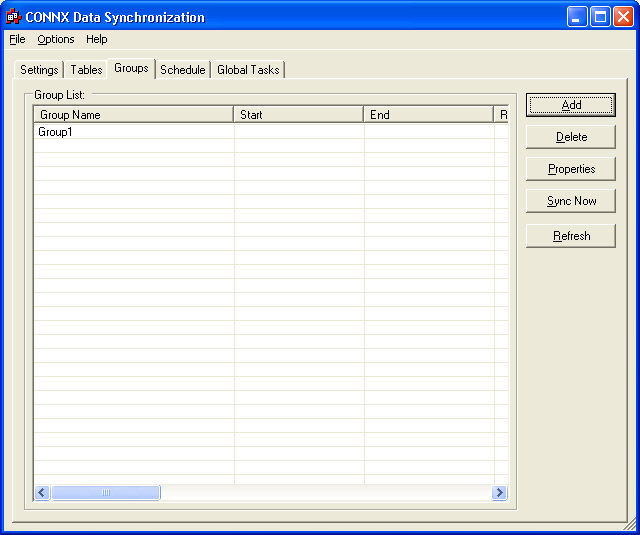
Select the Groups tab in the CONNX Data Synchronization tool window.
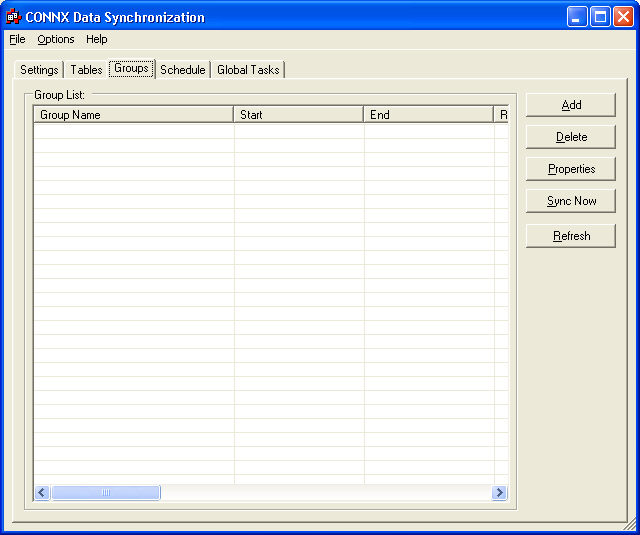
Click the Add button to create a new group.
The Group Properties dialog box appears.
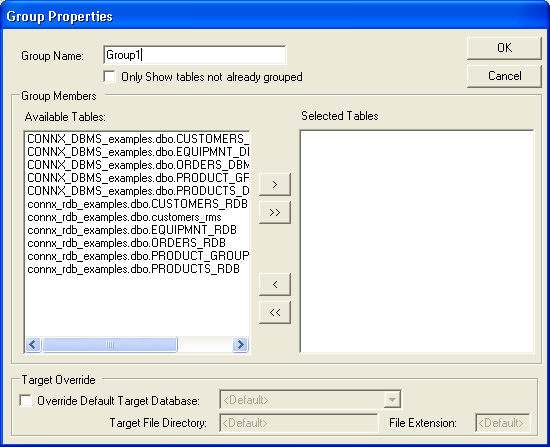
Click the Only show tables not already grouped check box to show ungrouped tables. Displaying and viewing ungrouped tables may help to avoid accidentally scheduling resynchronization of identical table(s). (Optional step.)
Optionally, you may override the default target database by clicking the Override Default Target Database check box and selecting a new target. Enter the target file name directory, if applicable. (This function is only available for VSAM and RMS databases, which use target file names.) To change the file name extension, for example, from .dat to .bak, enter the new file name extension in the File Extension text box.
Enter a name for the new group, and then select the tables to be included in the group.
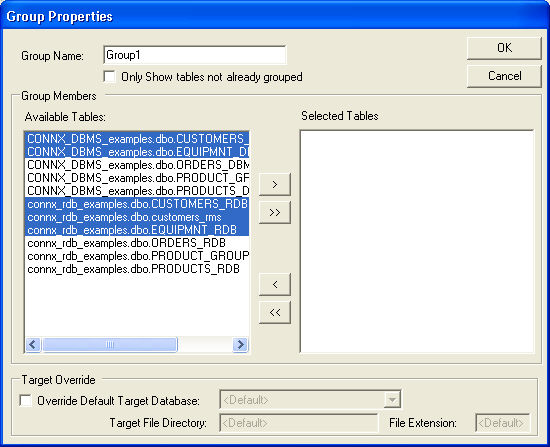
Click the single arrow button that points to the right to move the selected tables.
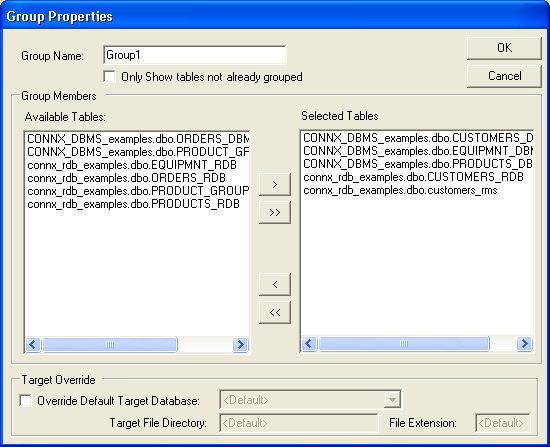
Click the OK button to create the group.
To change the properties of the group, to add or remove tables from the group, select a group and click the Properties button.
The Group Properties dialog box appears.
Select the desired changes, and then click the OK button.