The object of this task is to verify that ApplinX is able to connect to and activate a printer session. As this is only performed in order to confirm connectivity, the task describes the necessary steps performed using the ApplinX Designer. To deploy ApplinX using the printing options, refer to Deploying the Printlet.
 To test the Printlet Connectivity:
Open the application properties in ApplinX Designer, Application Properties>Printer tab, and select the Enable printer checkbox. By default, when creating a new application, the printer is enabled.
Right-click on the Session node and select New Printer Session Definition.
Enter a name for the session definitions.
Select the connectivity type:
Use application configuration: Use the configuration set in the Application Properties.
Online: Connect online to the host, and enter the name of the device.
Offline (using trace files): Connect to the session using a trace file. Browse and select the required trace file.
Click Next to display the General Session Properties.
When necessary fill in the session ID and password.
Determine whether you would like to create a trace file of the session.
Click . The Printer session definition will be added to the Sessions node of the relevant application.
Double-click on the Printer session definitions to test the connection to the host. A new window will come up, containing the ApplinX printlet (printer applet), displaying the printing configuration. The printer status should display "Ready". When a print job is sent to the defined device name, the Printer dialog box is displayed and it is possible to print the print job to the local printer.
When deploying the Web application, the Printlet will need to be configured for a number of users. Each user may require different Printlet behavior for printing jobs. These differences may be for example, using a different device name per user, or using different fonts and layout parameters. Parameters, such as the printer device name that changes according to the current user, must use dynamic code. The dynamic code must retrieve the information (that may be held, for example, in a database or XML file), per user.
Note:
The method in which printing jobs are executed may depend on settings
such as whether the job will be printed silently without invoking a print
dialog box first or whether the print dialog box will be displayed only the
first time you print in the current session. These settings are defined in
various parameters as detailed in the
Printlet API.
To Activate the printer session in the Web application (JSP):
Open the page run_printlet.jsp.
Set the parameters of the printer applet: application and device_name.
Open a browser and run the page run_printlet.jsp. The applet is displayed, the status is "Ready". When a print job is sent to the defined device name, the Printer dialog box is displayed and it is possible to print the print job to the local printer.
Note:
The button is only enabled in
Mainframe hosts.
To Activate the printer session in the Web application (.NET):
Open the page dotnet\web\cs\New Application\run_printlet.aspx.
Set the properties of the printer control (optionally in the designer): application, device_name.
Open a browser and run the page run_printlet.aspx. The applet is displayed, the status is "Ready". When a print job is sent to the defined device name, the Printer dialog box is displayed and it is possible to print the print job to the local printer.
Note:
The button is only enabled in
Mainframe hosts.
Launching the Printlet (run_printlet)
There are two options as to how to open the Printlet (run_printlet):
Launch the printlet in a new browser window: Add a button to the master page (template.jsp/template.master.cs). Place the button where you desire. Set the button to open the run_printlet.jsp/aspx in a new window.
For example: <input type="button" value="Print"
onclick="window.open('run_printlet.jsp');" />
Or:
Load the printer as an internal frame of your web application (the printlet will always stay active):
In the Framework Configuration Editor, in the Emulation node check
the Load printer applet within internal frame checkbox
(refer to Configuring your Web
Application) OR In the web application root directory, open the
config/gx_clientConfig.xml file and set the
LoadPrinter value to "true".
To show the frame of the printer use the
gx_showPrinter()
function.
To hide the frame of the printer use the
gx_hidePrinter() function. By default
run_printlet.jsp/aspx has this function mapped to a button.
Example: <input type="button" value="Show Printer"
onclick="gx_showPrinter();" />
This task will cover the basic steps required in order to achieve a first test print.
To start working with the ApplinX Printer:
Open the application properties in ApplinX Designer, Application Configuration>Printer tab, and select the Enable printer checkbox.
Click . A Printer session node will be added to the application node in the Designer.
Testing the Printer in the ApplinX Designer:
Click on the Printer session node to test the connection to the host. The Connection dialog box is displayed. Click Connect to test the connection.
The right pane of the Designer displays the printing configuration. The Session status should display "Connected to server". When a print job is sent to the defined device name, the Printer dialog box is displayed and it is possible to print the print job to the local printer.
Testing the Printer Applet (Printlet) in the Web application:
In the file run_printlet.jsp/aspx set the application parameter.
Open a browser and run the page run_printlet.jsp. The applet is displayed, the status is "Connected". When a print job is sent to the defined device name, the Printer dialog box is displayed and it is possible to print the print job to the local printer.
Note:
The button is only enabled in
Mainframe hosts.
There are a number of parameters which enable defining the printing job output to suit the specific customer requirements (Refer to the Printlet API).
To configure and test printing jobs:
Connect the Printlet to the host (refer to Connecting the Printlet to the Host).
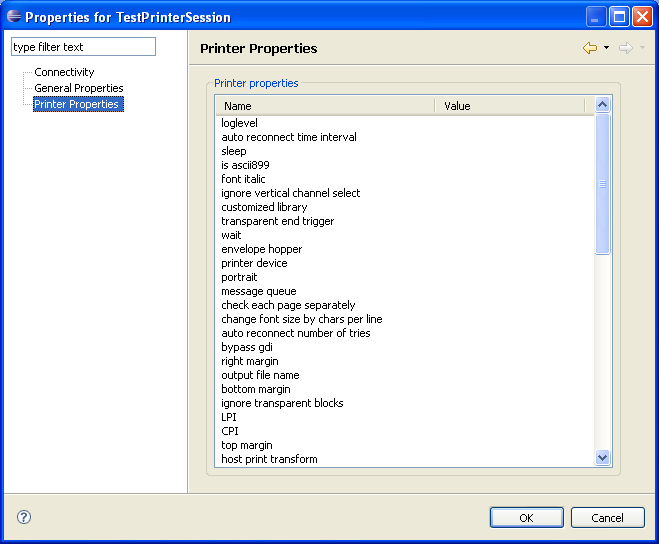
In the Printer Session Properties, set the Printlet parameters according to the parameters of the emulation you are currently using (for example, the number of lines to be printed per page, CPI, LPI etc.).
Print a variety of typical jobs, such as 132 characters, landscape, portrait, a number of pages, barcode printing etc.
Change the printer parameters to fine-tune the printing jobs and provide satisfactory results.
To trace a printer session:
To define that every printer session will be traced, open the application properties in ApplinX Designer, .
To define the trace file for a specific printer session definition, refer to Getting Started with ApplinX Printer.
Select the Trace>File name checkbox, and enter a file name
Select the Session ID checkbox. This option will create a separate trace file for each user.
Select the Time checkbox, to create a separate trace file for each session created by a different user.