Creating The Initial Context
When you select a realm node from the namespace tree, one of the tabs on the right hand side of the Enterprise Manager will be labelled 'JNDI'. Selecting this tab will display the default JNDI panel for a realm. At this point there will be nothing drawn within the JNDI NameSpace tree.
The image below shows the default JNDI panel:
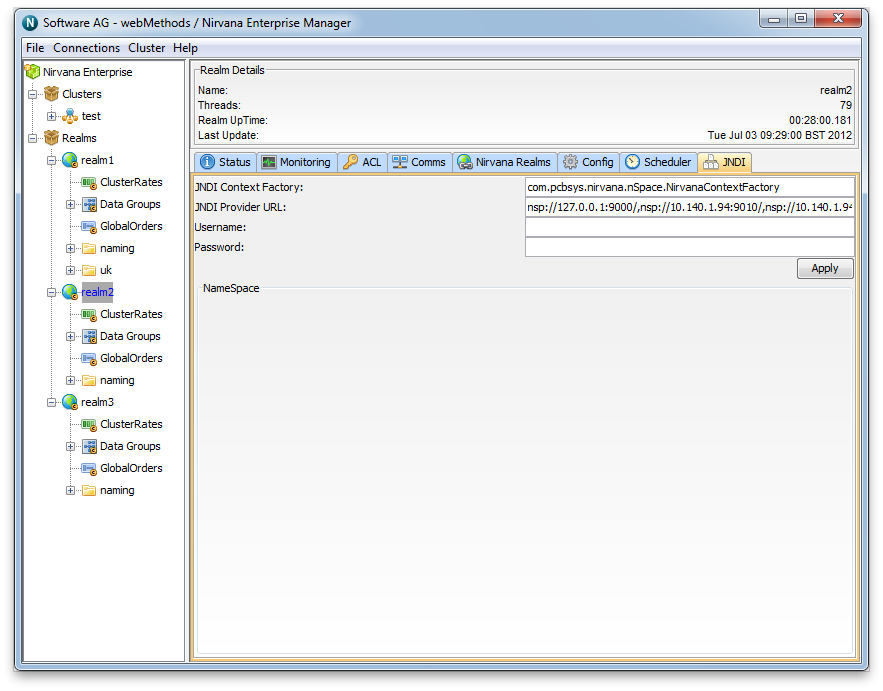
The JNDI panel at this point does not contain any JNDI context information (as can be seen by the empty Namespace section of the panel).
By default, the 2 text fields labelled JNDI Context Factory and JNDI Provider URL will already contain information:

The JNDI Context Factory will default to
com.pcbsys.nirvana.nSpace.NirvanaContextFactory, which is the class that provides the Universal Messaging context factory functionality for JNDI.
The JNDI provider URL is the RNAME used when creating each JNDI connection reference. Note that for a realm server that is part of a cluster , the Provider URL for JNDI will be a comma separated list of the RNAMEs for each realm server that is a member of the cluster. This ensures that not only will the JNDI context be the same within all cluster realms, but also that any JMS client using this Universal Messaging Context Factory will be able to use any of the realm servers specified in the Provider URL.
To actually create the Initial Context, you must click the Apply button. Under the covers, this will create the (potentially clustered) Universal Messaging context channel used to store all JNDI references. This channel is called /naming/defaultContext.
Important: The administrative user that first creates this JNDI provider will, effectively, be the creator of the underlying /naming/defaultContext channel, and will by default have full permissions on that channel. Other administrative users, however, will not necessarily have the same permissions on this channel. As a result, other administrators who also wish to manage this JNDI provider should first ensure that they have at least publish permission on the /naming/defaultContext channel.
Removing/destroying the Initial Context is as simple as deleting the /naming/defaultContext channel. This will of course result in the loss of all existing JNDI references (so make sure you don't accidentally delete this channel). If the /naming/defaultContext no longer exists, then clicking Apply on this screen will always recreate it (though it will not contain any of its previous JNDI entries/references).