An authorization rule is used to perform an access check for a particular
Broker instance against an (authenticated) user ID and list of rules. Checks are
performed on a UNIX or Windows Broker kernel, using standard EntireX Security on
these platforms. Authorization rules can be stored within a repository. When an
authorization call occurs, the security exit performs checks based on the values
of Broker attributes
AUTHORIZATIONDEFAULT and
AUTHORIZATIONRULE.
In the System Management Hub, the Authorization Rules agent is found directly under EntireX, which itself is found under a particular managed host where EntireX version 6.1 or above has been installed.
This document covers the following topics:
Before you log in to the System Management Hub for the first time, see Initial Login Considerations. See also System Management Hub for EntireX | Configuring Authorization Rules.
 To add a new authorization rule
Click on the "+" next to Authorization Rules in the tree view of the System Management Hub window. If no rule has been defined, an empty rule, "DefaultRule", is created. You can modify this default rule, or create a new rule and delete the default.
Select Authorization Rules in the tree view. From the context menu, choose Add Authorization Rule. A screen similar to the one below appears.
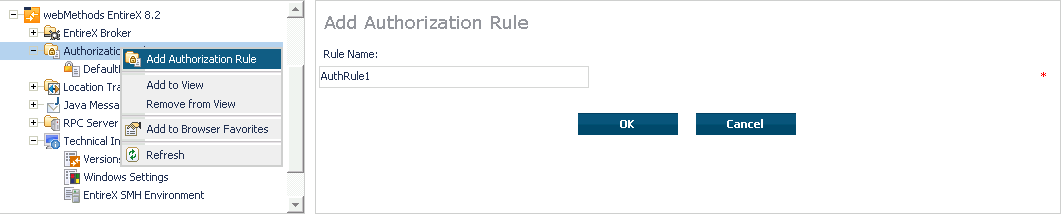
Enter the name of the rule in the field provided. This field
corresponds to Broker attribute AUTHORIZATIONRULE.
Choose .
This new rule will appear in the tree view in the left frame of the System Management Hub window. If necessary, click the "+" next to Authorization Rules in the tree view. You can now add a service to the rule created.
To add a service
Select a rule in the tree view of the System Management Hub.
From the context menu, choose . A screen similar to the one below appears.
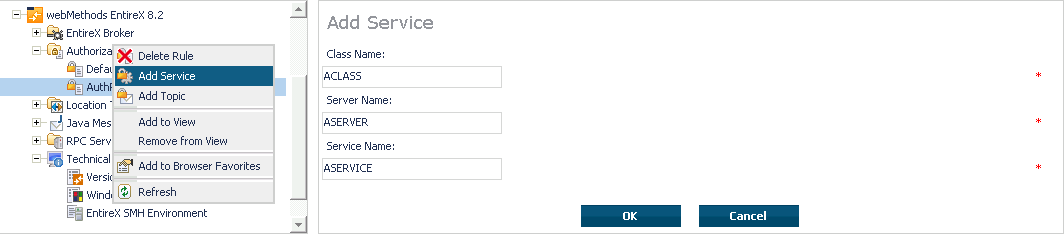
Enter the information required for the fields Class Name, Server Name,
Service Name. These fields correspond to the service-specific Broker attributes
CLASS, SERVER,SERVICE.
Choose to confirm.
As a result, the following screen appears:

Enter the users required for the new Service (see Adding/Modifying Users).
Click OK to confirm.
To add a topic
Select a rule in the tree view of the System Management Hub.
From the context menu, choose . A screen similar to the one below appears.

Enter the information required for the filed Topic Name. This field
corresponds to topic-specific Broker attribute TOPIC.
Choose to confirm.
As a result, the following screen appears:
Enter the users required for the new Service (see Adding/Modifying Users).
Click OK to confirm.
To modify users
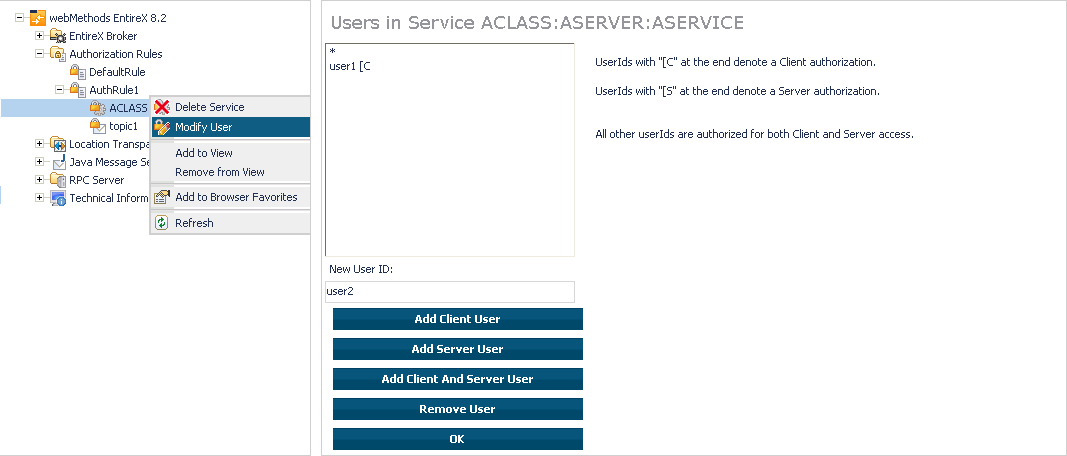
Select a service or topic in the tree view of the System Management Hub.
From the context menu, choose . If a service was selected, a screen similar to the following appears:
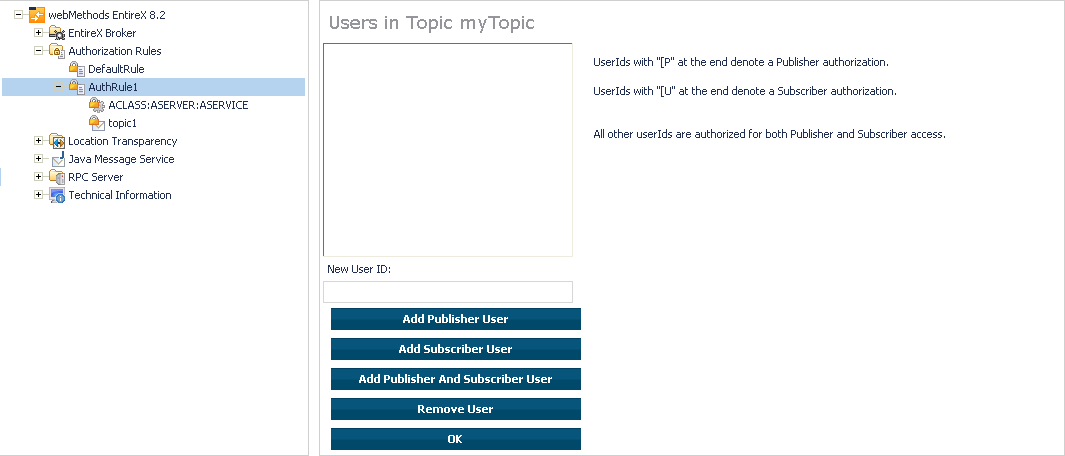
If a topic was selected, a screen similar to the following appears:
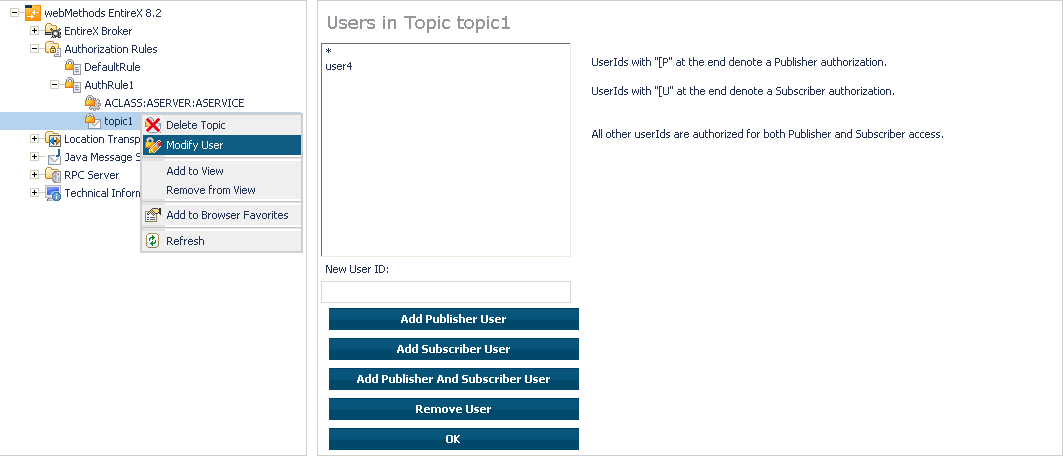
Enter a user ID in the single-line field provided and click for the desired user type (client, server, publisher or subscriber).
Or:
Remove a user from an existing list by selecting the user and clicking
.
When the user list is complete, choose to confirm.
Note:
User names are not case-sensitive. Use asterisk notation to define
a range of users. For example: user ID "USA*" represents all users whose ID
starts with "USA" (including user "USA").