Recipes
Recipes are pre-built Orchestrated or Point-to-Point Integration templates that can be used to create an Integration. Recipes are based on the most common integration needs and can significantly reduce the effort required to build an Integration. A recipe includes associated assets, for example Applications, Operations, Reference Data, and so on, that are used to create an Integration. A detailed description of the recipe along with its assets are available for preview, which helps you to select the right recipe. All Integrations created from recipes are initially copied to the development stage. The Recipes page is paginated to identify the sequential order of the pages. You can also select the number of recipes to be viewed per page.

To view and use recipes
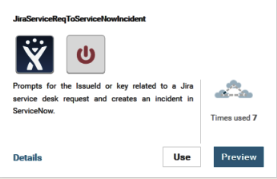
1. From the Integration Cloud navigation bar, click Develop > Recipes. The Recipes page appears. By default, recipes for all Applications and for all Integration types (Orchestrated and Point-to-Point) are displayed. You can search Recipes by Application names and for a specific Integration type. The Recipes page also displays the number of times each recipe has been used to create Integrations and the Applications referenced in the recipe. If there are more than two Applications referenced in the recipe, the Recipes page also displays the incremental number. The Recipes page is paginated to identify the sequential order of the pages. You can also select the number of recipes to be viewed per page.
2. Click Preview to see a view-only mode of the Integration details of the recipe.
3. Click Details to view a detailed description of the recipe and the references in the Recipe Details page.
4. From the Recipes or Recipe Details page, click Use if you want to apply the recipe to create a new Integration. The Connect to Applications page appears. Depending on the number of Integrations referenced in your recipe, a message is displayed at the top of the page. You will be asked to configure all the Integrations in your recipe one after another.
5. In the Connect to Applications page, select the Account for each Application or create a new Account, and then click Next.
The Overview and Save Integration page appears.
6. In the Overview and Save Integration page, provide a name and description for your Integration. By default, the recipe name and recipe description is displayed.
7. Click Finish. If you have existing references (Reference Data, Document Types, and custom Operations) with the same name in the development stage, the Copy References page appears. Click Cancel to go back to the Overview and Save Integration page. By default, all references are selected in the Copy References page.
8. Deselect the references that you do not want to replace and then click Continue to replace or overwrite all the selected references from the recipe in the development stage.
The Integration details page appears for the newly created Integration.
Related Topics
