Create a Web Part Page
You control and customize the layout and content of a Web Part page. A page is composed of one or more Web Parts that may contain apps, mashups or other information from inside and outside of SharePoint.
To create a Web Part page
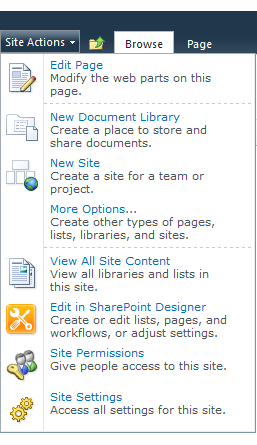
1. In SP 2010, click Site Actions > More Options. The Browse Actions window opens.
Then filter actions by Page, choose Web Part Page and click Create.
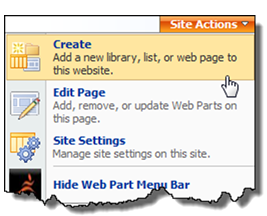
2. In SP 2007, click Site Actions > Create.
Then select Web Part Page under Web Pages.
3. Name your Web Part Page and set the Overwrite option if this page should overwrite an existing page with the same name in the document library. This is the file name that appears in headings and links throughout the site.
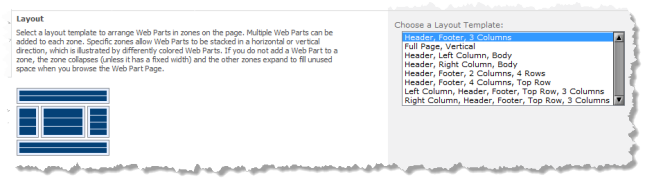
4. Select a layout from the Choose a Layout Template list. A preview of the selected layout appears to the left.
5. Choose the Document Library where you want the Web Part Page to be saved.
Important: | Do not save Web Part pages in a Document Library that is configured to require checkout before modifications. You cannot add mashups or apps to Web Part Pages in this case. |
6. Click Create.
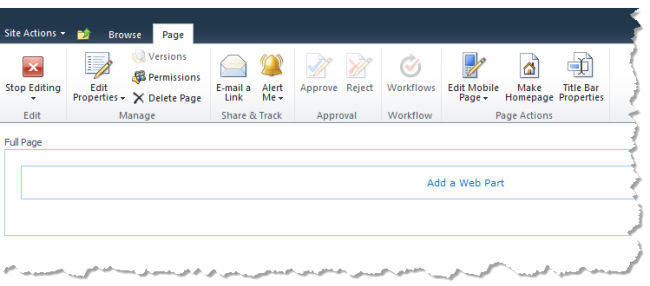
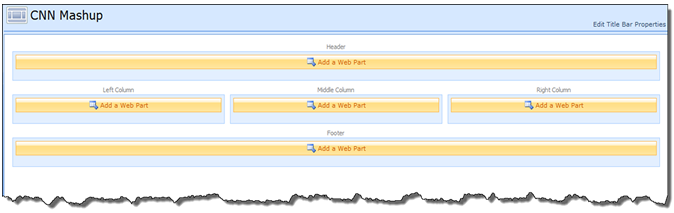
The new Web Part page opens in Edit Mode with zones displayed, based on the layout you selected, where you can add Web Parts.
In Edit Mode, you can use the toolbar that appears above the page layout to edit page properties, delete the page, edit title properties or perform other actions. Use Edit Title Bar Properties to change the page title or add a caption, description, or image.