Creating Interfaces
In order to create an interface (see
TCP Interfaces, IP Multicast and Shared Memory), you need to select the realm node from the namespace tree that you want to create an interface for. Once this node is selected, there will be a tab in the tabbed pane on the right hand side of the Enterprise Manager labelled 'Interfaces'. Selecting this tab will present the user with a table containing all of the available interfaces on a the selected realm.
The default interface is nsp (Universal Messaging Socket Protocol) and it binds to 0.0.0.0 (i.e. all known interfaces) on port 9000.
Please note that adding an SSL enabled interface (see
Creating an SSL network interface to a Universal Messaging Realm
Server) for either SSL enabled sockets or HTTPS requires some additional steps.
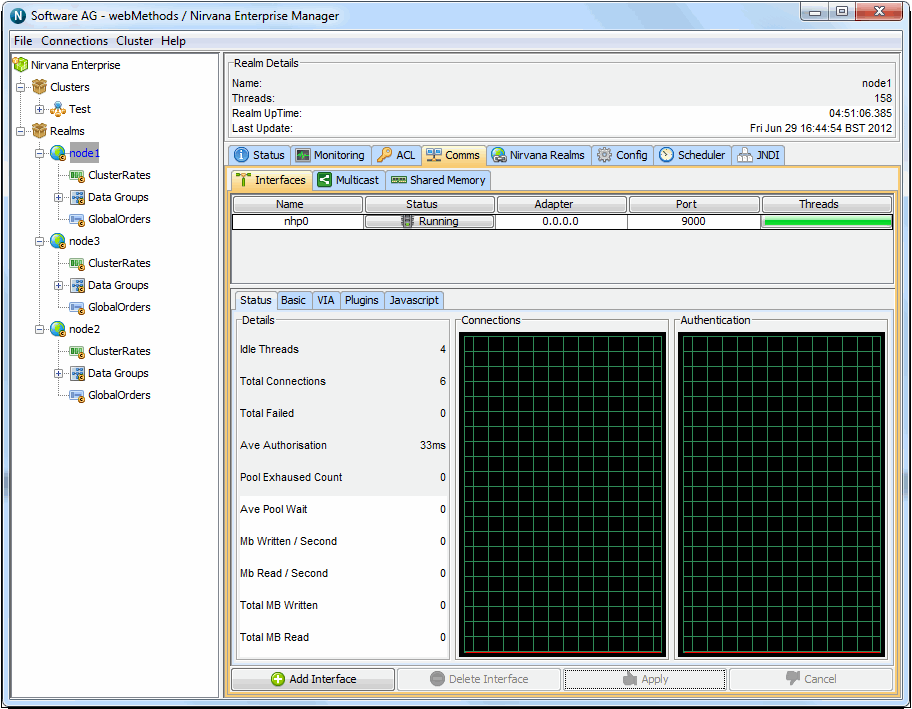
The image below shows the interfaces tab containing the default realm interface. When selected, an interface will be highlighted in yellow as shown below.

The interfaces table consists of 5 columns, each of which is described below:
 Name
Name : defined as protocol + n, where n is a unique number of interfaces for that protocol
 Status
 : whether the interface is 'Running', 'Stopped' or 'Error' where the interface has not been started due to an error
 Adapter
 : the physical network interface to bind to, expressed either as an IP address or a hostname. The IP address 0.0.0.0 defines all known interfaces. You can use the hostname if you want the interface to be independent of the underlying IP address.
 Port
Port : the port to bind to
 Threads
 : indicator for the number of accept threads the interface has free to accept connections, full green denotes all are free
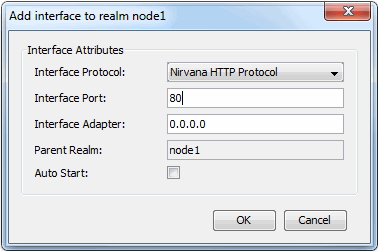
To add a new interface, simply click on the 'Add Interface' button, which will show a dialog that allows you to choose the protocol, the adapter, the port as well as whether the interface should be started automatically when it is created and also when the server restarts. This dialog is shown below:

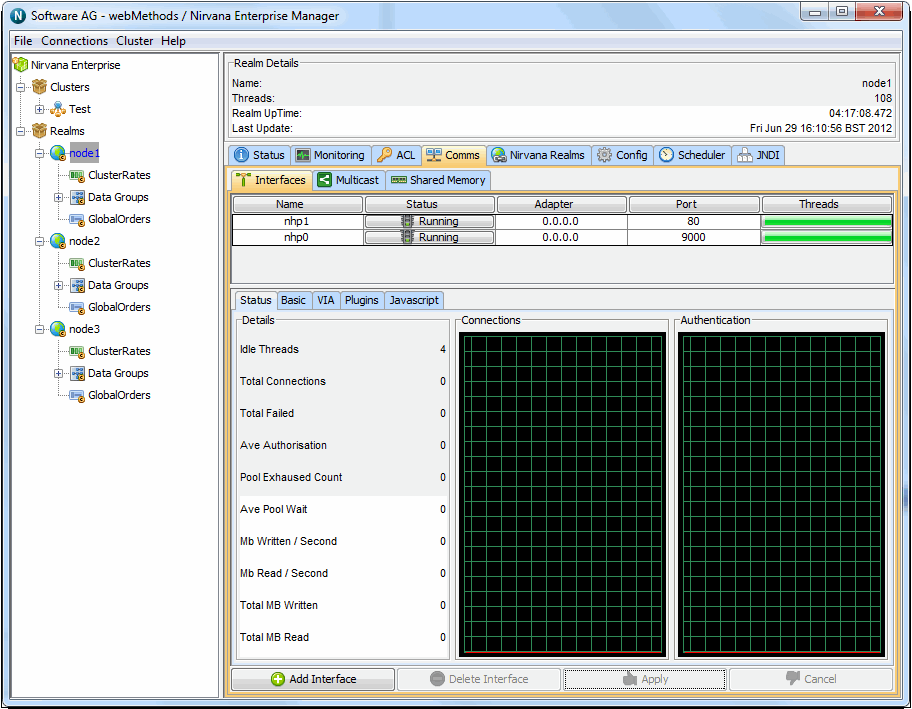
In the example above, we have chosen to add a Universal Messaging HTTP Interface (nhp) that will be bound to all known network interfaces (0.0.0.0) on port 80. If you select the Auto Start option (by ticking the 'Auto Start' checkbox), then click the 'OK' button, this means that when the interface is created in the realm server, it will automatically be started. 'Auto Start' will also cause that interface to be started whenever the Realm is restarted. Once the interfaces has been created it will appear in the interfaces table as shown in the image below.

Further instructions on configuring Universal Messaging interfaces are also available in the enterprise manage guide (see
Interface Configuration).
In addition a VIA rule (see
Interface VIA Rules) can be added to interfaces as a security enhancement.
HTTP / HTTPS Interface
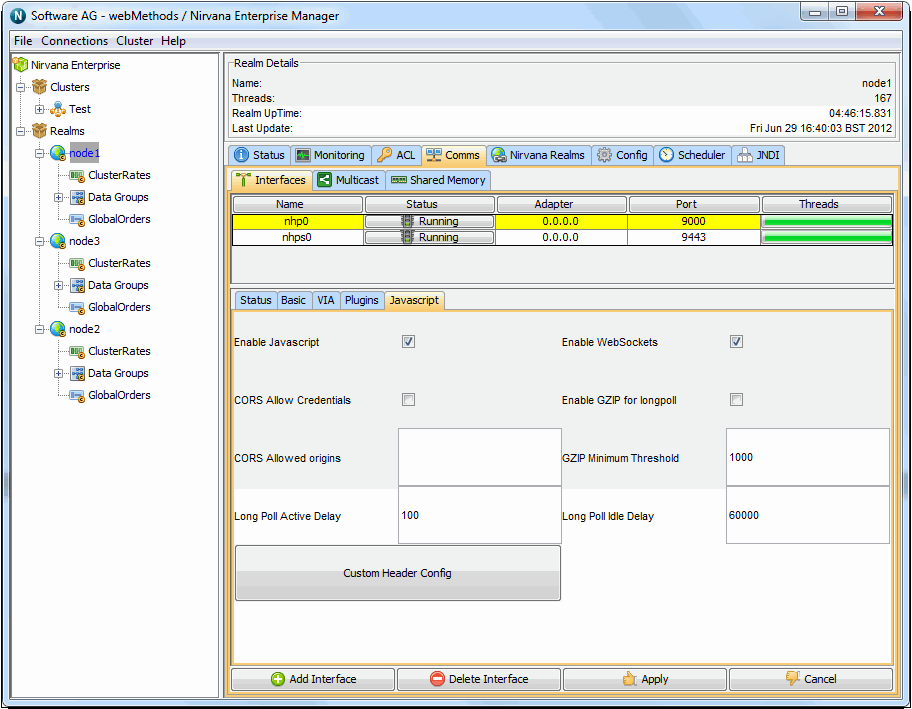
The Javascript tab allows configuration of Comet delivery and is available for HTTP / HTTPS (nhp / nhps) interfaces.


