
You have learned how to generate a schema (based on a DTD), how to modify and save it. In this section, you will learn how to define a schema to your current Tamino database so that it becomes a part of Tamino's Data Map. The schema is then available to other Tamino components. Defining a schema is a prerequisite for loading and retrieving XML objects.
Although there are several ways of defining schemas and loading objects, the most comfortable one is to use the Tamino X-Plorer. The Tamino X-Plorer allows you to perform various database operations such as defining collections and schemas, loading and retrieving data as well as many other actions with the help of an easy-to-use graphical interface.
 To start the Tamino X-Plorer
Windows: choose the shortcut in the Tamino program group that is available from the button.
UNIX: Start the following script from the command line:
inoxplorer.sh.
The Tamino X-Plorer is displayed:
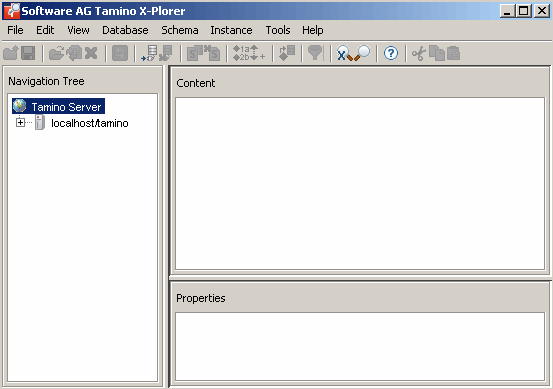
The X-Plorer consists of three panes, the navigation tree on the left, the (currently empty) Content pane and the Properties pane on the right. The navigation tree shows databases of Tamino servers to which you have previously connected. The Content pane shows the content of the XML object that is currently selected in the navigation tree. The Properties pane shows properties (metadata) for the currently selected object. For the following examples, we will use the predefined Tamino sample schema HospitalSchema.tsd, which can be found in the directory <TaminoDocRootDir>/examples/patient. The first step will be to define this schema to our database "my-database". If you have followed the preceding steps in this Getting Started, you can also use your own schema Patientschema.tsd, which has already been created in the previous section. Both files (Patientschema.tsd and HospitalSchema.tsd) should be identical.
Note:
Do not define both schemas, HospitalSchema.tsd
AND Patientschema.tsd to the database, as they define the
same doctype in the same collection. This will lead to an error, since doctypes
need to be unique.
To define the schema HospitalSchema.tsd to the
database "my-database"
Expand the navigation tree to see the list of known servers. To do so, click on the plus signs in the navigation tree until the names of the known databases are displayed. If you do not see the database my-database that we created previously, choose from the main menu to start the Connect to dialog. In this dialog, choose the button next to the Database field in order to display the names of the available databases. Choose my-database from the list, then choose the button.
For detailed information, see the section Connecting to a Tamino Database in the Tamino X-Plorer documentation.
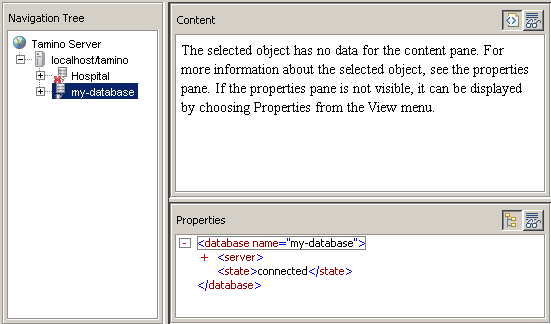
Now the database my-database should be visible in the navigation tree.
In the navigation tree, select the database "my-database". Information such as the following appears in the X-Plorer panes:
Next, you need to define a collection to which the schema will be defined. To do so, select the entry "my-database" in the navigation tree, then choose . The dialog box Create New Collection is displayed:
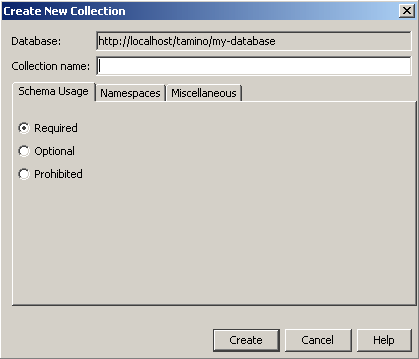
Enter a collection name, in this case Hospital, leave
everything else in the dialog box as is, and choose the
button. The new collection is displayed in the
navigation tree under "my-database".
Select the collection Hospital in the
navigation tree and choose . The
Define Schema dialog box is displayed:
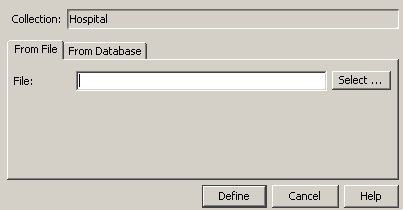
In the From File tab, use the button to browse to the predefined schema file HospitalSchema.tsd, located in the directory <TaminoDocRootDir>/examples/patient. Choose the button to define the schema to the database "my-database".
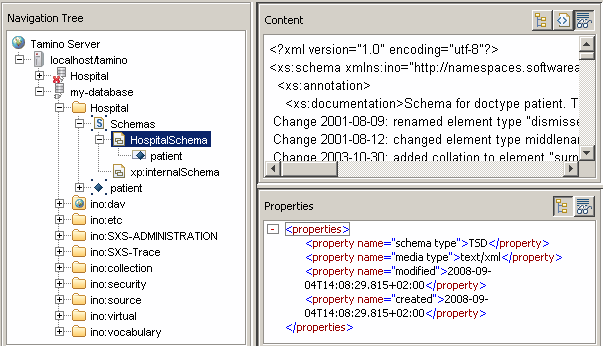
In the navigation tree, "HospitalSchema" is now displayed under "Schemas" when node "Hospital" is expanded. If you select it, the schema is displayed in the content pane, and information about it appears in the Properties pane.
Now you have successfully defined a schema to the collection
Hospital in the Tamino database
"my-database". The next step is to load data into
the database. In the following, you will learn how to load XML objects and
non-XML objects into the database.