Add Reference Data

To add or edit a Reference Data
1. From the Integration Cloud navigation bar, click Projects > <Select a Project> > Reference Data. The Reference Data page appears.
2. To edit an existing Reference Data, select a configured Reference Data from the Reference Data page and click the Edit icon  .
. 3. To create a new Reference Data, from the Reference Data page, click Add New Reference Data. You can create a Reference Data only in the Development stage.
The Upload Reference Data page appears.
4. Provide a name and description of your Reference Data. Required fields are marked with an asterisk on the page.
5. For Reference Data File, click Browse and select the file. Only a text file having tabular data is supported. The maximum file size you can upload is 1 MB. Further, the file should not have an empty column heading or space in the first row and the first row cannot be empty. This is because the first row of data is read as column headings.
6. Click Next to define and preview the Reference Data. Select the field separator and the text qualifier.
7. Determine the encoding of the Reference Data file and from the File Encoding drop down list, select the same encoding. Click Load Preview to preview the data. If you select an incorrect encoding, garbage characters will appear in the preview pane.
8. Click Next to review the Reference Data and then click Finish to create the Reference Data.
The new Reference Data appears in the Reference Data page with the status as Configured.
Note:
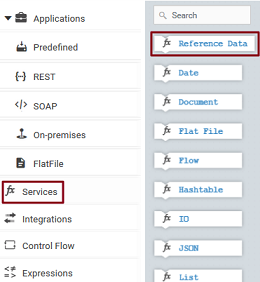
The Reference Data block appears under Services only after you have created a Reference Data and the Reference Data service will be available while creating an Orchestrated Integration.
The Reference Data is also available in Point-to-Point Integrations while transforming data.