Uploading on-premises services to Integration Cloud
Summary
In this tutorial, we will see how to upload on-premises services from webMethods Integration Server to Integration Cloud.
Actors

On-premises
webMethods Integration Server user
Integration Cloud instance to upload the on-premises application
Integration Cloud user
Before you begin
Software AG Universal Messaging is required for communication between on-premises
webMethods Integration Server and
Integration Cloud.
Note:
The maximum message size, that is, the hard limit for message sizes that can be transported between on-premises webMethods Integration Server and Integration Cloud is 20 MB (20971520 bytes). This is the hard limit on the size of messages that can be transported over Software AG Universal Messaging between Integration Cloud and on-premises webMethods Integration Server. Overloading the Software AG Universal Messaging cluster with large payloads may adversely impact performance. If you need to transport larger volumes of data, consider an alternative approach that is better suited for file transfers, such as, webMethods ActiveTransfer.
Click
here for information on the IP addresses to whitelist.
Your Access Profile must have the permission to create Accounts, Operations, Applications, and Integrations.
Your Access Profile must have the administer stages permission.
Basic Flow
Update Settings and create Account and Application in webMethods Integration Server.
1. Log in to the webMethods Integration Server instance, for example, http://<hostName>:5555/.
Note:
Software AG Universal Messaging should be running.
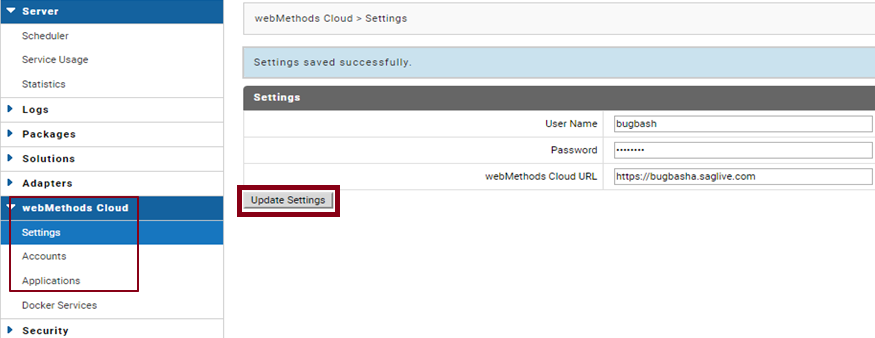
2. Go to webMethods Cloud > Settings.
3. Enter your Integration Cloud URL, for example, https://{instanceName}.webmethodscloud.com, user name, password, and click Update Settings.
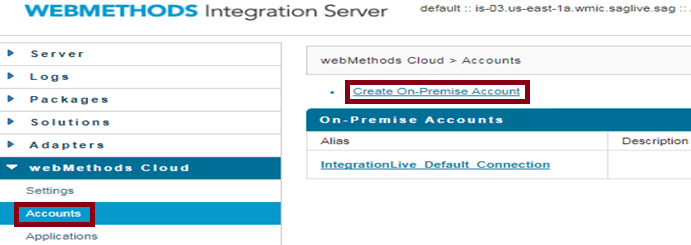
4. Go to webMethods Cloud > Accounts and click Create On-Premise Account.
5. Enter the details as shown below on the Create Account page and click Test Account Settings.
Note:
The Alias Name is the name of the account that will appear on Integration Cloud and the Stage is the stage where you want to expose the webMethods Integration Server services.
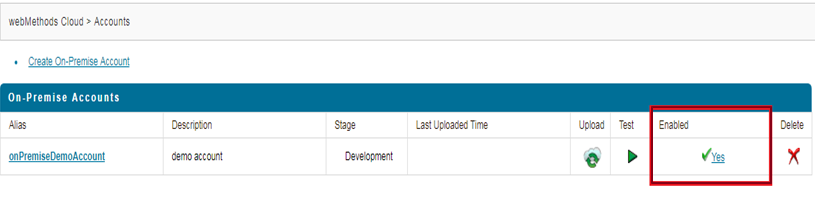
6. Click Save Changes and check if the account is enabled.
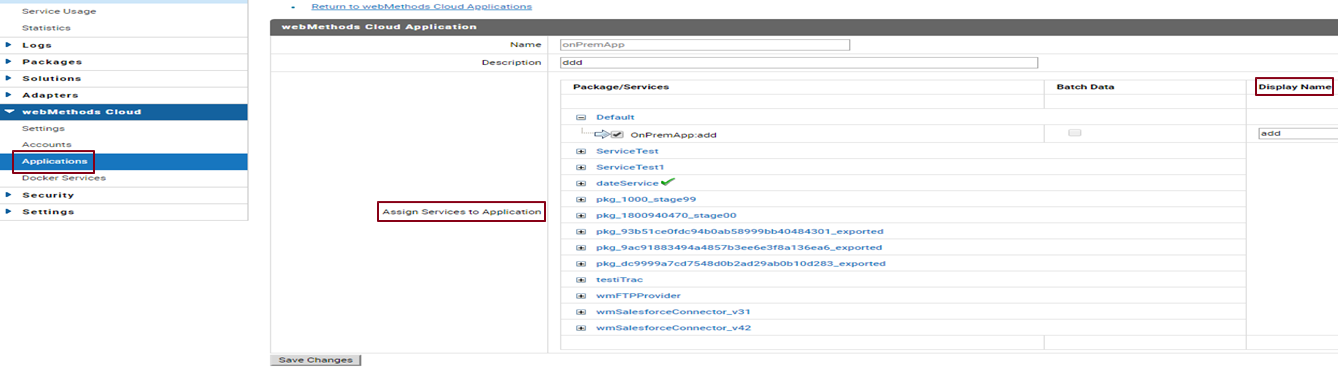
7. Go to webMethods Cloud > Applications and click Define webMethods Cloud Application.
8. Select the webMethods Integration Server services that you want to expose on Integration Cloud, provide a Display Name for the service, and Save your changes.
Note:
Services that have wrapper type fields, for example, fields of type other than String and IData in its Input or Output signature, cannot be exposed to Integration Cloud and they will not be available in the Package/Services column.
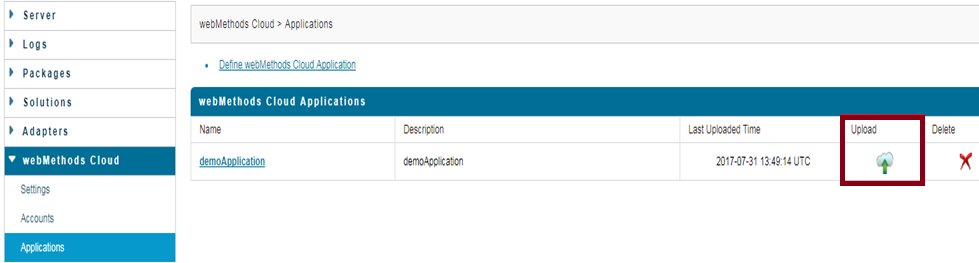
9. Go to webMethods Cloud > Applications and click the upload icon.
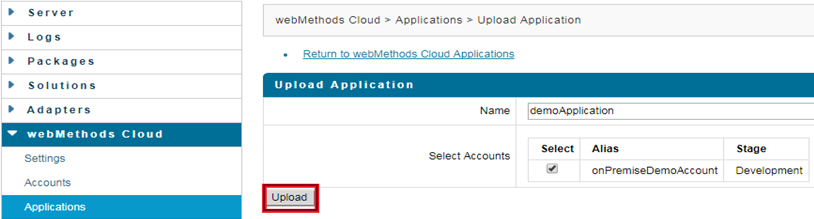
10. Select the account and click Upload. The Application will be uploaded to Integration Cloud.
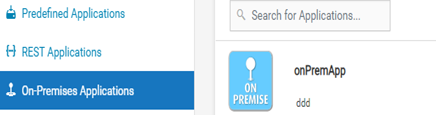
11. Log in to your Integration Cloud instance and go to Projects > <Select a Project> > Applications > On-Premises Applications. The on-premises Application appears in the list. Use the operations of the on-premises Application to create Integrations.