Value | Description |
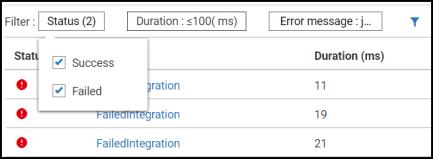
Status | Select the transaction status. You can select from the following and click Save: |
Name | Type the name of the business transaction and click Save. To add more than one transaction name, click + |
Duration | Select from the following operators using the drop-down list and provide a valid time in milliseconds:  - Select this operator to filter the transactions that have an execution time which is lesser than or equal to the value specified here. - Select this operator to filter the transactions that have an execution time which is lesser than or equal to the value specified here. - Select this operator to filter the transactions that have an execution time which is greater than or equal to the value specified here. - Select this operator to filter the transactions that have an execution time which is greater than or equal to the value specified here. Select this operator to group the transactions that have an execution time which is between the values specified here. For example, if you specify 20 and 30 (ms), then both the values 20 and 30 are also taken into consideration. Select this operator to group the transactions that have an execution time which is between the values specified here. For example, if you specify 20 and 30 (ms), then both the values 20 and 30 are also taken into consideration. |
Starts with | Filter the transactions on the basis of the application from where the business flow starts. Select the checkbox next to the product. You can select more than one product. |
Error message | Filter the transactions based on the error message with which it failed. Type the error message and click Save. For example, server not found. You can filter based on more than one error message by clicking + next to the error message box. |
Product(s) involved | Filter the transactions based on the products that are involved with this transaction. Select the checkbox next to the product and click Save. You can select more than one product. |
Trace ID | Filter the transactions based on this unique identifier associated with a transaction. Enter the trace ID and click Save. You can filter based on more than one Trace ID by clicking + next to the trace ID box. |