To generate a Java source, select an IDL file and, using the context menu, choose , , or .
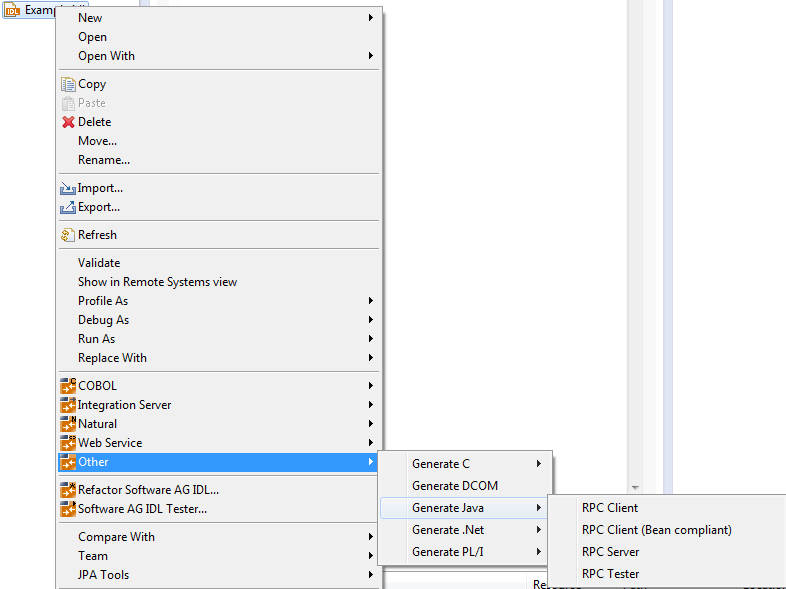
In addition to the standard commands of Eclipse, the context menu of a Java file contains a group of commands for the Java Wrapper.
| Command | Description |
|---|---|
| RPC Client | Generates a Java client class. |
| RPC Client (Bean compliant) | Generates Java (client) classes instead of inner classes. There is one client class generated for each library in the Software AG IDL file. |
| RPC Server | Generates a Java server class and a server skeleton for your own implementation. |
| RPC Tester | Generates a client test program. |
Important:
If the IDL file is in a Java project, the
Java Wrapper uses the project to compile the Java files. If the IDL
file is in a simple project, the Java files are generated, but not
compiled.
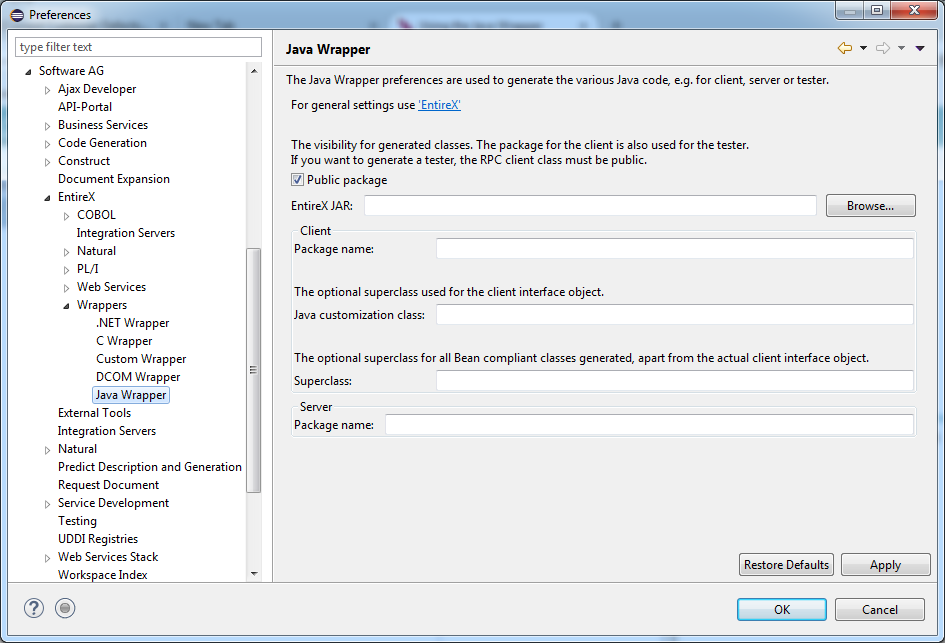
In general, the preferences of the Java Wrapper are used to set the Customization Class, the RPC client package name, and the RPC server package name; see Configuring the RPC Server. The package for the client is also used for the tester. If you want to generate a tester, the RPC client class must be public. The Superclass field is used to specify an extension class for all Bean-compliant generated classes apart from the actual client interface object.
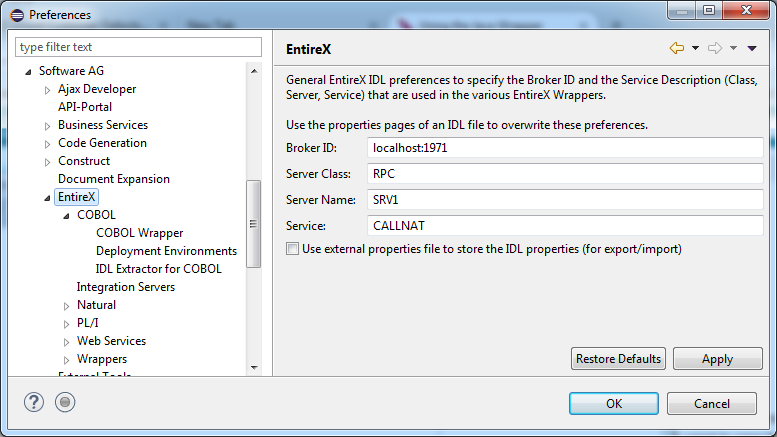
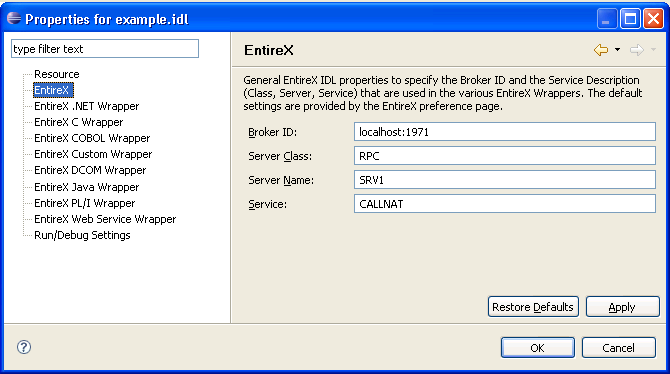
To set the broker ID and the server address for all new IDL files in the workspace, use the preference page "EntireX".
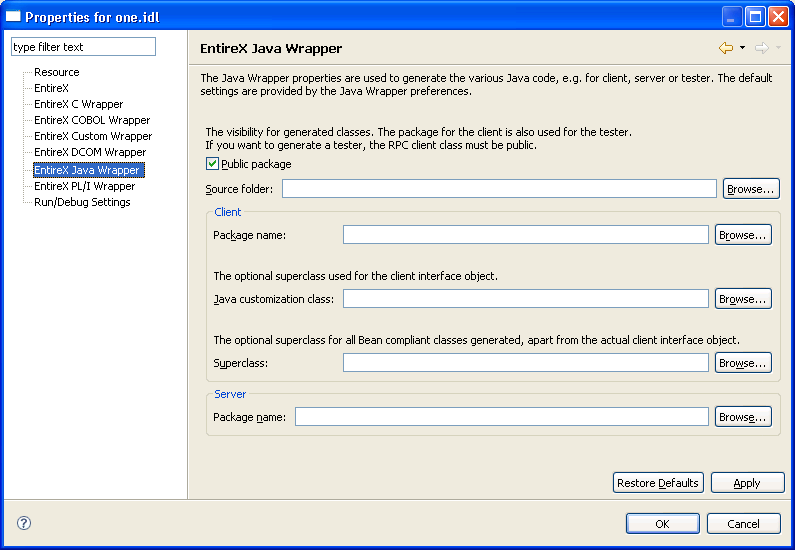
For the settings of an individual IDL file, use the properties of this file. The property pages include the same fields to set as the preference pages. In addition, the property page of the Java Wrapper includes the project-specific setting of the source folder. This is the package root of the generated files.
There are two alternatives for starting the EntireX IDL Tester:
From the Context Menu
This is the preferred method. In the context menu of the IDL file, choose . A dialog appears for choosing the program to test.
The IDL Tester is generated and launched as a separate Java Application. See EntireX IDL Tester for more details.
From Generated Test Program
To start the IDL Tester, select the generated test program in
the Navigator or Package Explorer and choose
from the context menu or toolbar.
The IDL Tester is started as a separate application. See Using the IDL Tester.
 To generate a Java client interface object
In the Navigator view or in the Package Explorer, select the Software AG IDL file.
From the context menu, choose .
This starts the generation of the Java source. The Java source files are written to the source folder of the IDL file. The source folder is set in the properties of the IDL file.
This starts the generation and compiles the generated Java sources. The Java source files and the class files are written to the directory of the IDL file.
| File | Description |
|---|---|
| <Library name>.java | The Java source code of the generated client interface object. The library name is used to build the file name and the class name. Do not change this file. |
If more than one library is defined in the IDL file, separate client interface object files will be generated for each library.
When using the Java Wrapper to generate an RPC client (Bean-compliant), the resulting client interface object contains no inner classes. Instead, there will be separate classes generated for each structure within the IDL file.
Note:
A superclass to be extended by all the newly generated classes can
be specified in the Java Wrapper Preferences
and in the Properties of the IDL file.
 To generate a Java client interface object (Bean-compliant)
Select an IDL file.
From the context menu, choose .
As a result, the generation of the Java source is started. The Java source files are written to the source folder of the IDL file and the generated Java sources are compiled.
Note:
The source folder can be specified in the Java Wrapper Preferences and in the Properties of the IDL file.
The Java source files and class files are written to the directory of the IDL file. The following table gives a short description:
| File | Description |
|---|---|
| <Library name>.java | The Java source code of the generated client interface object. The library name is used to build the file name and the class name. Do not change this file. |
| <Structure name>.java | A Java class is generated for each structure and group within the input IDL file(s). |
Note:
If more than one library is defined in the IDL file, separate client
interface object files will be generated for each library.
 To generate a Java server interface object
In the Navigator view or the Package Explorer, select the Software AG IDL file.
From the context menu, choose .
The Java Wrapper produces the following files for the server interface object in the source folder of the IDL file.
| File | Description |
|---|---|
| <Library name>Stub.java | The Java source code of the generated server interface object. The library name followed by "Stub" is used to build the file name. Do not change this file. |
| <Library name>Server.java | A Java source file that contains a server skeleton. This is a
complete Java class that can be compiled. It contains all methods the server
has to implement. Add your application-specific coding in the places marked
with the // insert your application specific code here comment.
The library name followed by "Server" is used to build the file
name. If this file exists, it will not be generated.
|
| Abstract<Library name>Server.java | A Java source file that contains the generated part of the server as an abstract class. The server skeleton <Library name>Server.java extends this class and contains the application-specific code. Separating the generated code and the application-specific code simplifies re-generation of the RPC server. |
If more than one library is defined in the IDL file, separate server interface object files will be generated for each library. The server package name is used as the package name in the generated server files. The server package is part of the Java Wrapper properties of the IDL file. At runtime, configure the server packages in the RPC Server for Java configuration. The RPC Server for Java uses the library name (which is part of the RPC request from the client) to dynamically load a class named <Library name>Stub.class. The RPC server searches for this server interface object class as well as the server class using the actual classpath.
The client test program is an easy-to-use utility to check whether the remote call works. The client test program supports most of the data types and features of the IDL.
If there is no client interface object already defined, the IDL Tester will generate a Bean-compliant client interface object. However, if there is a previously generated client interface object, it will not be overwritten, regardless if it is Bean-compliant or not.
There are two alternatives for generating and running the standard client test program:
From the context menu of an IDL file. This is the preferred method. See EntireX IDL Tester in the Designer documentation.
From the context menu, using . See below.
This section covers the following topics:
In the Navigator view or in the Package Explorer, select the Software AG IDL file.
From the context menu, choose . For each program in the IDL
file, one class with the name <Library
name>T<program
name>.java is generated. The class
<Library
                                         name>T<program
                                         name>
can be started as a standalone Java
application.
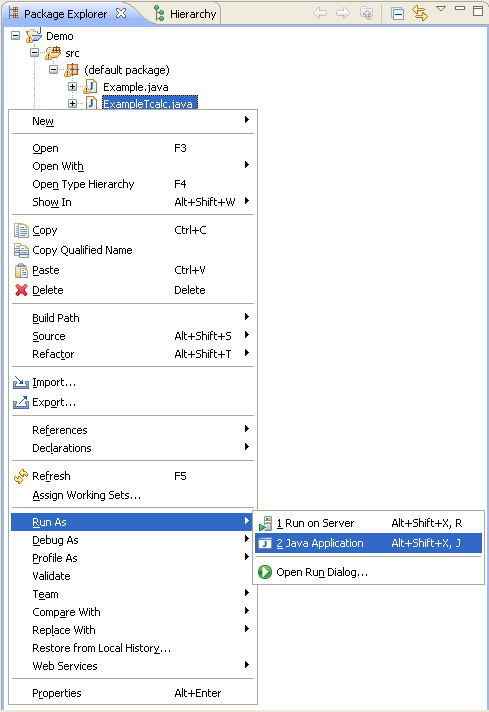
In the Navigator view or the Package Explorer, select the file <Library name>T<program name>.java and choose from the context menu or from the Run menu. This creates a launch configuration and starts the tester.
See EntireX IDL Tester in the Designer documentation for more information.
 To start the Tester in Batch mode
Enter the following command
java -classpath <your classpath> <library>T<program> -batch
| where | <your classpath>
|
contains the class of the RPC tester and the file entirex.jar |
<library>
|
is the name of the library and | |
<program>
|
is the name of the program |
For the delivered example.idl, the following RPC testers are provided: ExampleTcalc, ExampleThello, ExampleTpower.
An RPC is executed with the default values.
If you add -both instead of
-batch, the GUI of the tester is opened, but the
messages and parameter values are written to SYSOUT, too.
To change the broker ID, use -b <broker id>.
To change the server address, use -s <class/server/service>, for example:
java ExampleTcalc -b localhost:1971 -s RPC/SRV1/CALLNAT + 3 5
 To modify the default values
In the command line add the parameters to the commands.
They will be assigned to the input values one after the other. Enter,
for example java ExampleTcalc + 3 5 to calculate 8.