This document covers the following topics:
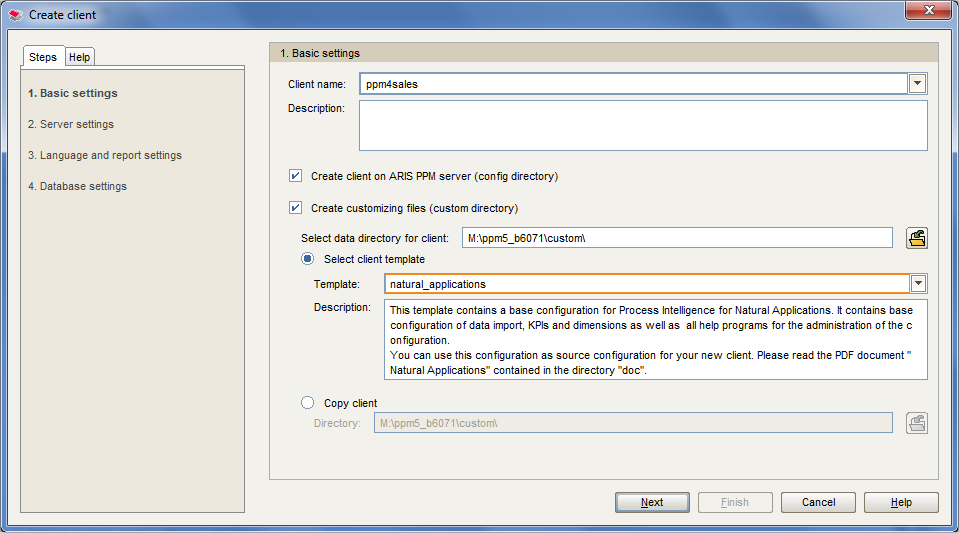
In the ARIS PPM Customizing Toolkit click on Create client.
Provide a name for the client. In this example, the client name is ppm4sales.
Select the template .
Note:
The basic settings made in this screen can not be modified later in
the process.
The following server settings should be made:
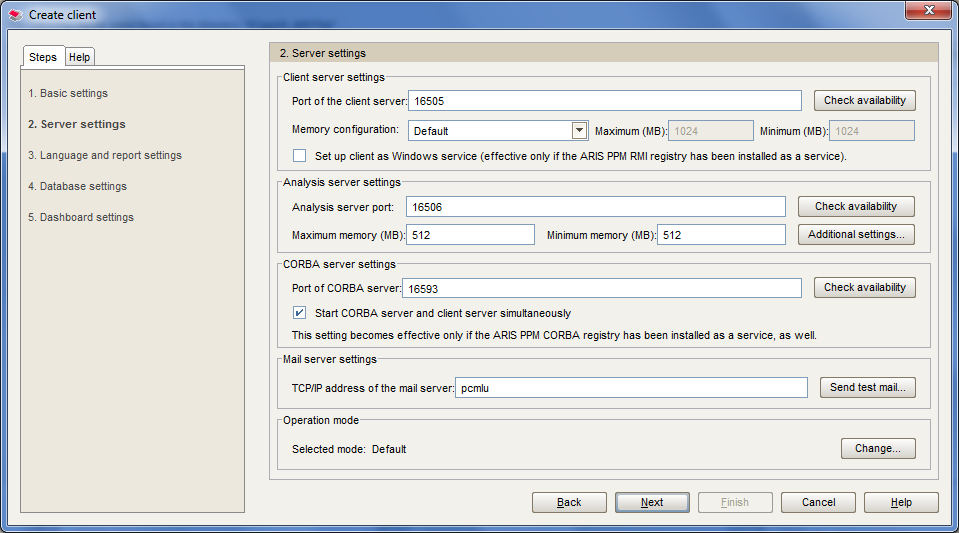
For further possible settings refer to section 5.1, Step 1: Create client in the ARIS PPM - CTK User Guide documentation
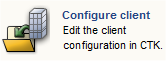
In the ARIS PPM Customizing Toolkit click on Configure client.
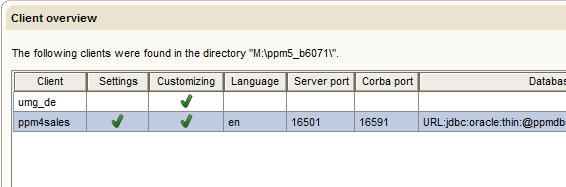
A list of existing clients is displayed. Select the client you want to configure e.g. .
Important:
The database you are going to initialize must have been created
upfront.
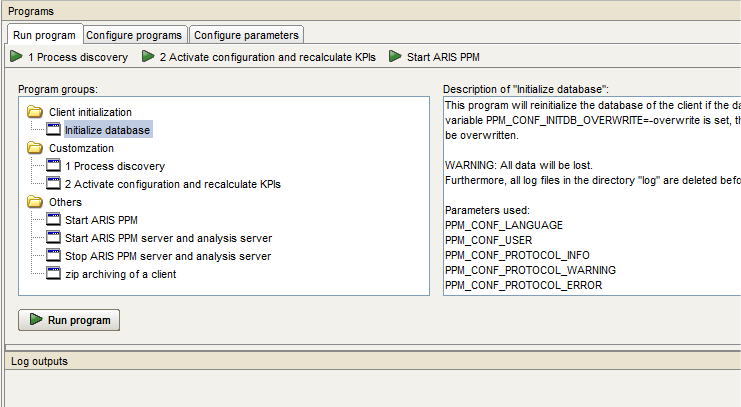
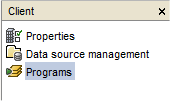
In the ARIS PPM Customizing Toolkit select the Client module.

In the module select the node
In the menu, select the tab, choose the Initialize database program and click on .