Create the basic control flow model
In this section, you create the basic control flow model, which includes the required work steps in the correct sequence.
Procedure
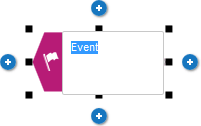
1. Click the  Event symbol in the Symbols bar and hold down the mouse button. An event shows that a certain state has occurred.
 2. Drag the mouse pointer to the position you want to place the object in the modeling area.
3. Release the mouse button. The object is placed and its name is selected for overwriting.
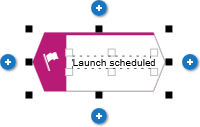
4. Enter a name for the event by overtyping the selection with Launch scheduled and press Enter.
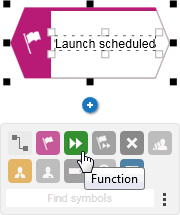
5. Click  Insert at the bottom under the Launch scheduledevent.
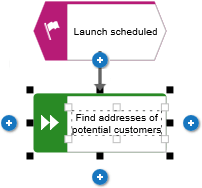
 6. Click  Function. The function is placed in the default distance to the event and the name is selected for overwriting.
 7. Since a function indicates that an activity must be performed, type Find addresses of potential customers and press Enter.
8. Create the following objects one below the other in the same way:
a.  Function: Find contact person
 b.  Function: Schedule product presentation
 c.  Event: Product presentation scheduled
 The basic control flow model, which includes the required work steps in the correct sequence, is completed.
 Event symbol in the Symbols bar and hold down the mouse button. An event shows that a certain state has occurred.


