Assign supporting systems
In this section, you assign the systems that support the work steps.
Procedure
1. Click the Find addresses of potential customers function and then  Insert to the left.
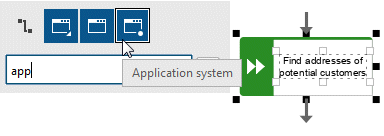
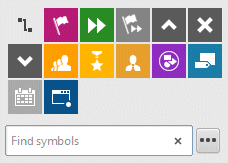
 2. Because the application system is not listed in the Smart Modeling toolbar, enter app in the Find symbols box. The Applicationobject symbols are displayed.
3. Click Application system. The application system is placed.
4. Enter the name Customer Relationship Management. The supporting system is placed.
5. Click the Schedule product presentation function and then  Insert to the left.
 6. Because the Time planner object is not listed in the Smart Modeling toolbar, enter tim in the Find symbols box. The Time plannerobject symbol is displayed.
7. Click Time planner.
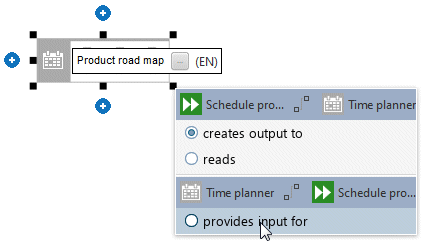
8. Enter the name Product road map and click the provides input for connection.
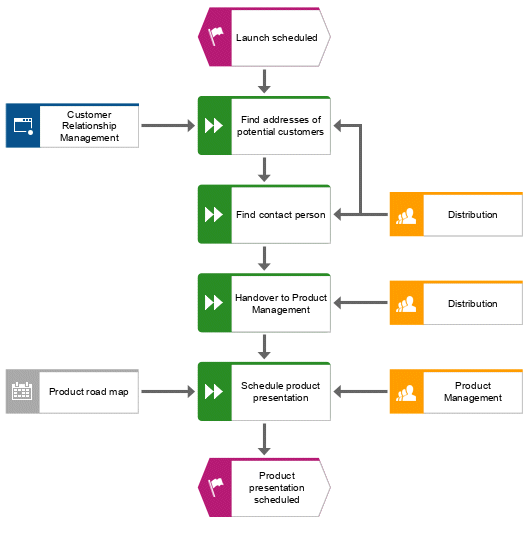
The supporting systems are assigned. The current model looks like this:
Object symbols that are placed using the Find symbols box of the Smart Modeling toolbar are automatically added to the Smart Modeling toolbar for the respective object. Therefore, the object symbols of the application system and the time planner are now available in the Smart Modeling toolbar for objects of type Function.
You can configure the Smart Modeling toolbar.
 Insert to the left.


