Installing API Gateway using Command Central Commands
This section lists the steps that you need to run in the Command Central command-line interface for installing API Gateway. For more details on how to use templates and the command-line interface in Command Central, see the Software AG Command Central Help.
When you install API Gateway using Command Central, API Gateway, and API Data Store are installed. API Gateway communicates with this API Data Store by default.
1. Run the following command to add the credentials for connecting to the Software AG server. The credentials are maintained in an XML file, credentials_installer.xml.
sagcc create configuration data local OSGI-CCE-ENGINE COMMON-CREDENTIALS -i credentials_installer.xml
2. Run the following command to add the repository where the products are available.
sagcc add repository products master name=webMethods-10.5 location=<repository url> credentials=SAGCONNECT
description="10.5 repository"
credentials=SAGCONNECT. This is the alias for the credentials created in Step 1. The alias is saved in the credentials_installer.xml file.
3. Run the following command to add the required license key to install API Gateway.
sagcc add license-tools keys apigateway_license -i license_apigateway.xml
apigateway_license is the license name that Command Central refers to license_apigateway.xml file.
4. Run the following command to add the API Gateway installation template. The sample installation template, template.yaml is used in the following command.
sagcc exec templates composite import -i sag-apigateway-server-trunk/template.yaml
This imports the template required for installing API Gateway.
5. Run the following template to apply the template.
sagcc exec templates composite apply sag-apigateway-server
nodes=local is.instance.type=integrationServer agw.memory.max=512
repo.product=webMethods-10.5 os.platform=W64
agw.key.license=apigateway_license
This installs API Gateway on the specified node. In this case, it's the local machine. You can specify the required node name in the above command to install in the corresponding node.
6. Run the commands in the given order for applying the fixes:
a. Add SUM related credentials.
sagcc create configuration data local OSGI-CCE-ENGINE COMMON-CREDENTIALS -i credentials_fixes.xml.
b. Add the fix repository.
sagcc add repository fixes master name=GA_Fix_Repo location=<Fix repo location> credentials=EMPOWER
description="105 GA fix repo"
c. Add the fix template similar to installation template.
sagcc exec templates composite import -i sag-apigateway-server-qa-fix/template.yaml.
d. Apply the template.
sagcc exec templates composite apply sag-apigateway-server-fix nodes=local
is.instance.type=integrationServer agw.memory.max=512
repo.product=webMethods-10.5 os.platform=W64
agw.key.license=apigateway_license
is.instance.type=integrationServer repo.fix=GA_Fix_Repo
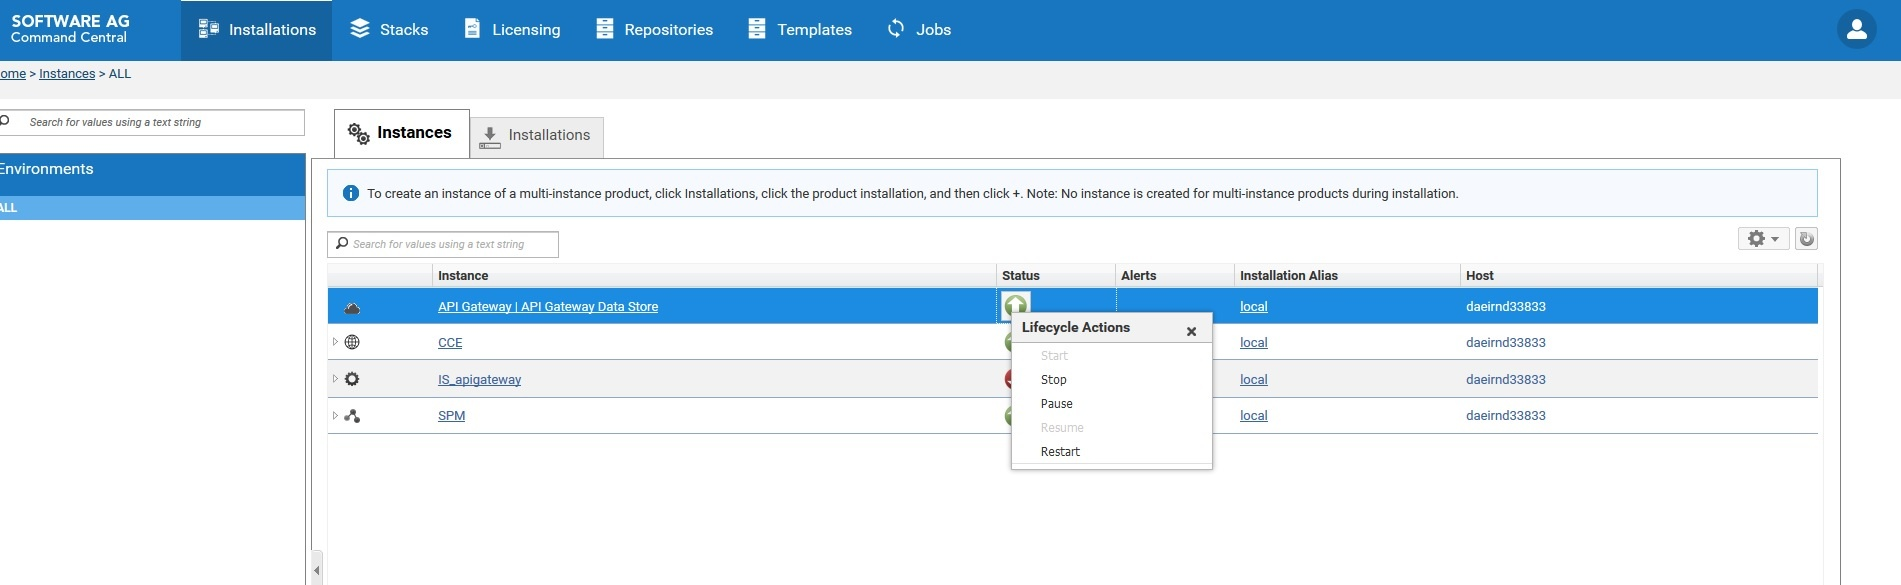
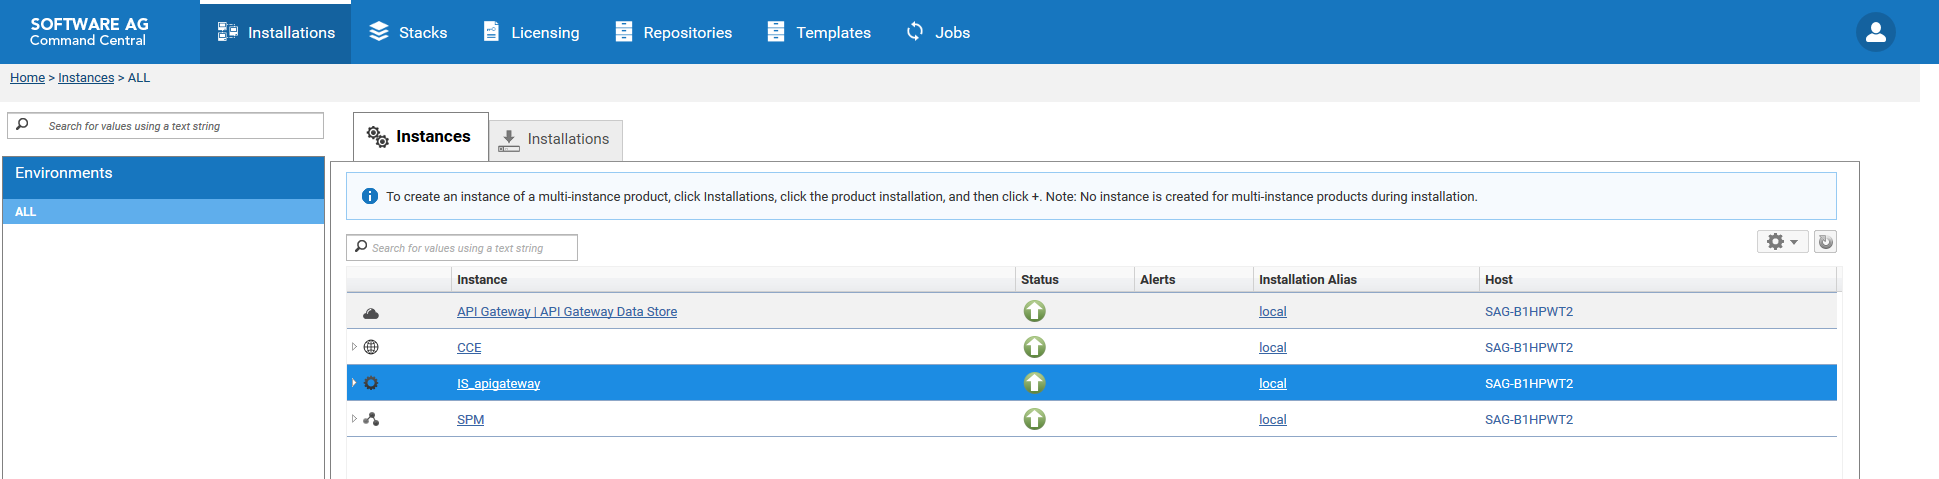
This procedure completes API Gateway installation and you can see API Gateway and API Data Store in Command Central UI.
In Command Central,

API Gateway > API Data Store contains details about default Elasticsearch shipped with API Gateway.
IS_<profile> contains details about API Gateway, Digital Event Services, Event Routing, and Integration Server.