
ApplinX provides a Web based configuration editor where you can configure framework parameters. These parameters are saved in config/gx_appConfig.xml file. Refer to Web Application Configuration Parameters for a list of the parameters, and to the help in the Configuration Editor.
Note:
These parameters can be manually configured in the gx_appConfig.xml
file.
 To configure the framework:
Open a new browser and run your Web application.

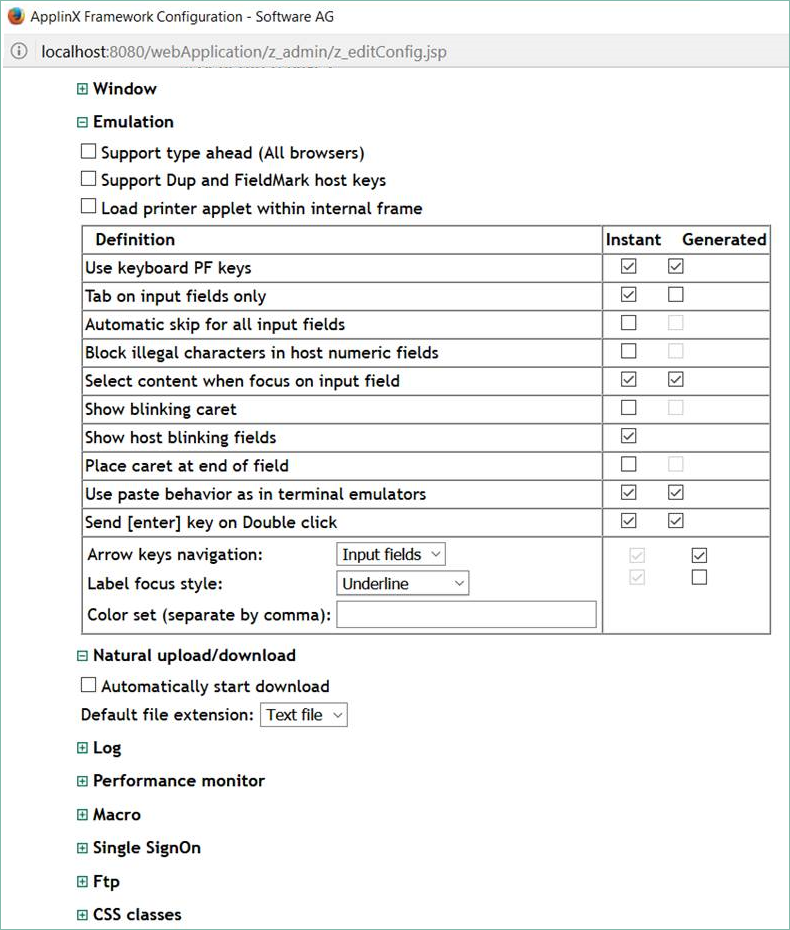
Click on the Configuration link. The Configuration Editor will be displayed.
The left side of the window displays the nodes. Clicking on a plus sign expands the node and displays all the parameters in this node. Click on a parameter/node to display the relevant Javadoc on the right side of the window.
Expand and collapse the various nodes as necessary to change the framework parameters.
Click Save to save your changes.
Click Close to return to the Web application.
Note:
When using Eclipse, in order to implement the framework configuration
changes, in both the design and runtime Eclipse environments, select the
config\gx_appConfig.xml configuration file in your project folder.
Note:
In IE8 and above, when opening a new tab in the browser and navigating
to your Web application, the same ApplinX session will be used in both
tabs.
In .NET, when attempting to save the changes made in the Configuration Editor, you may receive an error message: Access denied. In order to resolve this problem, follow these instructions:
Click on Click here for configuration details.
Open Windows Explorer and right-click on the config directory in your Web application (<YourWebApp>\config).
Select and then select the tab.
Click .
If you are working with a network/active directory, you need to change the location and select the server name/computer name.
Add the IIS process user, typically called ASPNET, to the list of object names that it is possible to select. Click to locate the defined user.
Click
Add Modify and Write permissions to the folder where the configuration is located. Click
Restart IIS.
In the Framework Configuration Editor, re-save your configuration.