Application Designer comes with two languages: "en" for English and "de" for German. The Language Manager can be used to define additional languages.
This document covers the following topics:
The concept of the multi language management is described in Multi Language Management. It is recommended that you read this information before you proceed with the information below.
When you invoke the Language Manager, the following dialog appears.
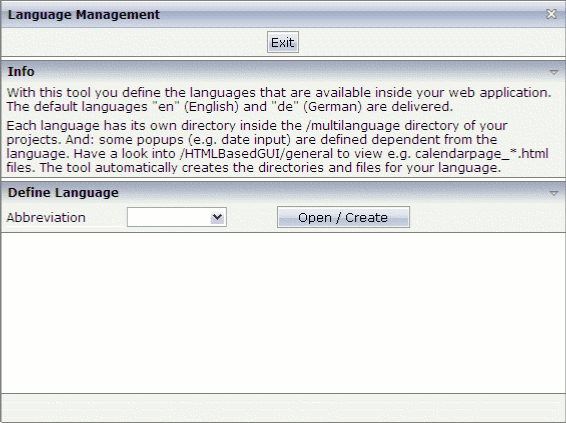
![]() To invoke the Language Manager
To invoke the Language Manager
In the Development Tools node of the navigation frame (which is visible when the button has previously been chosen), choose Language Manager.
When you define a new language, the required directories and certain files holding textual information will automatically be created in all existing projects.
![]() To define a new language
To define a new language
In the text box of the Abbreviation drop-down list box, enter the abbreviation for your new language.
Choose the button.
The following dialog appears. The language abbreviation that you have specified is shown at the top of the dialog.
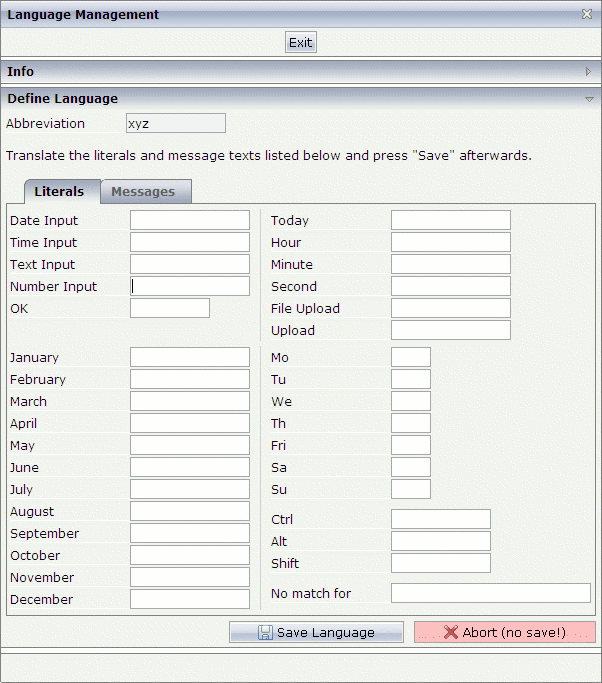
Translate all literals that are shown on the Literals tab.
Choose the Messages tab.
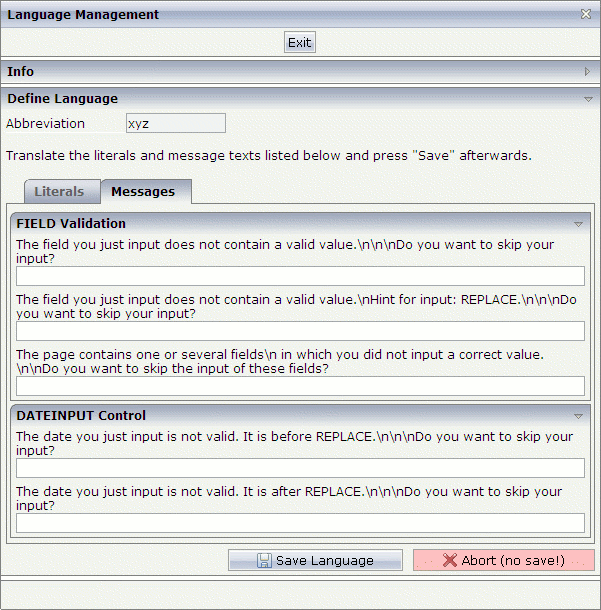
Translate all strings that are shown on the Messages tab.
Each "\n" in a string stands for a line break.
"REPLACE" is a placeholder for a variable. It must not be deleted. During runtime, the corresponding value will be used. Example:
| Language 1: | \nHint for input: REPLACE.\n\n\n |
| Language 2: | \nHinweis für die Eingabe: REPLACE\n\n\n |
Choose the button.
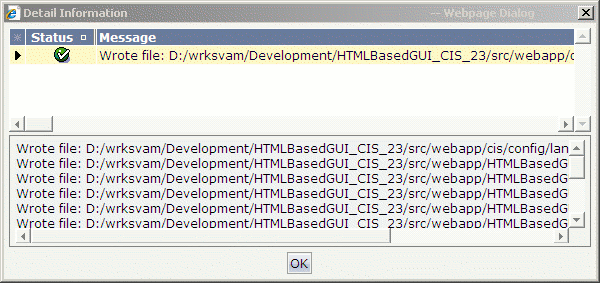
The directories and files for the specified language abbreviation are created. A message appears in the status bar of the Language Manager.
If you want to find out which directories and files were created, click the message in the status bar.
A dialog appears. Example:
You can modify the text for literals and messages that you have specified when you have defined a new language (see above).
![]() To open an existing language
To open an existing language
In the text box of the Abbreviation drop-down list box, enter the abbreviation of an existing language.
Choose the button.
A dialog appears showing the currently defined texts for the literals and messages.
Edit the required texts on the Literals and/or Messages tab.
Choose the button.
The texts are written to the files which have been created for the specified language abbreviation. A message appears in the status bar of the Language Manager.
If you want to find out which files were affected, click the message in the status bar to display a dialog.