Linux Deployment
Ensure that you have the Software AG Installer and the license file copied to the system in which you want to install ActiveTransfer Server.
Use the following custom configuration when you run the Software AG Installer to install ActiveTransfer Server.

To install
ActiveTransfer Server using Software AG Installer
1. Change directory to the installer download folder.
cd ~/Downloads/SoftwareAG/
2. Make the installer executable.
chmod +x ~/Downloads/SoftwareAG/SoftwareAGInstaller20230725-Linux_x86_64.bin
3. Run the Software AG Installer.
./SoftwareAGInstaller20230725-Linux_x86_64.bin
4. In the Credentials tab, provide your Empower credentials and click Next.
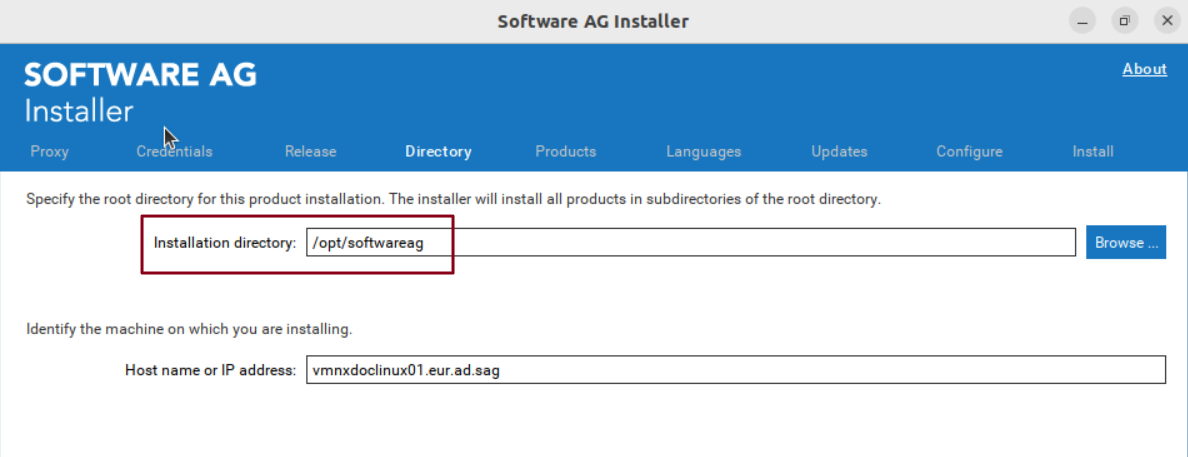
5. In the Directory tab, specify the installation directory if required, and click Next.
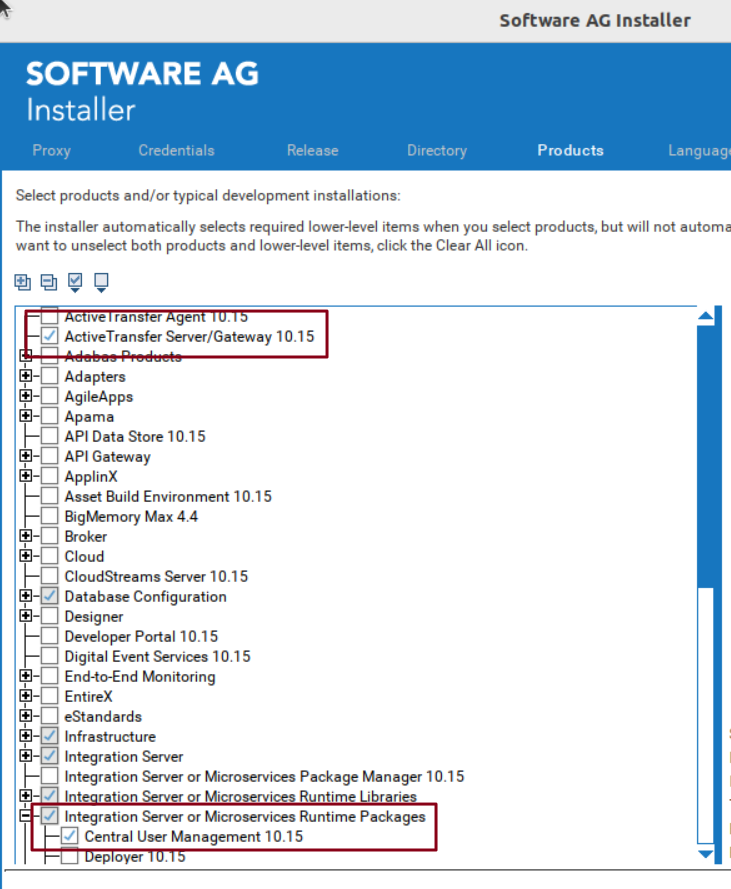
6. In the Products tab, select the following components:
a. ActiveTransfer Server/Gateway
b. Integration Server or Microservices Runtime Packages > Central User Management
Click Next.
ActiveTransfer Server uses the Central User Management component for user management.
7. Read through the license agreement and select the checkbox below the agreement to provide your consent. Click Next.
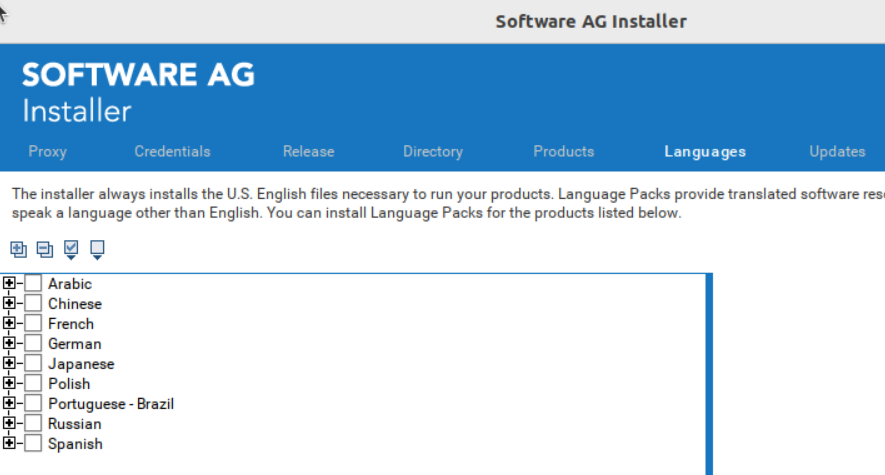
8. Select your language packs. Click Next.
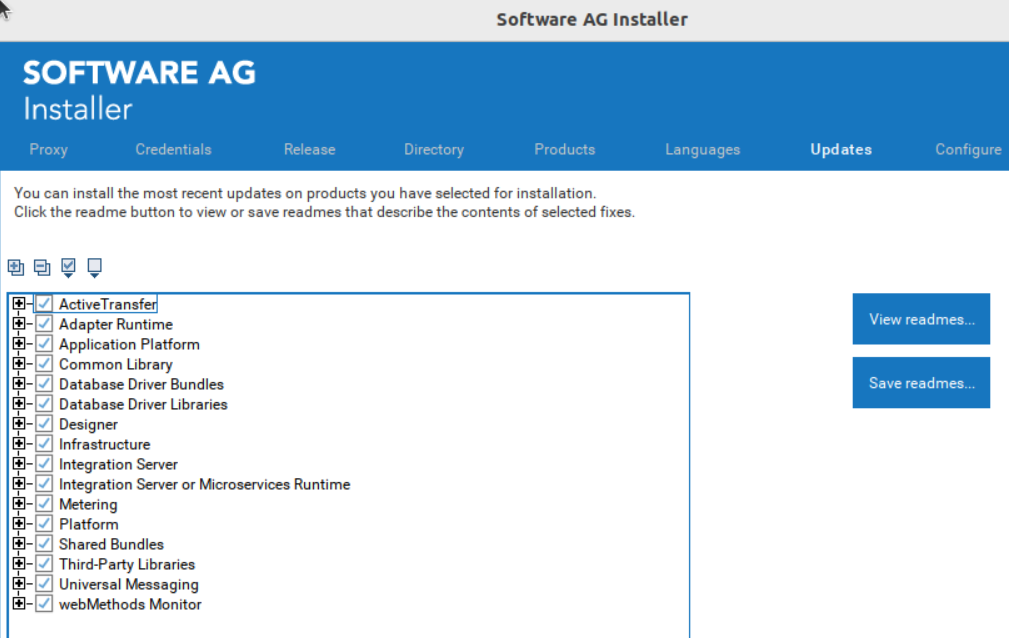
9. Select your most recent updates. Click Next.
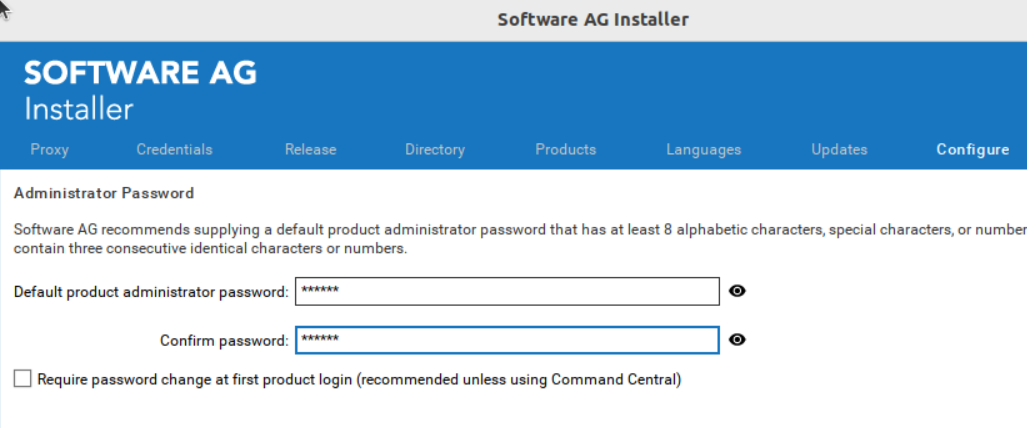
10. Provide the Administrator Password. Select the checkbox Require password change at first product login to change the password at first login. Click Next.
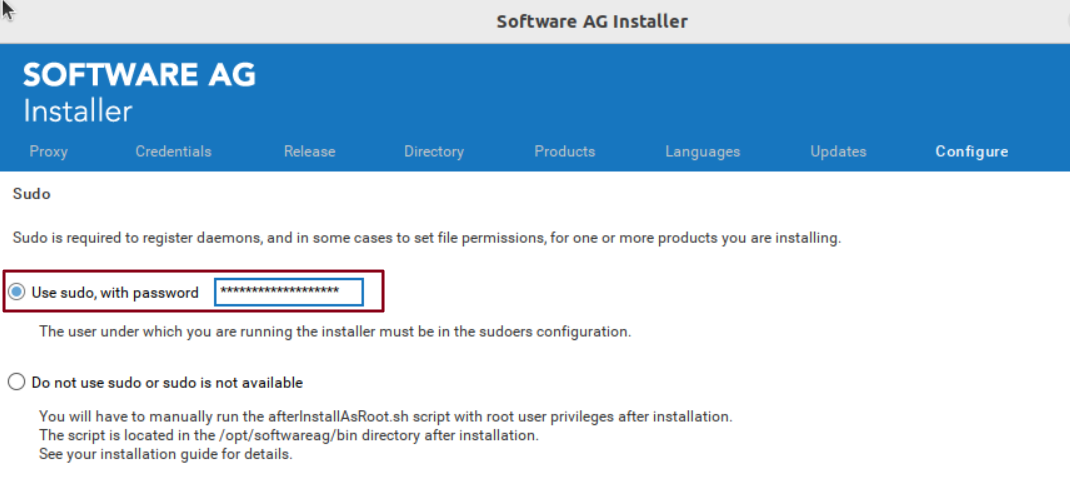
11. Provide the sudo password for the Linux user running the installation.
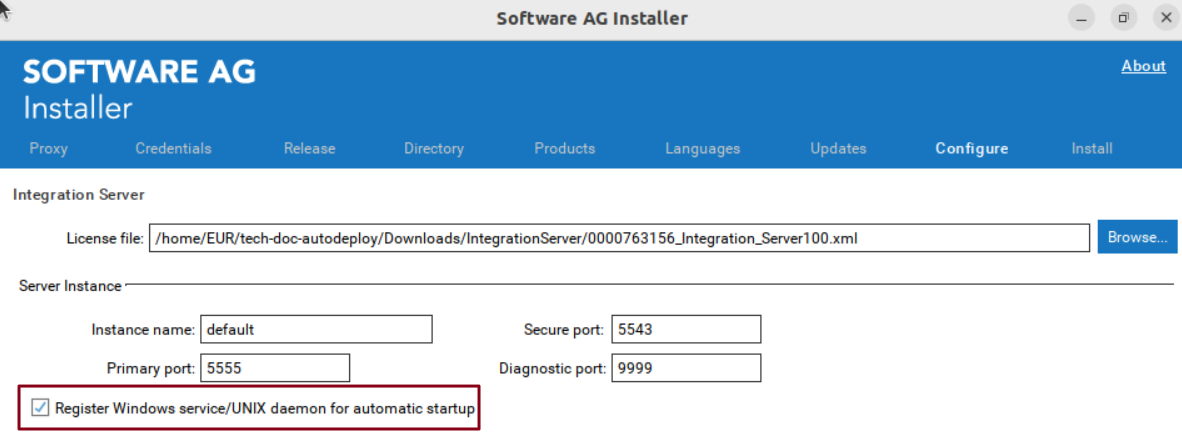
12. In the Configure tab, click Browse to select the license file. 5555 and 9999 are the default primary ports for the Integration Server instance. Modify the ports, if required. Select the register service checkbox if you want Integration Server to start automatically on startup. Click Next.
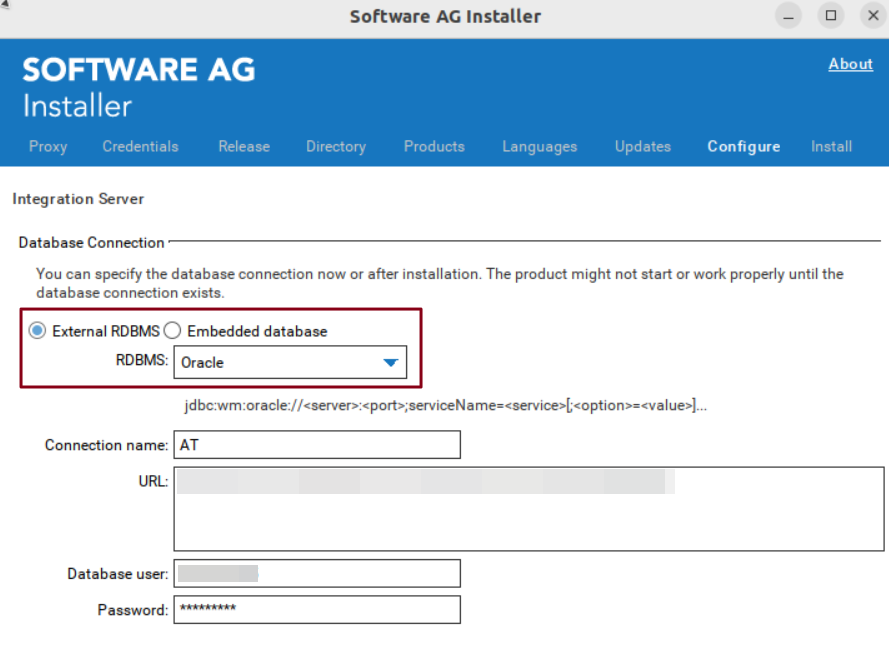
13. Provide the Integration Server database connection details. Click Next.
ActiveTransfer Server uses the scheduler from Integration Server to run scheduled actions.
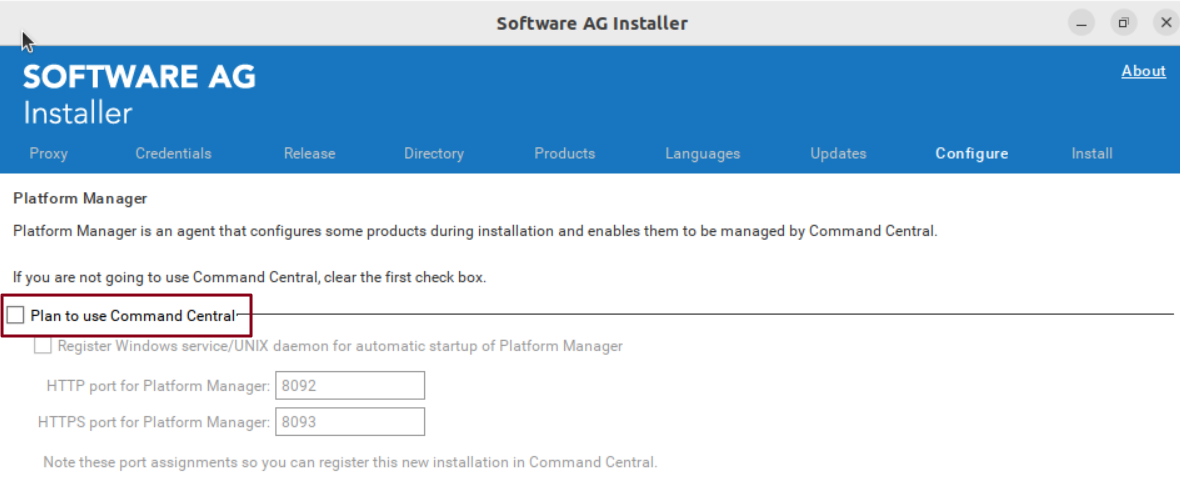
14. Provide the Platform manager details. Clear the Plan to use Command Central checkbox if you are not using Command Central. Click Next.
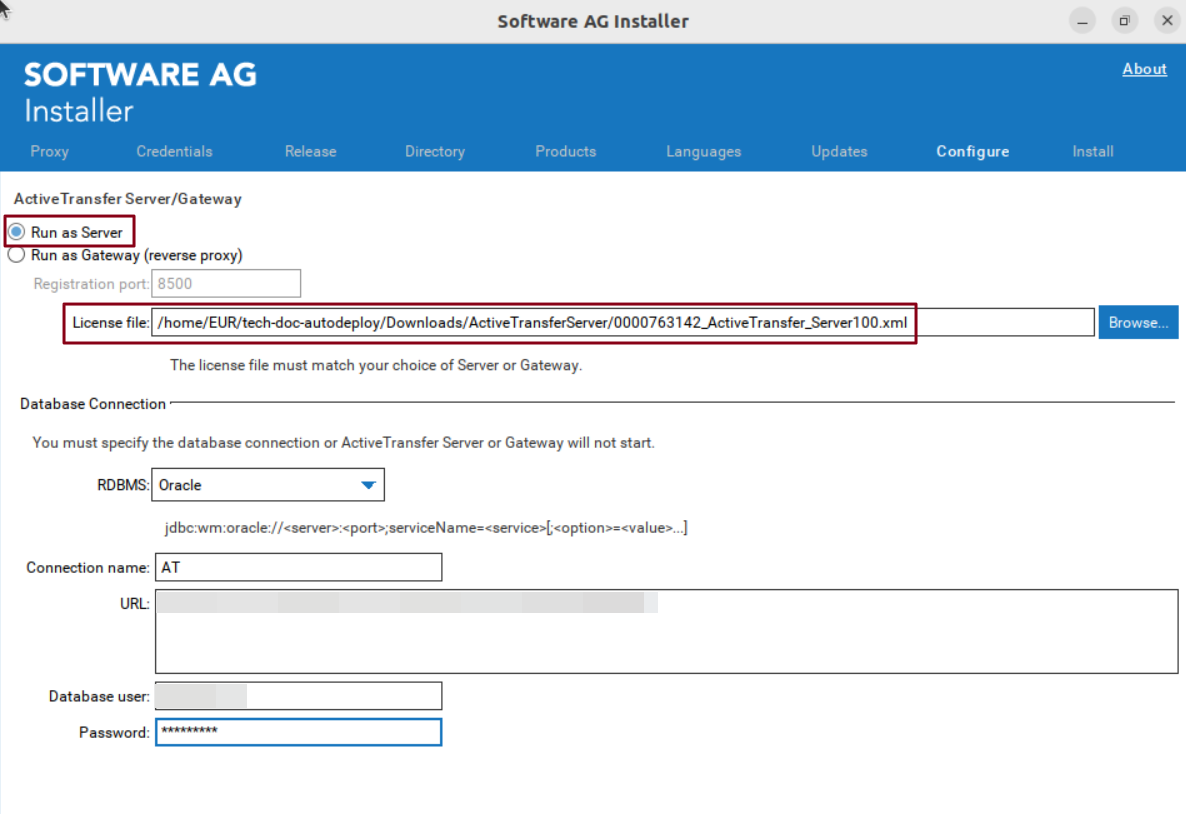
15. On the ActiveTransfer Server/Gateway page, select Run as Server. Provide a valid license file and database details for ActiveTransfer Server. Click Next.
Note that there are separate license files for ActiveTransfer Server and ActiveTransfer Gateway. At runtime, this license file decides whether the instance runs as ActiveTransfer Server or ActiveTransfer Gateway.
Note:
The license files are saved at \IntegrationServer\instances\<instance_name>\packages\WmMFT\config\licenseKey.xml. You must replace this file with a new file, if you need to change the license file after the installation. Restart the Integration Server after changing the license file.
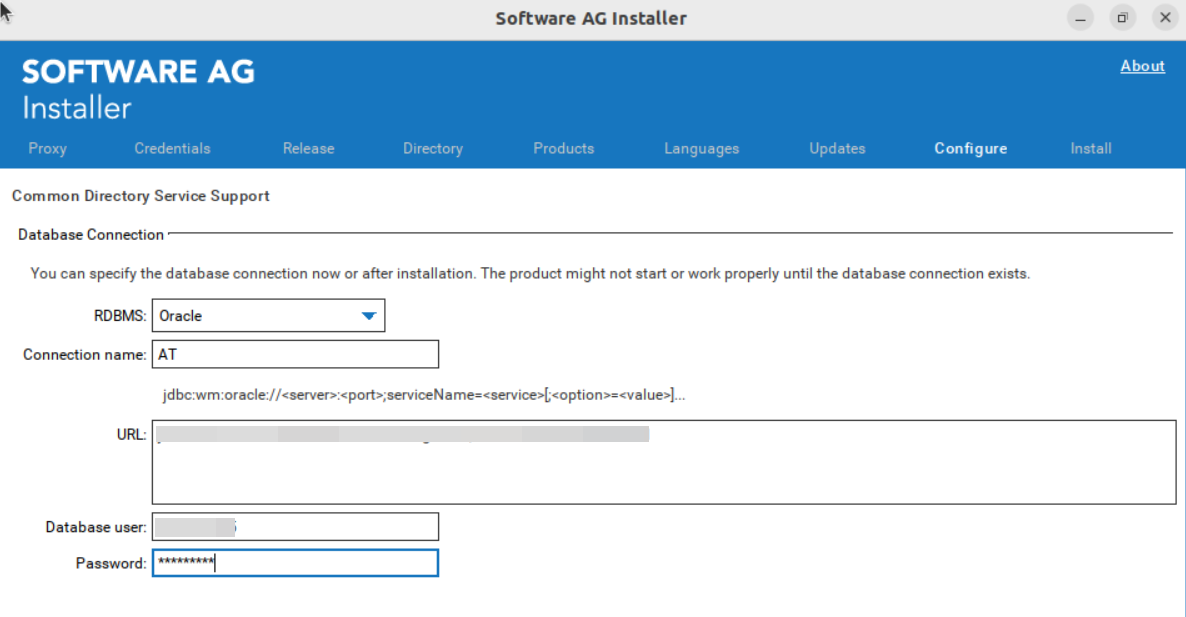
16. Provide the Common Directory Service Support details. This is required as you have selected the Central User Management component during initial setup. Click Next.
For more information about what database components to install, see the
ActiveTransfer Server Database Components. For more information about how to run the Database Configurator, see the
Database Component Configurator Graphical User Interface.
Note:
The database that you configure here must have the MWS database component installed to have all CDS related schema available.
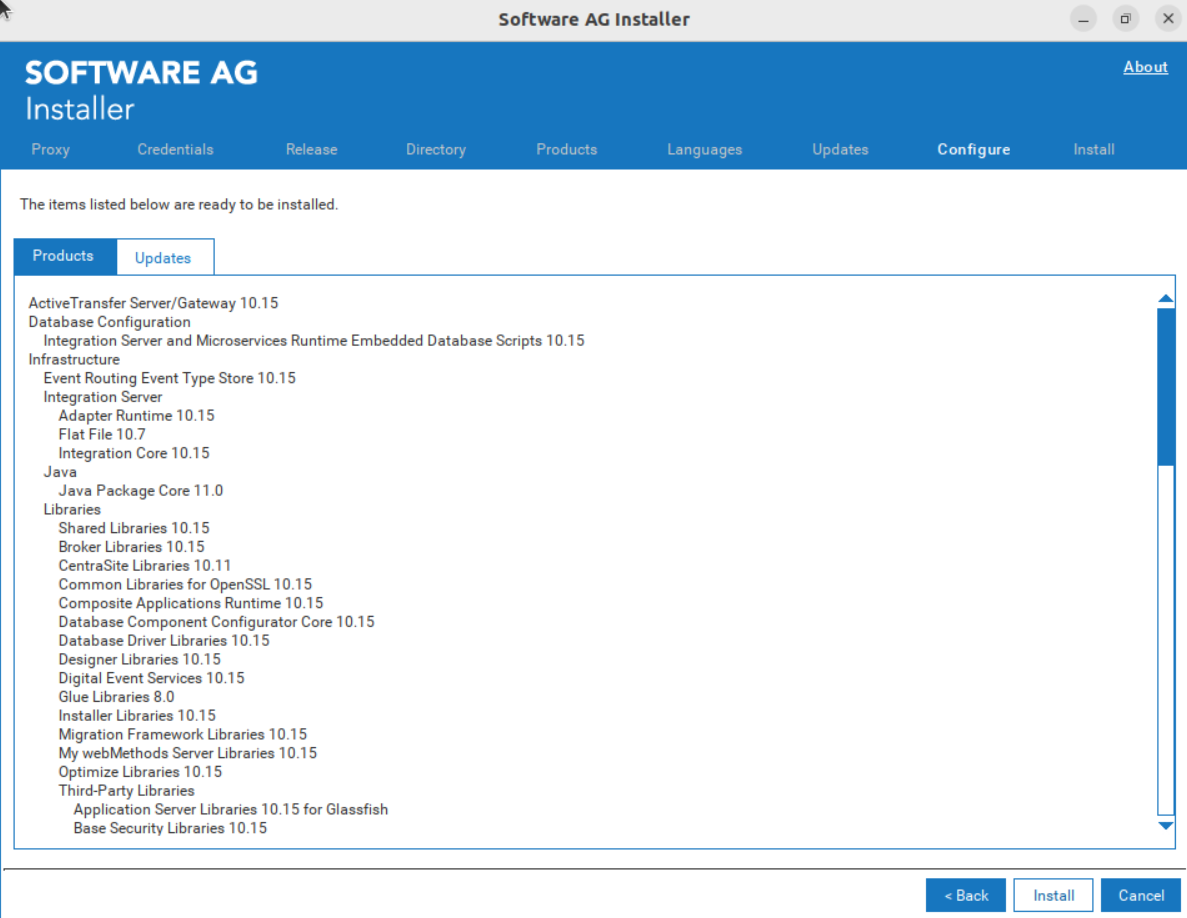
17. Verify your installation details. Click Install.