Add a Mashup Web Part to a Web Part Page
In order to publish a mashup to a Web Part Page, you must add a Mashup Web Parts to a zone in that page. You then publish mashups to each Mashup Web Part to display data from those mashups in table format.
1. If the page where you want to place a mashup is not already in edit mode, edit the page.
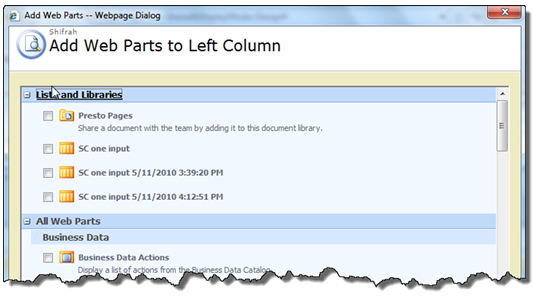
2. Click Add a Web Part in the zone on your Web Part page where you would like to place a mashup. In SP 2010, Web Part filters open:
In SP 2007, the Add Web Parts menu opens:
3. Select the JackBe Mashup Sites for SharePoint category and click Mashup Web Part.
4. Click Add (in the bottom right corner).
5. Continue editing this Web Parts page, as needed. You can:

Add appropriate Web Parts to other zones on the page.
Select and drag Web Parts to move them to other zones.
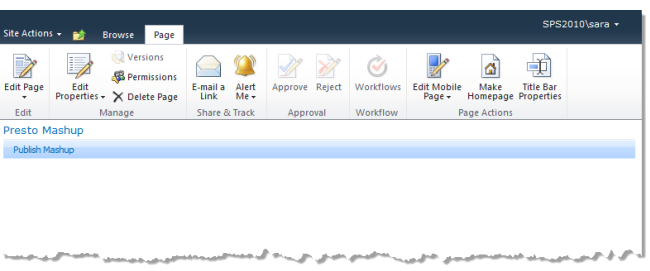
6. Once you are finished adding and modifying Web Parts, click Stop Editing in the Web Part page ribbon. The page returns to the normal display mode, with a Mashup Web Part and toolbar in the zones you have selected.