Publish a Mashup to a Mashup Web Part
Once you have stopped editing your Web Part page, you can select the specific mashup to use in any Mashup Web Part on your page from the Mashup Gallery.
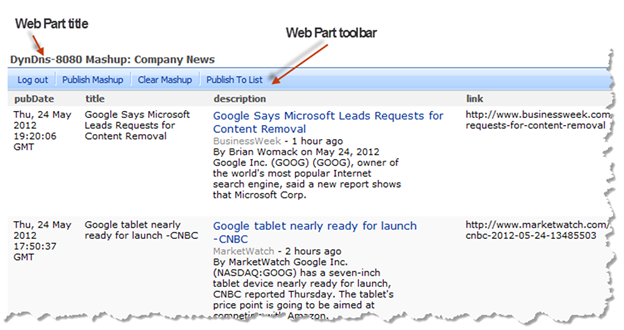
1. Click Publish Mashup from the toolbar in any of the Mashup Web Parts on your page.
2. If prompted, enter credentials to log in to the MashZone NextGen Servers you want to work with. You can also Skip specific MashZone NextGen Servers. Mashups from the MashZone NextGen Servers that you skip will not be listed.
Note: | Do not include the Windows domain in your username, such as mydomain\myname, when you log in. The MashZone NextGen Server does not accept domain names. You may also need to add MashZone NextGen Servers to your list of trusted sites or change your cookie preferences to allow session cookies. If you still receive login errors, check with your MashZone NextGen administrator. |
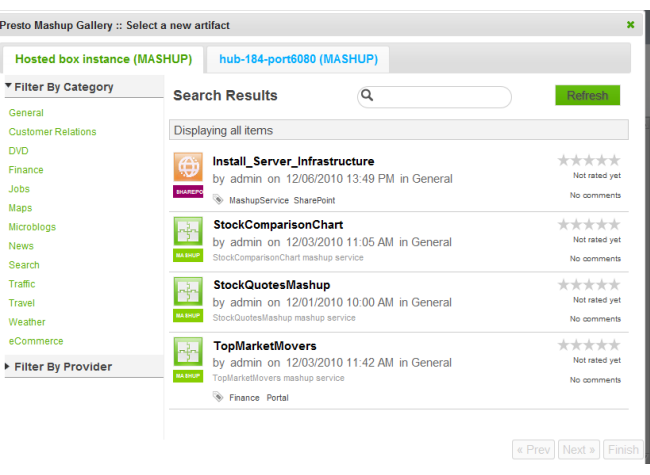
The Mashup Gallery opens displaying a list of mashups. This list is cached and refreshes periodically. Use Refresh to manually refresh this list.
3. Find and select the mashup you want to add to this Web Part.
You can filter the list of available mashups by category, by provider or enter a partial name in the search field.
4. If the mashup has input parameters, update these parameters as needed.
5. Click Finish.
The mashup you selected displays in the zone for this Web Part and, if you have appropriate permissions, includes a toolbar with actions for this mashup. See
Mashup Web Part Toolbar for more information. See also
Update Mashup Web Part Properties for other tasks you can perform, such as changing input parameters.