Configure a Dial Gauge
1. If needed, select the Series column for the gauge and change the Gauge Type to Dial.
2. Define the scale and color range for this gauge in the Color Ranges.
The scale defaults to 0-100 or a maximum value based on your data, with a single color range:
Gauge scales can be any range of contiguous numbers, negative or positive and can use integers or decimals as needed. The scale must have at least the lowest and highest values that you want to show.
You define the number of colors that appear in the scale by how many intermediate numbers you include in the scale. With no intermediate numbers, the scale is one color. Add an intermediate number to change the scale color at that point.
Note: | You can also change the colors used in the scale in the Customize View step of the view wizard. |
You can add numbers or remove numbers from the scale.

To add a new number to the scale, enter a number and click
Add Value.
To remove a number, click on the number in the scale.
3. Enter the title for this specific gauge as the Title.
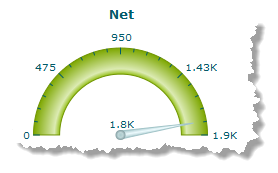
4. Define the arc and direction for the dial for this gauge in the Start Angle and End Angle properties.
By default, the arc of the scale is a semi-circle, starting from 0 up to 180 degrees. You can decrease or increase the arc by defining the degrees for the start and end points.
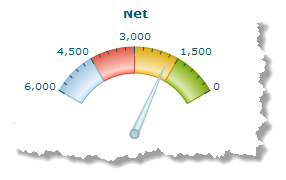
The default direction for the dial is clock-wise. To change the direction use a higher degree as the start point and a lower degree as the end point.
For example, with a start of 100 and an end of 0 the dial would look something like this:
5. Use Customize View, if needed, to change the colors shown in the gauge or update other visual properties to get the exact appearance you want.
To change the colors shown in the gauge:
a. Click Show Advanced Options.
b. Expand the Advanced Properties section.
c. In Color Range Palette, click inside the color cell (white by default) to pick the first (or next) color for the dial.
d. Choose the color you want from the color picker and click Set Color. The color cell now shows the color you selected.
e. Click Add Color to add this color to the list of colors used in the dial
f. Add a color for each range of numbers you defined for the dial.
If needed, simply click on a color in the list to delete that color.
6. Preview the gauge, as needed.