Adding Presto Mashups to Portal Pages
You create mashups and add views for them in the Presto Hub. Once mashups have at least one view, you can then add them to portal pages. You can also add any mashable information source by creating a mashup that simply runs that mashable.
Note: | New views that are added to mashups that are already included in portal pages automatically appear in those portal pages. |
1. In your portal or portal IDE, start a new portal page or edit an existing page and add the Publish Mashup portlet.
a. If needed, save the changes to this page.
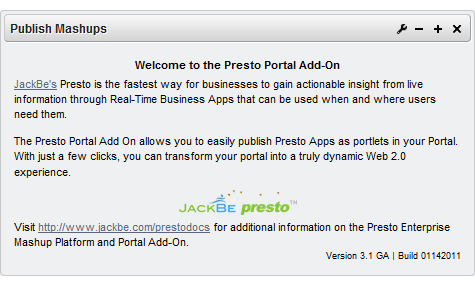
b. If it is not already open, log in to your portal and navigate to the page where you added this portlet. The portlet opens initially with the help page and should look something like this:
2. Click the Configure button in the portlet title bar and select the option to set preferences or customize the portlet.
Note: | The icons, buttons and menu options may be different in your portal. |
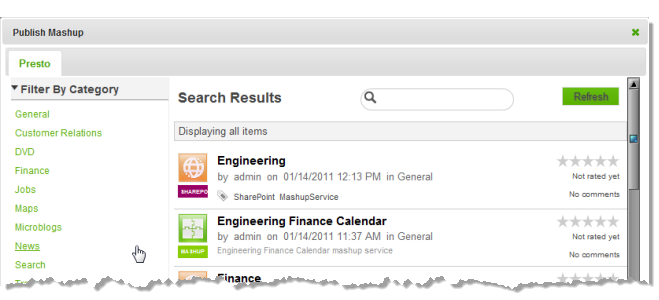
3. Find and select the mashup you want in the gallery window that opens.
You can filter the list using the Category or Provider links. Or enter part of the name, a tag or term in the Search field to find mashups by name, tag or description.
4. If desired, update the default input parameters, if any, for this mashup.
5. If needed, configure the layout for this portal page and drag the mashup portlet to the appropriate area within the page.
6. Click Finish.
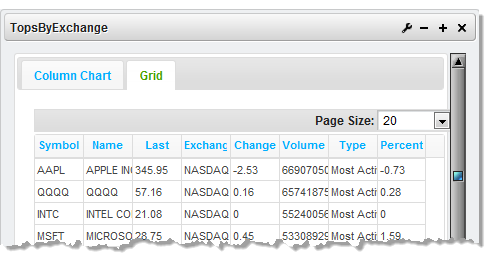
The mashup opens in the portlet with the default view for this mashup.
All views that are defined for this mashup appear in the default
Stacked layout. You can change this layout or update other visual aspects of the portlet or input parameters, if any, for the mashup in the portlet preferences. See
Managing and Updating Mashups or Apps in Portal Pages for instructions.


