Steps for developing Apama applications
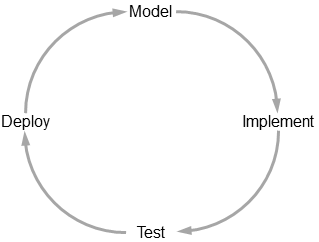
Typically, Apama development is an iterative cycle:
Multiple contributors with varying expertise can work concurrently to develop an Apama application.
The main steps for developing an Apama application include:
1. Model: Design your application. Important tasks are modeling the events that your application needs to handle and identifying the services that your application must provide.
2. Implement: Use Software AG Designer to create an Apama project to contain your application files (EPL files, adapters, event files, dashboards, and so on). Since Apama applications typically consist of many components, it is often possible to concurrently implement them, particularly if several people are working on the application:

Create queries with Apama's Query Designer in
Software AG Designer.
Write EPL or JMon programs in
Software AG Designer.
Develop Apama client applications.
Implement or develop adapters.
Create dashboards in Dashboard Builder.
Develop EPL plug-ins that extend the correlator's standard features.
3. Test: In Software AG Designer, Apama provides a runtime perspective and Scenario Browser view that help test applications as they are built. You can also use Apama's Data Player in Software AG Designer in conjunction with the ADBC adapter to analyze application behavior before, or after, deployment. You can automate testing through the use of command-line clients.
4. Deploy: Use Software AG Command Central to start and manage Apama components, including correlators. Or use the macro definitions in the Ant script that is provided with Apama. You can also use the Ant export wizard in Software AG Designer to generate a simple Ant script for deploying your Apama project. Tune Apama applications for optimum performance.