Using the Variables tab
The Variables tab lists and allows modification of all the variables available for use in a scenario.
In order to explore its features, create a new scenario by selecting File > New > Scenario from the menu.
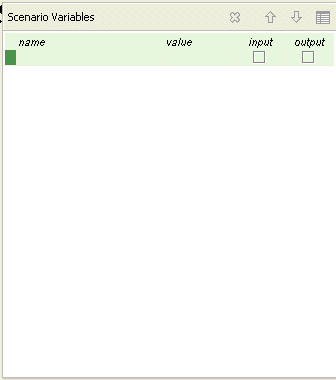
Observe the Variables tab. Note the selection of buttons on its toolbar, and the fact that it contains a table, with two rows and four columns.
The first row contains column headings, while the second row appears empty. The variables table always displays a line for each variable defined, with a final empty line from which you can add new variables. In this case, no variables are yet defined, so the table only contains the final empty line.
The columns are name, value, input and output, and in addition each variable row has a dark green square to the left of it.
By default the background of these rows is green; green being used throughout the Event Modeler to denote scenario variables.