Standard table: Column group
Properties in this group control the visibility, width, and resize behavior of table columns, as well as the format and alignment of cell text within each column.
Column group properties
The group contains the following properties:
autoResizeFlag
When this property is enabled, column widths change automatically to accommodate table resizing. When this property is disabled, column width is fixed at the values specified by
columnProperties.
This property is in the Column property group.
columnAlignment
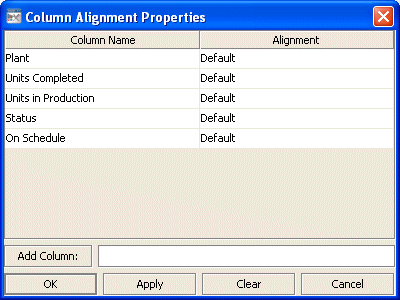
Specifies the alignment of text within each column. Select the ellipsis button. The Column Alignment Properties dialog appears.
Select one of the following alignment specifications from the drop down menu in the Alignment column:
 Default
 Left
Left Center
 Right
RightThe default setting depends on the type of column.
This property is in the Column property group.
columnFormat
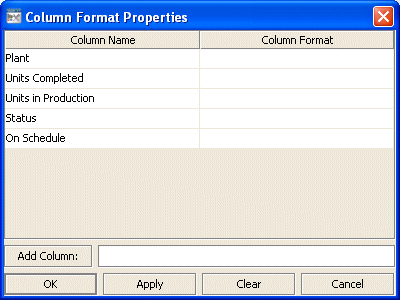
Specifies formats for numerical and date columns. In the Object Properties window, double-click on columnFormat in the Property Name field. The Column Format Properties dialog appears.
The Column Name list is populated based on the table's data attachment. If you have not yet attached the table to data, this list is empty.
In the Column Format column of the dialog, enter a format or select a format from the drop down menu, and press Enter. Specify numerical formats based on the Java format specification, or with the following shorthand:
 $
$ for US dollar money values
 $$
$$ for US dollar money values with additional formatting, () for non-money values, formatted similar to money
 #
# for positive or negative whole values
Specify date formats based on the Java date specification.
The dialog has the following buttons:
 Add Column:
 Enter the name of the column and click the
Add Column button to insert a column into the table.
 Clear:
 Click the
Clear button to clear all cells in the
Column Format column of the dialog.
Note: Text columns that contain text representing numbers are treated as if they are numeric columns, so number formats can be applied.
This property is in the Column property group.
columnProperties
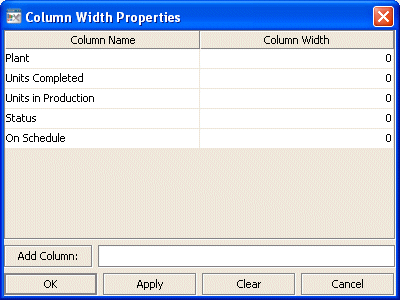
Specifies the width of each column. In the Object Properties window, double-click on columnProperties in the Property Name field. The Column Width Properties dialog appears.
The Column Name list is populated based on the table's data attachment. If you have not yet attached the table to data, this list is empty.
In the Column Width column of the dialog, enter the width in pixels.
The dialog has the following buttons:
 Add Column:
 Enter the name of the column and click the
Add Column button to insert a column into the table.
 Clear:
 Click the
Clear button to clear all cells in the
Column Width column of the dialog.
This property is in the Column property group.
columnsToHide
Specifies columns from the data attachment to exclude from being displayed in the table. Columns specified in the
columnsToHide property can still be used in the
drillDownColumnSubs property.
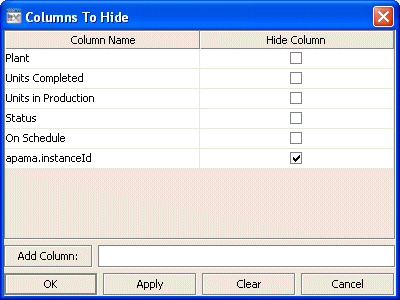
In the Object Properties window, double-click on columnsToHide in the Property Name field. The Columns To Hide dialog appears.
The Column Name list is populated based on the table's data attachment. If you have not yet attached the table to data, this list is empty.
In the Hide Column column of the dialog, click the checkbox for each column that you want to hide.
The dialog has the following buttons:
 Add Column:
 Enter the name of the column and click the
Add Column button to insert a column into the table.
 Clear:
 Click the
Clear button to clear all cells in the
Column Width column of the dialog.
Dashboard Builder displays a warning message if you attempt to hide the row header column.
This property is in the Column property group.
indexColumns
Use this property in order to maintain the highlight of selected rows after data updates or table sorts are executed. In the Object Properties window, double-click on indexColumns in the Property Name field. The Index Columns dialog appears. Select one or more columns whose values uniquely identify each row.
This property is in the Column property group.


