
This document covers the following topics:
The Travel Support System (this is the name that you can see on the screen when executing the application) is a small sample application for NaturalONE. As a sample application, its focus is to show NaturalONE functionality rather than being a full-fledged travel support application.
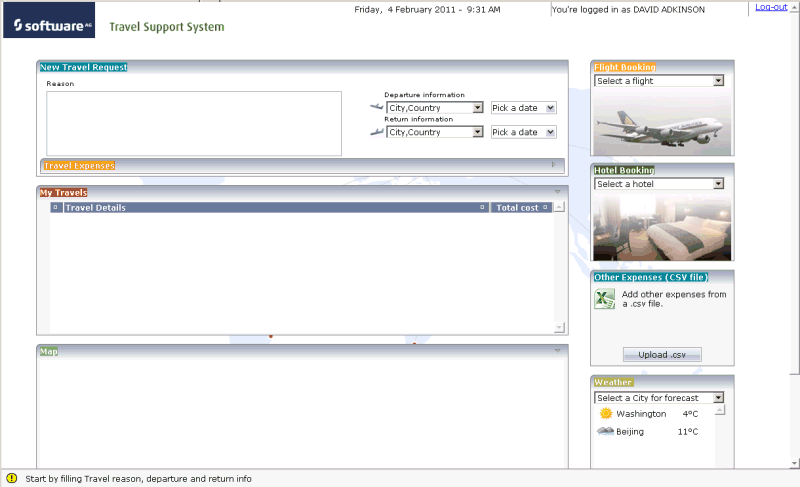
The Travel Support System (TSS) allows you to request and approve business trips. Flights, hotels and even more external information such as cell phone expenses or car rentals can be entered with the trip request. For the destination, weather information can be queried. A manager can do both, request own trips as well as approve trips that have been requested by employees. After the manager has approved single or multiple requests, the manager can print an itinerary or receive the itinerary as a PDF file.
The usage of the travel approval application is described below.
In order to use the sample application, Adabas Version 6.1.9 or above must be installed and started.
Install the sample application by clicking Travel Approval application on the welcome page. A new project named "Travel" will then be shown in the Project Explorer view. See also Installing the Sample Applications.
You will now make sure that the sample application is executed in an external web browser and not in the internal web browser.
 To define the use an external web browser
From the menu, choose .
Expand the General node and select Web Browser.
The following page appears.
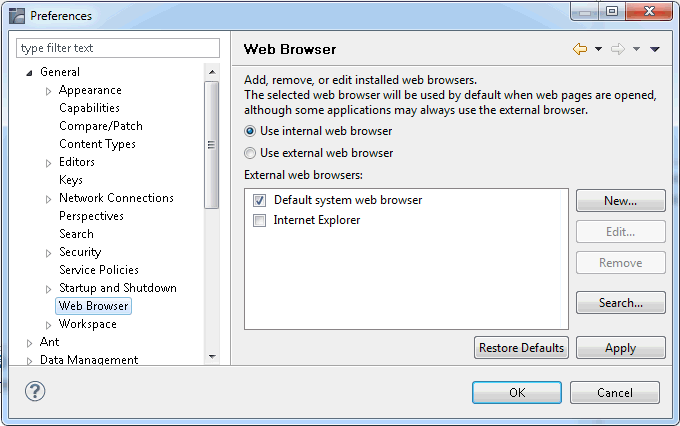
Select the Use external web browser option button and choose the button.
You start the sample application by executing the program
LOGIN.NSP in the TRAVEL library.
To start the sample application
In the Project Explorer view, expand the project Travel.
Expand the following nodes:
Natural-Libraries
TRAVEL
SRC
Scroll down until you see the program name
LOGIN.NSP.
Select LOGIN.NSP, invoke the context menu and
choose .
The sample application is executed. Since you have specified so in the preferences, it is executed in an external browser window.
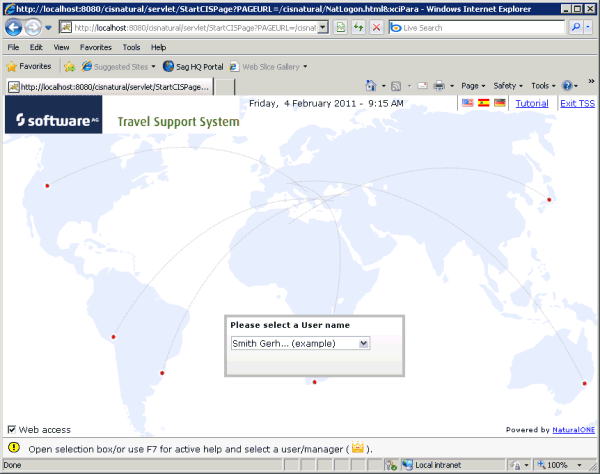
You will now log in as an employee (with limited rights) and request a business trip.
To log in as an employee
In the Please select a User name dialog, type "A" over the name that is currently shown in the drop-down list box.
The drop-down list box opens, displaying the names of all employees and managers which start with the letter "A". This information comes from the Adabas demo database.
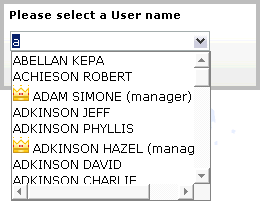
Select the name "ADKINSON DAVID".
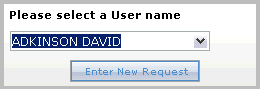
Choose the button.
The following screen appears. Here, you will enter your travel request.
You will now enter and submit your travel request. This includes the following information:
City and date for departure.
City and date for return flight.
Flight number.
Hotel name.
To enter a travel request
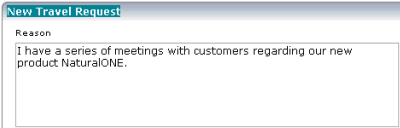
In the Reason text box, enter the reason for your travel plans. For example:
Under Departure information, open the drop-down list box.
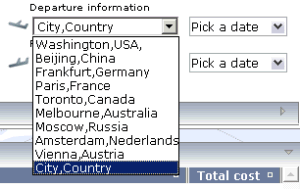
Select Toronto,Canada.
Click on Pick a date which is shown to the right of the departure information.
In the resulting Date Input dialog, select the desired date for your flight to Toronto (for example, February 21, 2012).
Under Return information, open the drop-down list box.
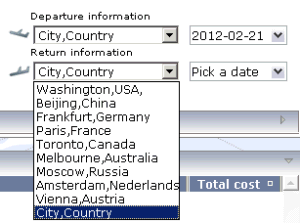
Select Beijing,China.
Click on Pick a date which is shown to the right of the return information.
In the resulting Date Input dialog, select the desired date for your return flight from Beijing (for example, February 28, 2012).

You have now entered the basic information needed to make travel plans. Next, you will book a flight and a hotel.
Under Flight Booking, open the drop-down list box.
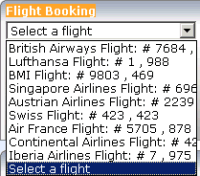
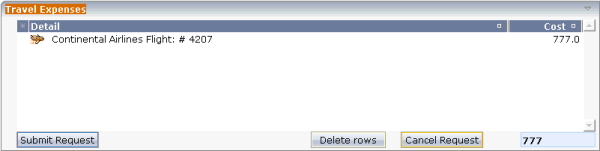
Select Continental Airlines Flight: #4207.
The selected flight is shown under Travel Expenses.
Under Hotel Booking, open the drop-down list box.
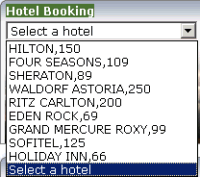
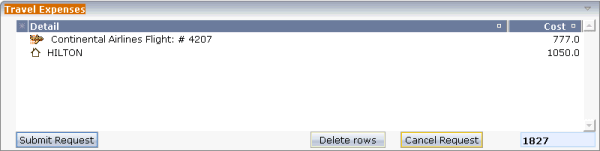
Select HILTON,150.
The selected hotel is also shown under Travel Expenses, including the costs (7 nights * 150 = 1050). The total cost has also been updated (1827).
Choose the button.
The Travel Expenses area is closed, and the My Travels area shows the travel details.
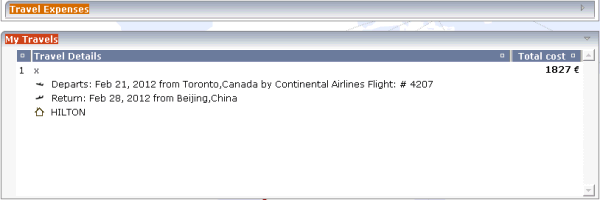
At the bottom of the screen, you can see a message informing you that the travel request has been accepted (pending approval), and that you can now either create a new request or log out.
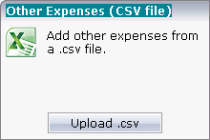
You will now add additional expenses from a CSV file to your travel request. This is just for demonstration purposes and you will delete these expenses before you log out.
To add additional expenses
Under Other Expenses, choose the button.
The File Upload dialog appears.
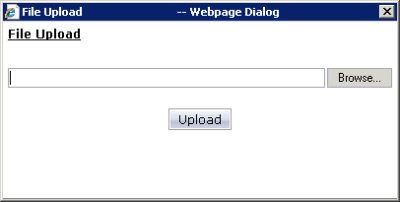
Choose the button.
In the resulting Choose File to Upload dialog, navigate to the location of your Eclipse workspace. Here, you can find the project directory that has been created for your travel application.
The demo CSV file which comes with the travel application is located in the Expenses folder of the project and has the name expenses_trip1.csv.
Select the file expenses_trip1.csv and choose the button.
The path to the selected file is shown in the File Upload dialog.
In the File Upload dialog, choose the button.
The contents of the CSV file is shown under Travel Expenses.
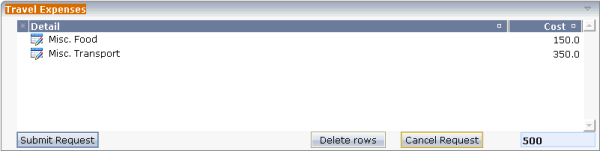
You will now delete the two items that were added from the CSV file.
Select both lines (press SHIFT or CTRL to select the second line).
Choose the button.
Log out by clicking on the Log-out link which is located at the top right of the screen.
The logon screen containing the Please select a User name dialog is shown again.
In order to approve the travel request you have just entered, you will now log in as a manager.
To log in as a manager
In the Please select a User name dialog, open the drop-down list box and select the name "ARCONADA PEDRO".
For this user, an button is shown which is only available to managers.
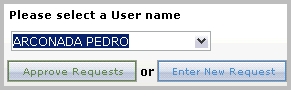
Choose the button.
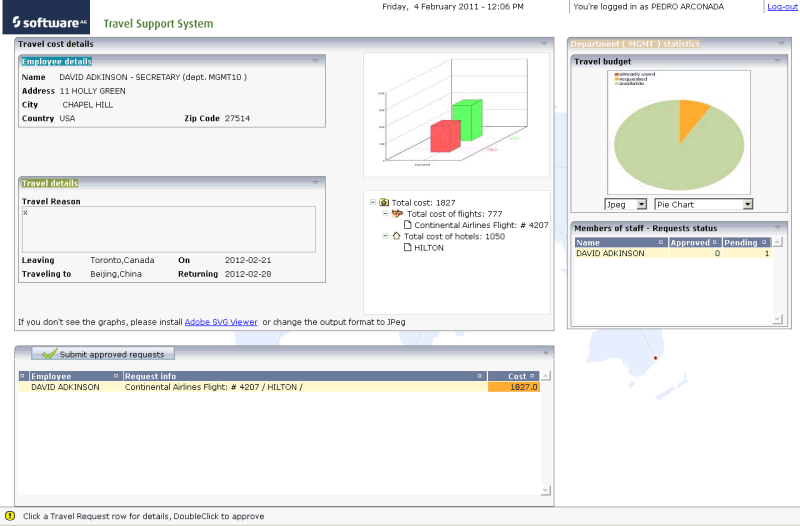
The following screen appears, listing the travel requests that are waiting for approval.
After you have logged in as a manager, you can approve travel requests.
To approve a travel request
Under Department (MGMT) statistics, open the drop-down list box for the different types of pie charts.
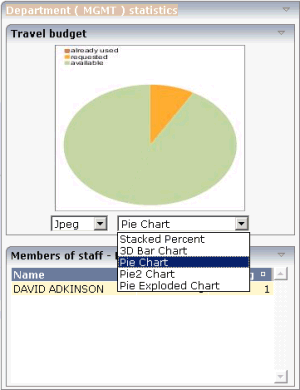
Select Pie Exploded Chart.
A different chart is shown, indicating the total travel budget that is available for the department, and how much of the budget is currently requested.
In the table at the bottom left of the screen (below the button), double-click the row containing the employee name "DAVID ADKINSON".
A check mark is now shown in front of the row, and a message is shown at the bottom of the screen informing you that you may submit the approved requests.
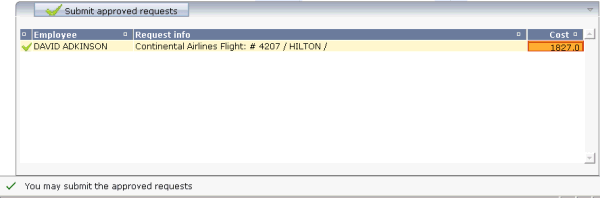
Choose the button.
The following dialog appears, containing the travel details for David Adkinson.
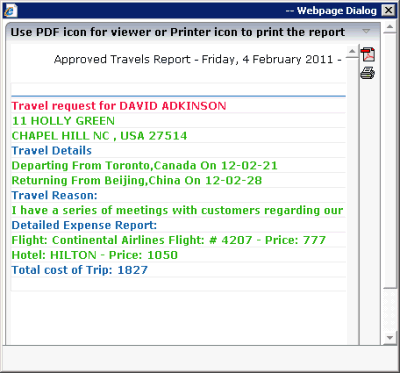
Click on the PDF icon (![]() ) at the top right of the
dialog.
) at the top right of the
dialog.
When appropriate PDF viewing software such as Adobe Reader is installed, the PDF output is shown and you can print it.