
Predict Components enable an easy way of distribution and versioning of DB assets (Adabas DDMs and files (FDTs) based on Predict definitions) for continuous integration and deployment.
Perform the steps as described in:
 To create and manage Predict components
In the Predict Description and Generation tab expand the File node and either modify existing or create new file(s).
To modify existing file(s) select the file(s) to be modified and right-click on your selection.
To create new file(s) right-click on the File node and from the context menu choose New.
Modify or create an extract that contains the artifact that you want to have in your project in the Project Explorer view.
To modify existing extract(s) select the extract(s) to be modified and right-click on your selection.
To create new extract(s) right-click on the Extract node and from the context menu choose New.
To import objects into the extract(s), choose the Import button.
A standard find dialog appears.
After your selection the import dialog opens from which you can choose the objects to be imported into the extract(s).
To create and manage Predict components
Create new Predict Components folder:
In the Project Explorer view, right-click on the project folder where you want the Predict Components folder to be created. In this example, the project is named "Development".
In each Predict Component folder an ant batch file (prf_deploy.xml) and a directory named plugins with the *.jar-files for batch deploy is created.
The following commands are available:
help |
display command |
unload |
unloads extracts (uses the *.ULD Files) |
load |
loads the contents of the extracts (uses the *.PRD Files) |
generate |
generates the Predict Objects (e.g. Adabas File) (uses the *.GEN Files) |
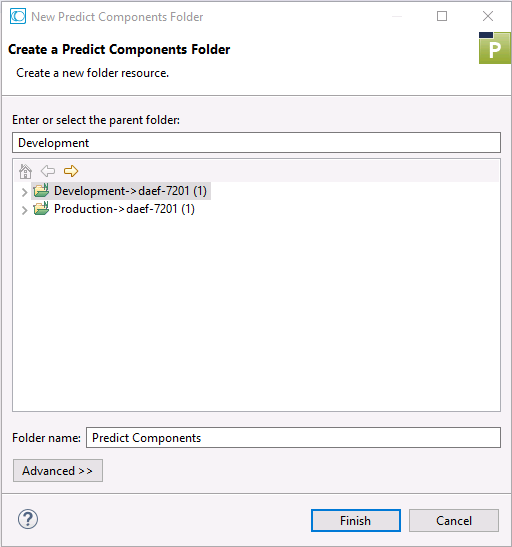
The default name for the Predict Components folder is also "Predict Components". You can alter the name in the Folder name field.
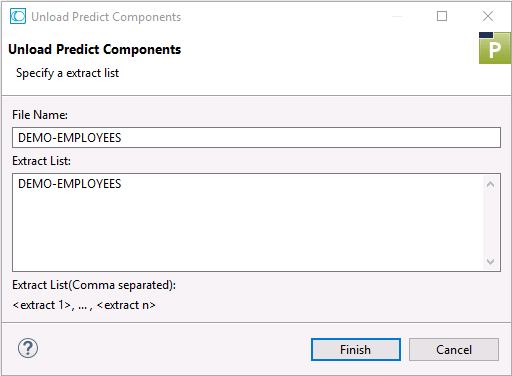
Unload the artifacts from your Predict environment.
In the Project Explorer view, right-click on the Predict Components folder.
In the context menu click on Predict Components > Unload.
Various files will be created based on your Predict environment to the Predict Components folder.
Files with a *.GEN suffix contain
commands for the Predict Generation.
Files with a *.PRD suffix contain the
artifact data for the Predict Load.
Files with a *.ULD suffix contain the
names of extracts for the Predict Unload.
Modify and/or adapt the list of files offered in the Unload Predict Components wizard according to your requirements and press .
A successful Unload will result in a UNLOAD
TERMINATED SUCCESSFULLY message being displayed in the
Console view.
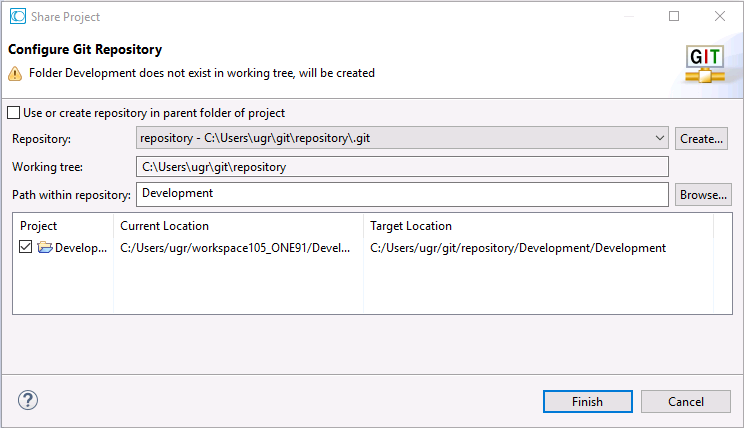
This step is optional.
After unloading all files, add the project to a repository of your choice, e.g. GIT.
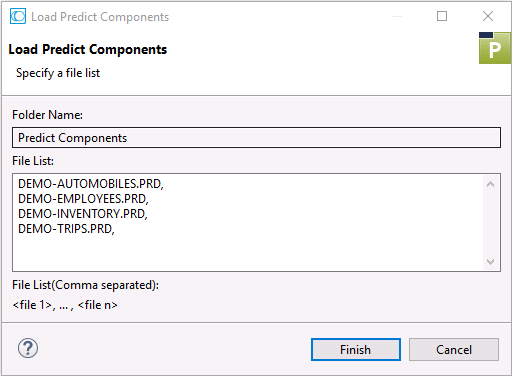
Load the Predict data.
In the Project Explorer view, right-click on the Predict Components folder.
In the context menu click on Predict Components > Load.
Various files will be offered for a Load from your Predict Components folder to the Predict environment.
Modify and/or adapt the list of files offered in the Load Predict Components wizard according to your requirements and press .
A successful Load operation will result in a LOAD
TERMINATED SUCCESSFULLY message being displayed in the
Console view.
In the Predict environment, generate the artifacts from the files loaded in the previous step.
In the Project Explorer view, right-click on the Predict Components folder.
In the context menu click on Predict Components > Generate.
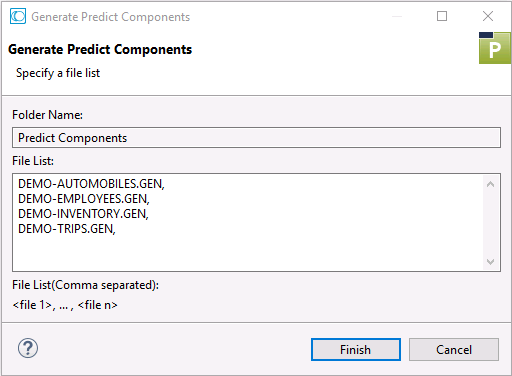
Ensure that the files with a *.GEN suffix
only contain those commands that you want to generate.
Fill in the Generate Predict Components wizard and press .
Various artifacts will then be generated in your Predict environment.
A successful generation will result in a GENERATE
TERMINATED SUCCESSFULLY message being displayed in the
Console view.