
This document describes how to configure NaturalX applications on Windows. All settings are applied with the tool DCOMCNFG.EXE or Component Services. The dialog examples shown in the following sections appear as with Component Services under Windows XP.
This document covers the following topics:
 To configure NaturalX servers
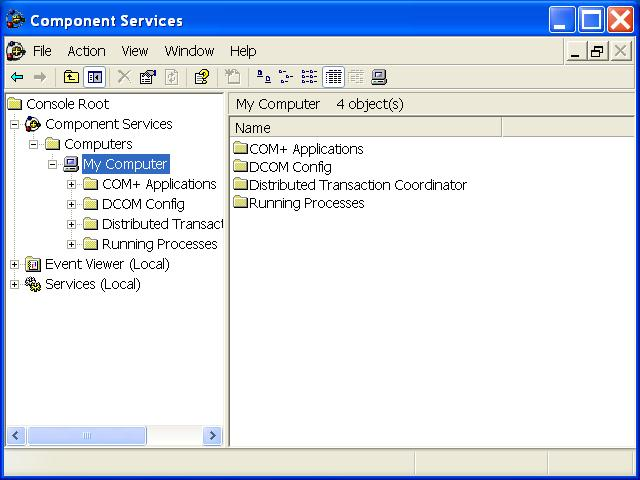
Invoke Component Services.
In the Properties dialog of My Computer, select the Default Properties tab and activate the check box Enable Distributed COM on this computer.
Set Default Authentication Level to Default and Default Impersonation Level to Identify.
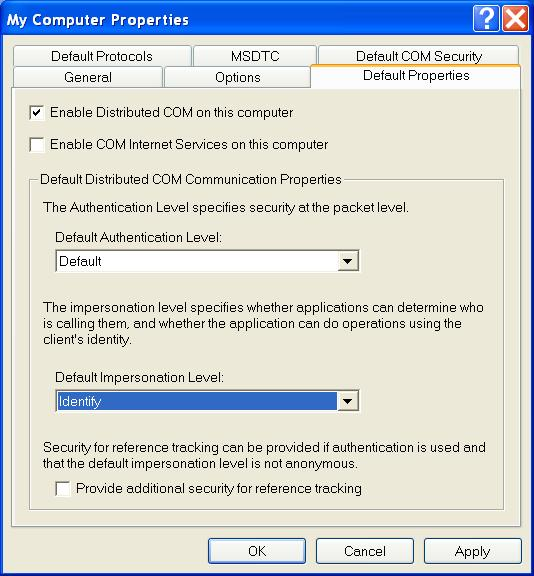
This allows NaturalX servers to retrieve the client's user
ID. Before executing a request, the server will then move the client's user ID
into the Natural system variable *USER in order to
let Natural Security checks run against this user ID.
Now set up the default security configuration.
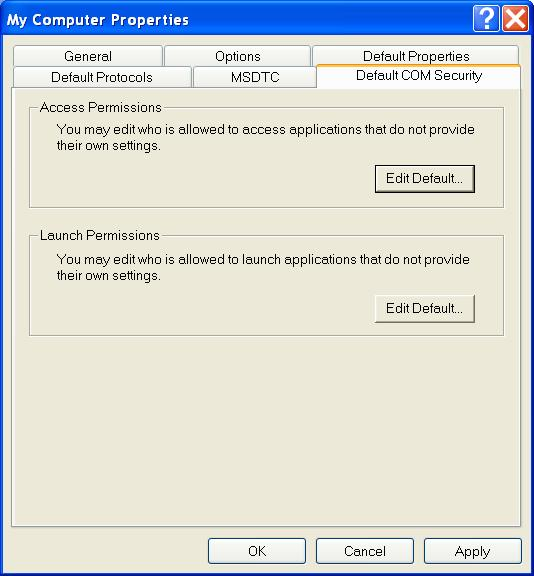
In the Default COM Security tab, choose in the Access Permissions group box.
The Access Permission dialog box appears.
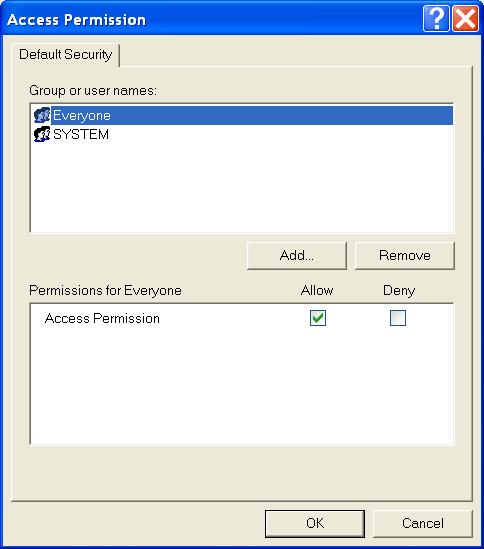
Use the button to define which users and groups may access NaturalX servers.
Note:
You must allow access at least to the account
"SYSTEM".
In most cases you will define a group of all users to whom you want to allow access and enter this group here. In the example, the built-in group "Everyone" is entered. This allows access to every user that is defined on the server machine. If the built-in account "Guest" is enabled in the User Manager, this setting allows access to users not defined on the server machine (guests) as well.
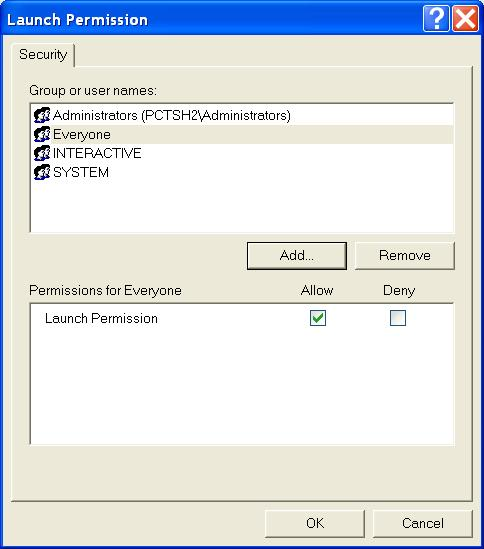
In the Default COM Security tab, choose in the Launch Permission group box.
The Launch Permissions dialog box appears.
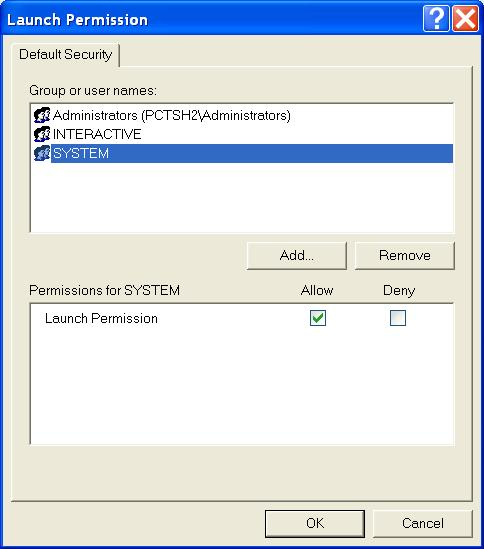
Note:
You must allow launch at least to the accounts
"SYSTEM" and
"INTERACTIVE" and the group
"Administrators".
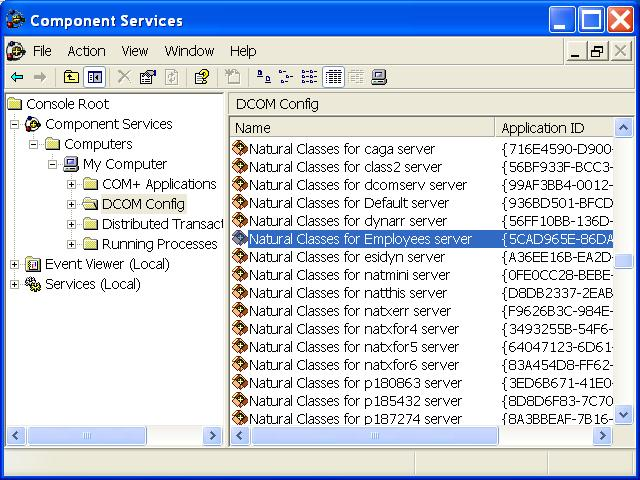
Now set up the configuration for a specific NaturalX server. Select the node DCOM Config and locate your NaturalX server in the DCOM Config list box (in the example "Natural classes for Employees server").
Select your server and choose .
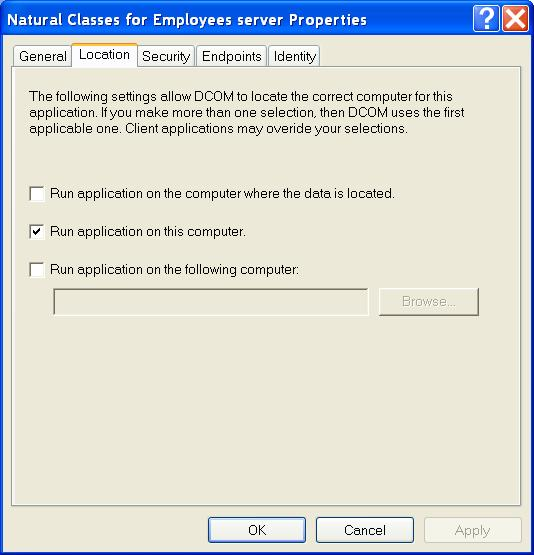
In the Location tab, activate the check box Run application on this computer.
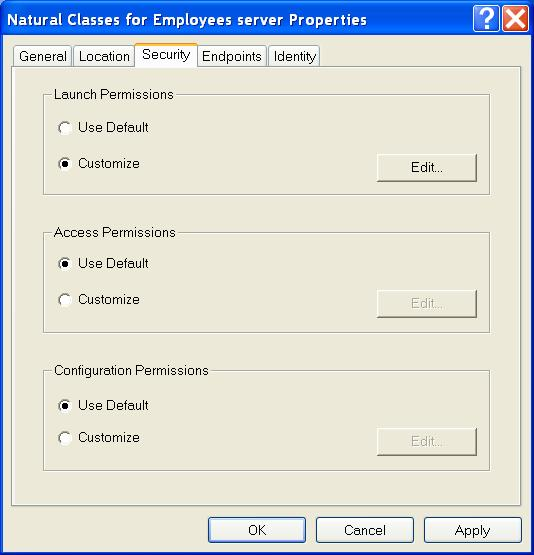
In the Security tab, make sure that Access Permissions is set to Use Default and Launch Permissions is set to Customize.
Choose in the Launch Permissions group box to modify the application-specific launch permissions.
The list LaunchPermission will contain at least the accounts "SYSTEM" and "INTERACTIVE" and the group "Administrators".
Add the users and groups to be allowed to launch your NaturalX server. In most cases, you will define a group of all users to whom you want to allow launch and enter this group here. In the example, the built-in group "Everyone" is entered. This allows launch to every user that is defined on the server machine. If the built-in account "Guest" is enabled in the User Manager, this setting allows launch to users not defined on the server machine (guests) as well.
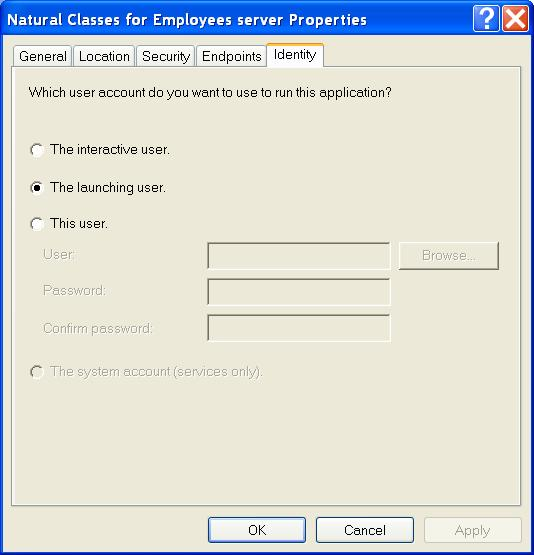
In the Identity tab, define the account under which the NaturalX server will be launched.
If you select The launching user, a server process will be launched for each client. The server process will be launched under the account of the client user.
If you select The interactive user, only one server process will be launched for all clients.
Note:
This is true only for classes that have been
registered in Natural as "ExternalMultiple". If a
class is registered as "ExternalSingle", a server
process is created for each object of this class that is created.
The server process will be launched under the account of the user that is interactively logged in on the server machine. If no user is currently logged in on the server machine, this setting behaves like The launching user.
If you select This user and select a specific user account, only one server process will be launched for all clients.
Note:
This is true only for classes that have been
registered in Natural as "ExternalMultiple". If a
class is registered as "ExternalSingle", a server
process is created for each object of this class that is created.
The server process will be launched under the specified user account.
To configure NaturalX clients
Invoke Component Services.
In the Properties dialog of My Computer, select the Default Properties tab and activate the check box Enable Distributed COM on this computer.
Set Default Authentication Level to Default and Default Impersonation Level to Identify.
This allows NaturalX servers to retrieve the client's user
ID. Before executing a request, the server will then move the client's user ID
into the Natural system variable *USER in order to
let Natural Security checks run against this user ID.
Now set up the configuration to access a specific NaturalX server.
Select the node DCOM Config and locate your NaturalX server in the DCOM Config list box (in the example Natural classes for Employees server).
Select your server and choose .
In the Location tab, activate the check box Run application on the following computer. Enter the name of the remote machine on which the NaturalX server is installed.
